Don’t we all just take code word classified documents home from work for no reason? No? Oh well, just your pal then.

One can only imagine how much information could be contained within twenty seven (27) bankers boxes of paper work, file folders and manilla envelopes. That’s too much cheese for one Cheddar coloured man to horde. Going to attract rats, and moles, and all manner of other pests into their midst. Not worth the effort. Should have left it all alone.

Had a few work related e-mails and some personal text messages come in before 8:00am so now I’m wide awake watching CNN discuss DJT and the subpoenaed classified boxes. Oh lordy. Can we get a break from TFG. All I want to see of him is an arrest, a over arching criminal trial series that covers many of his criminal activities, and finally a sentencing. That’s it.

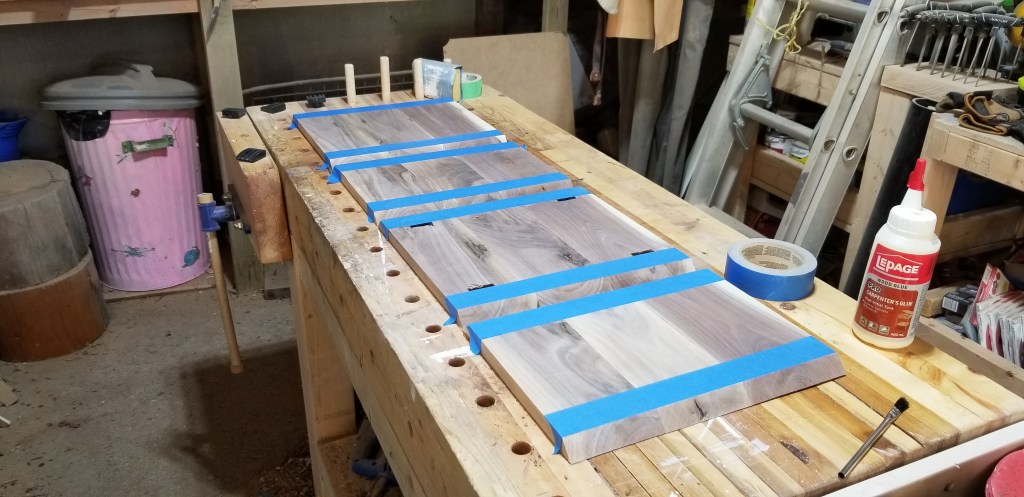
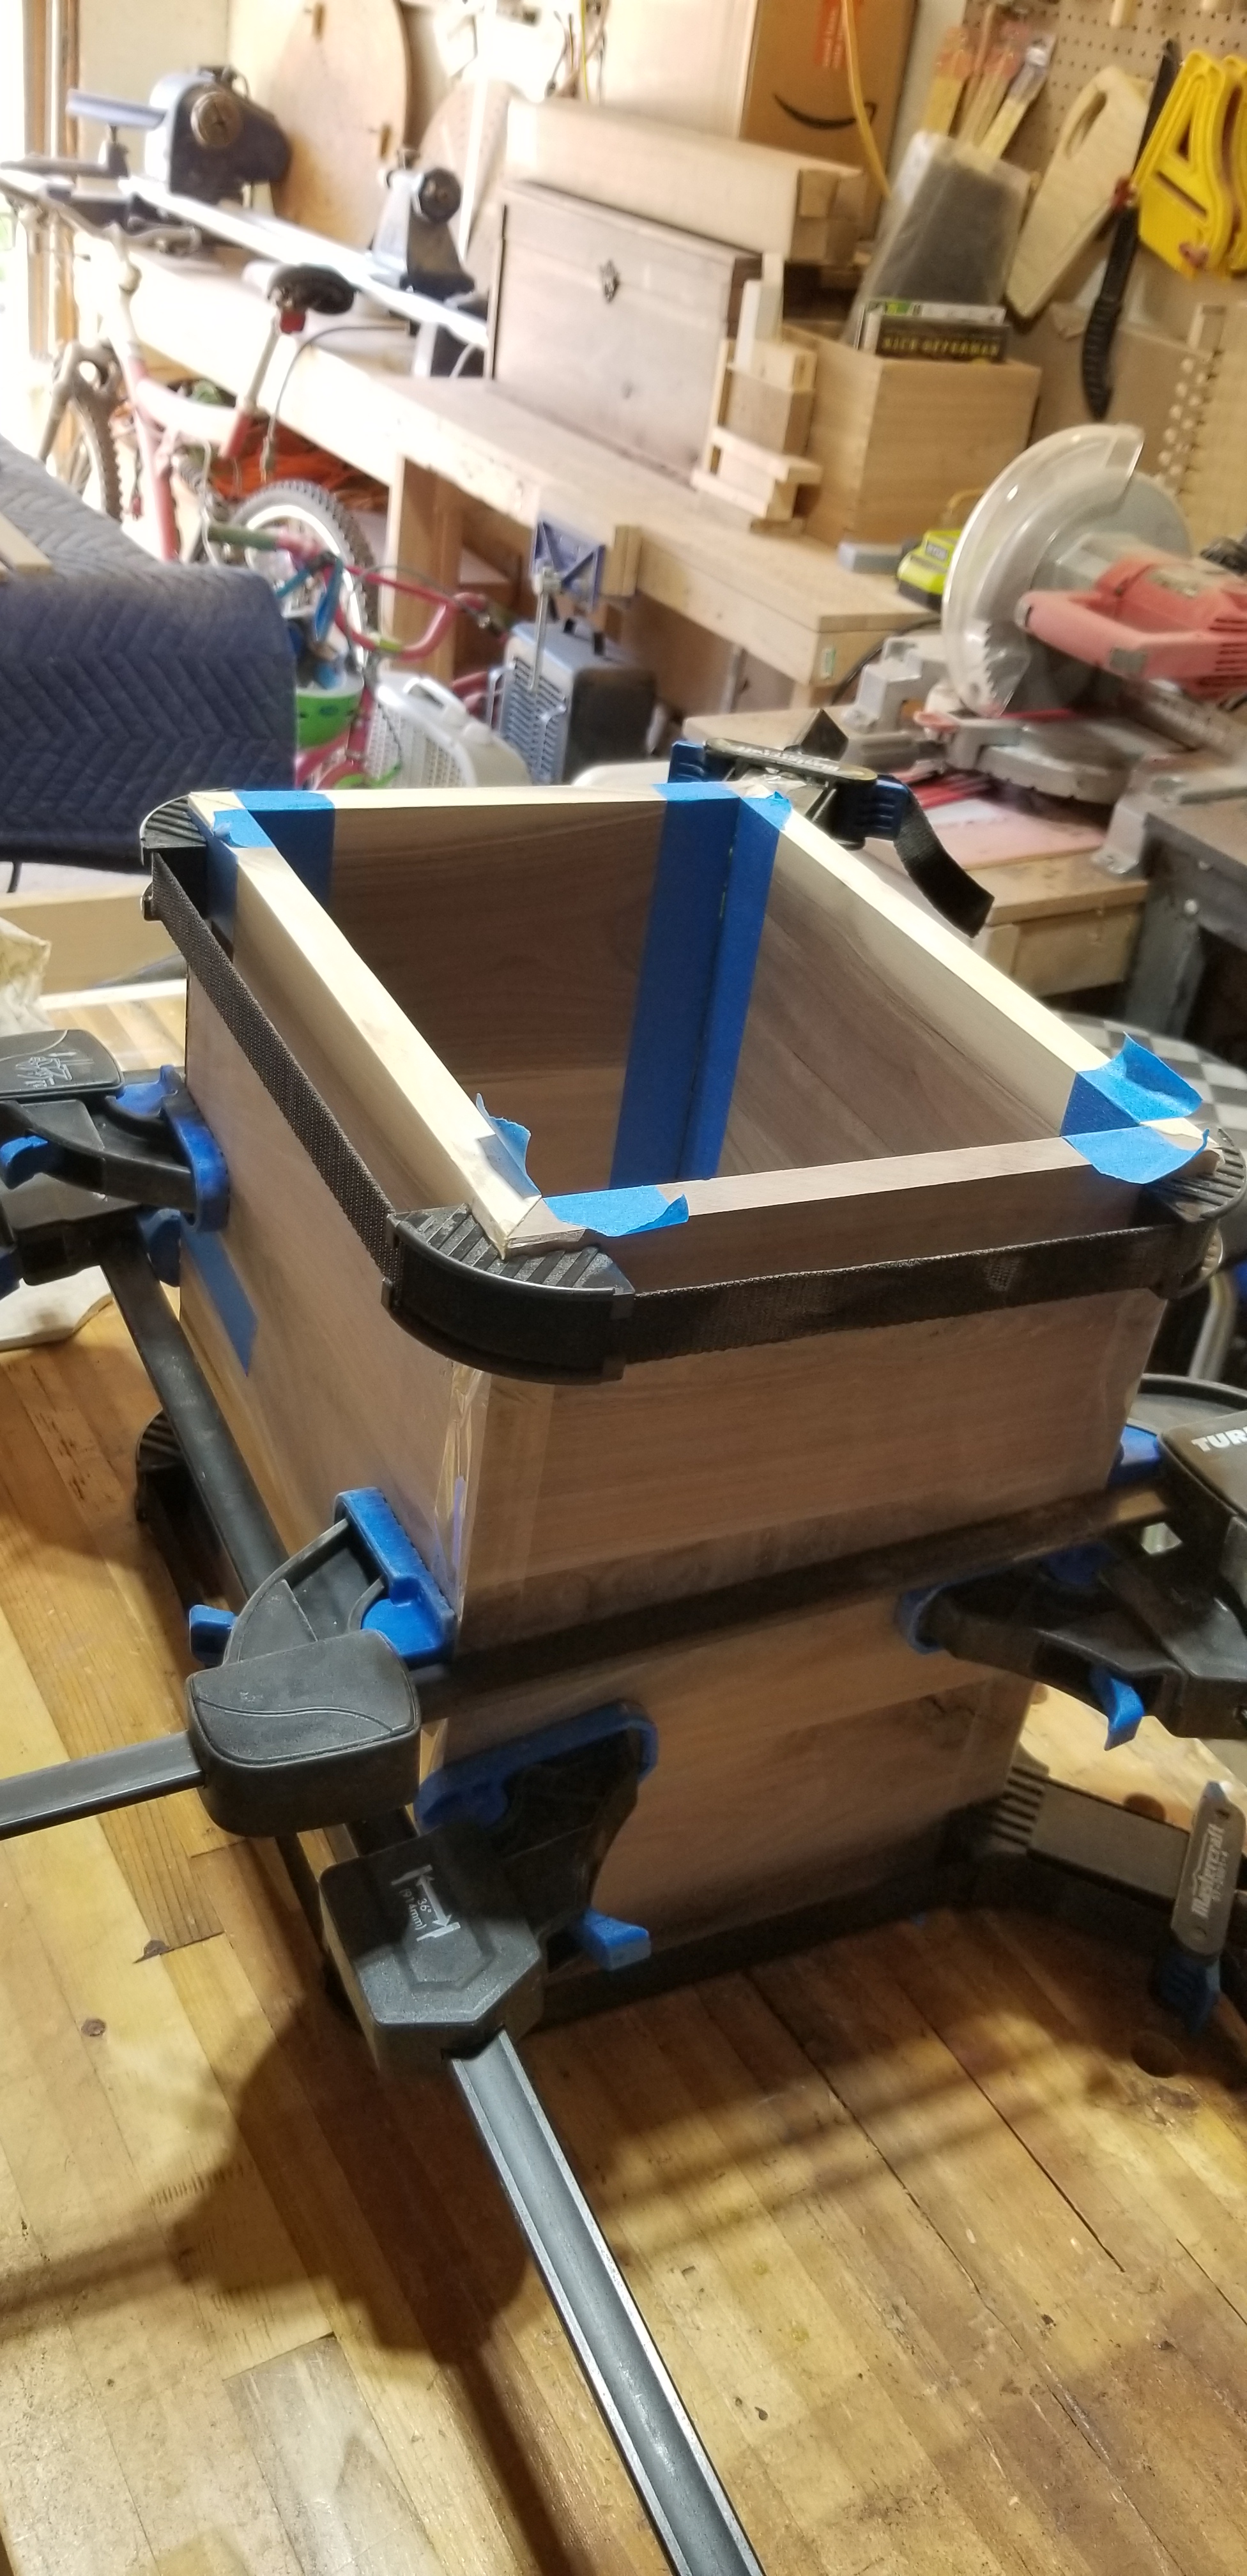
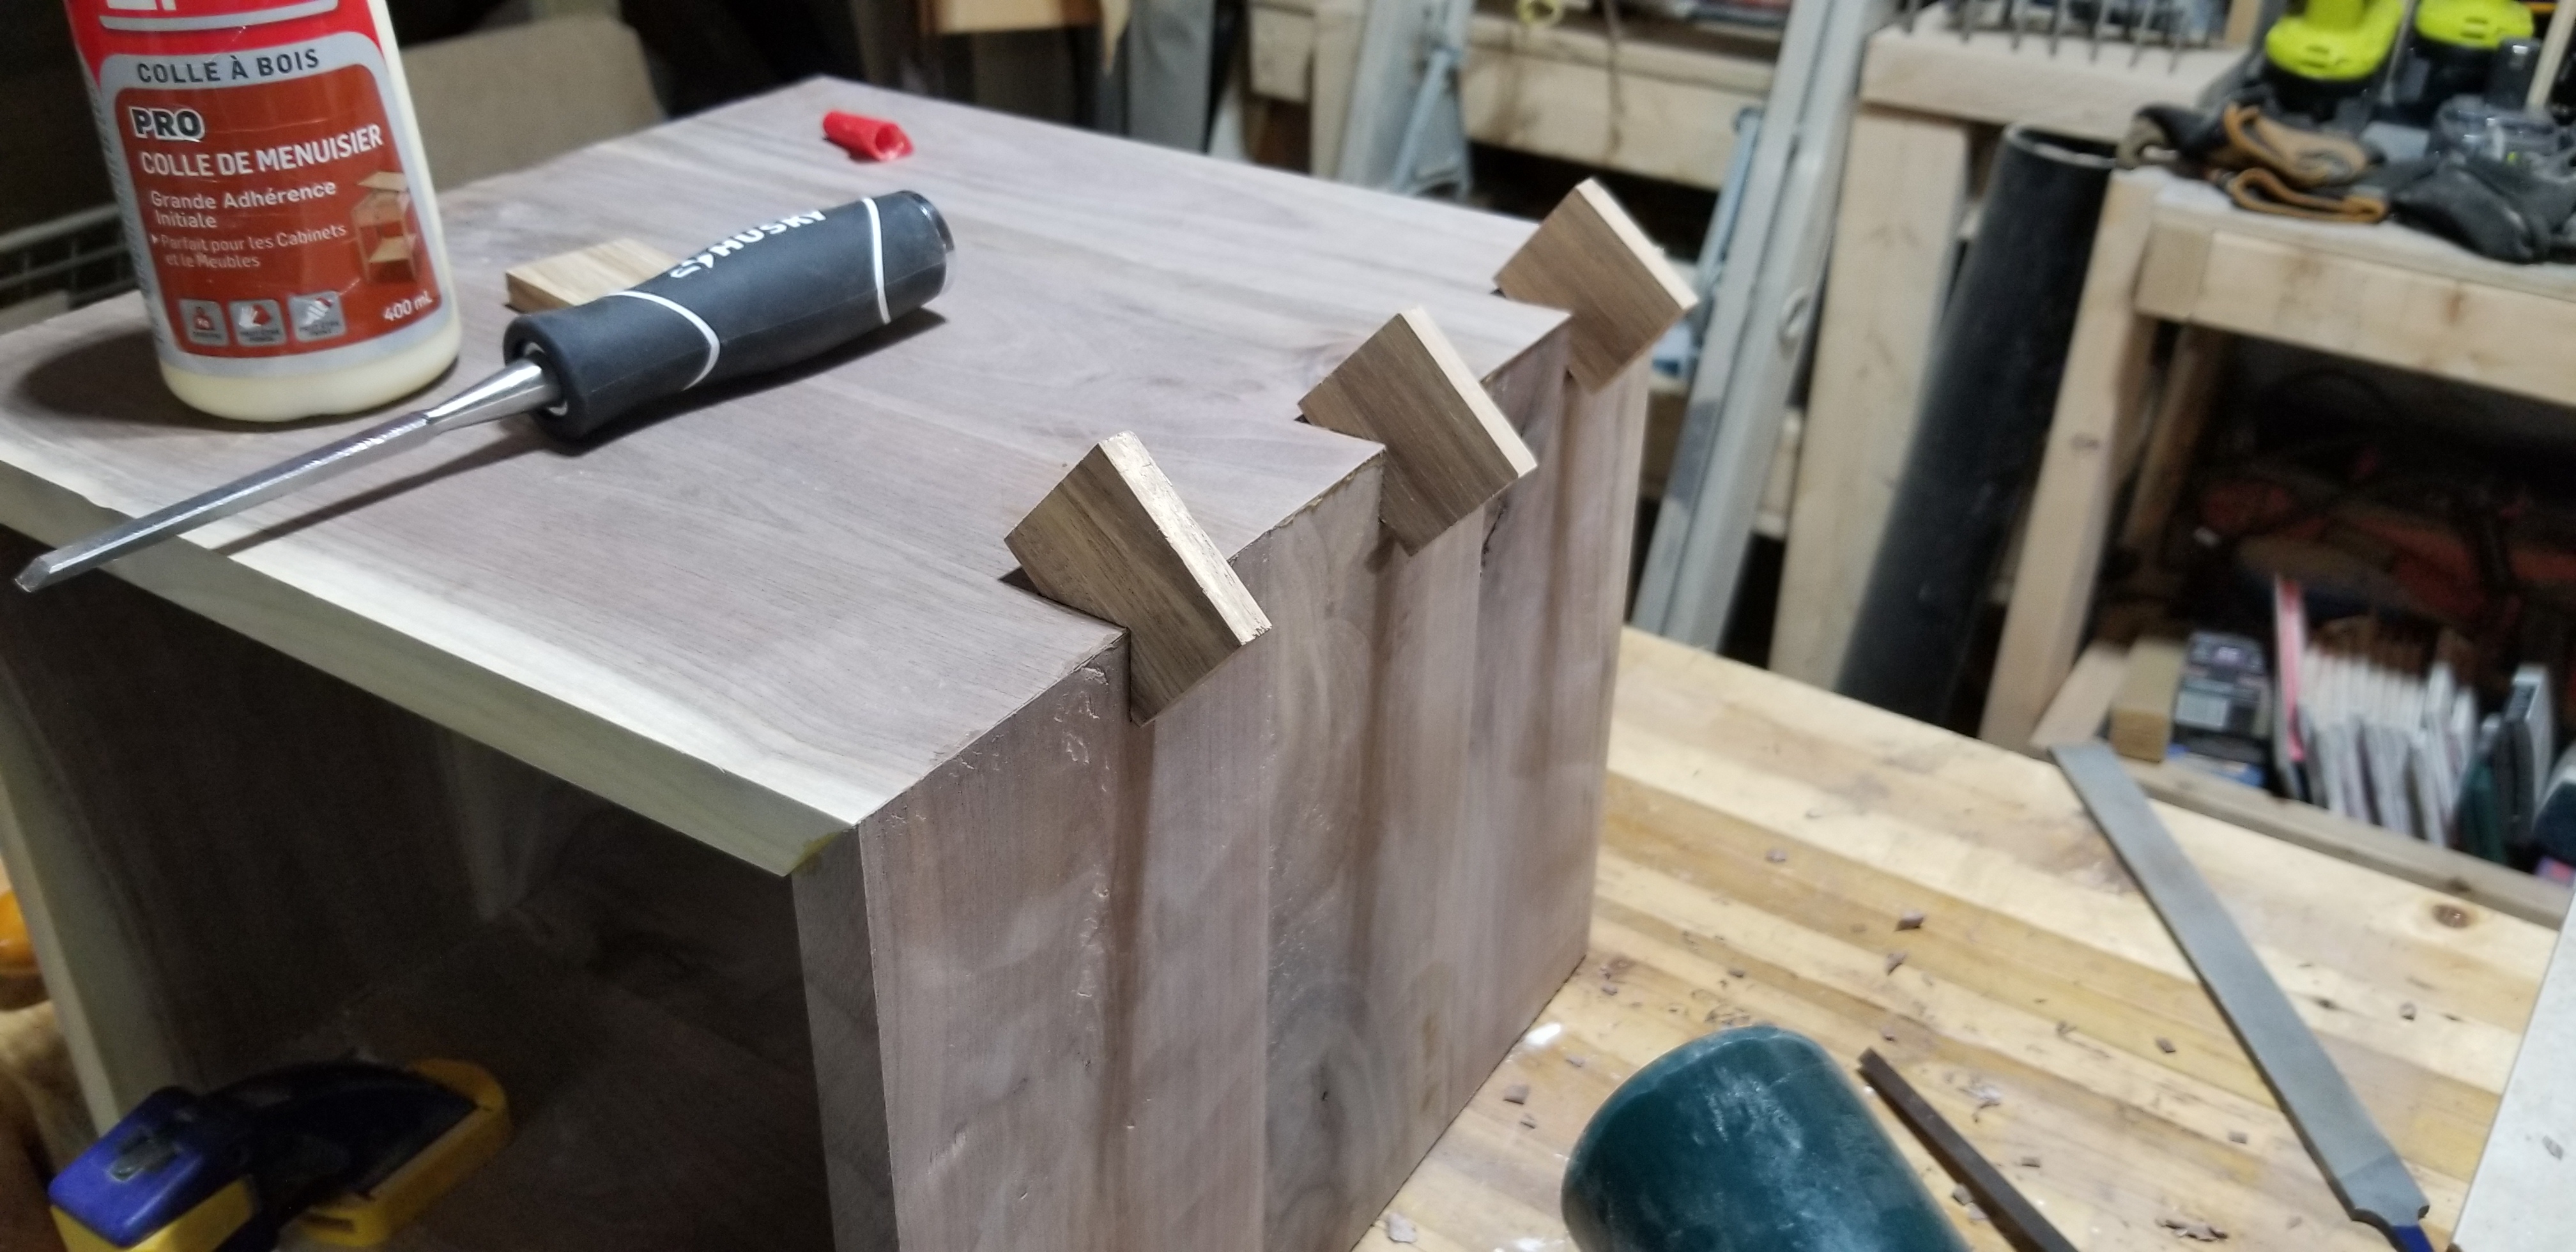
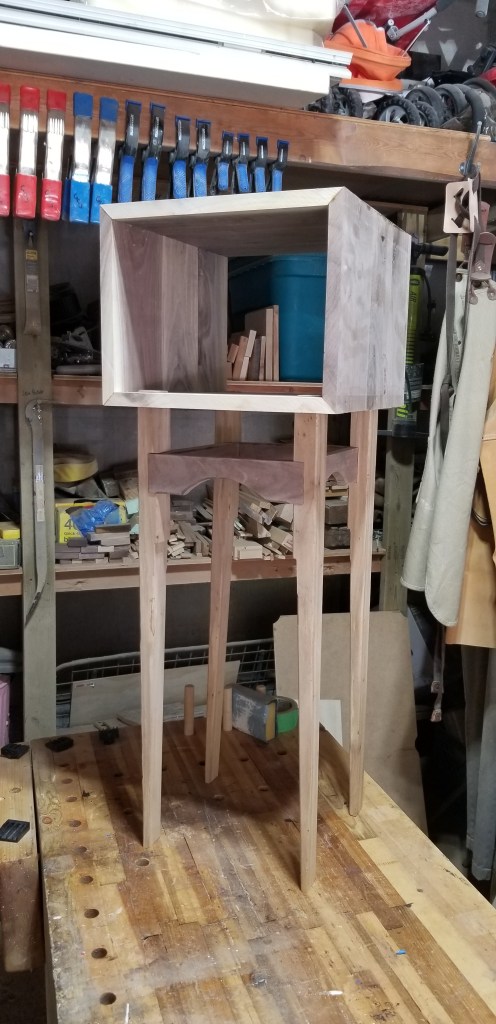
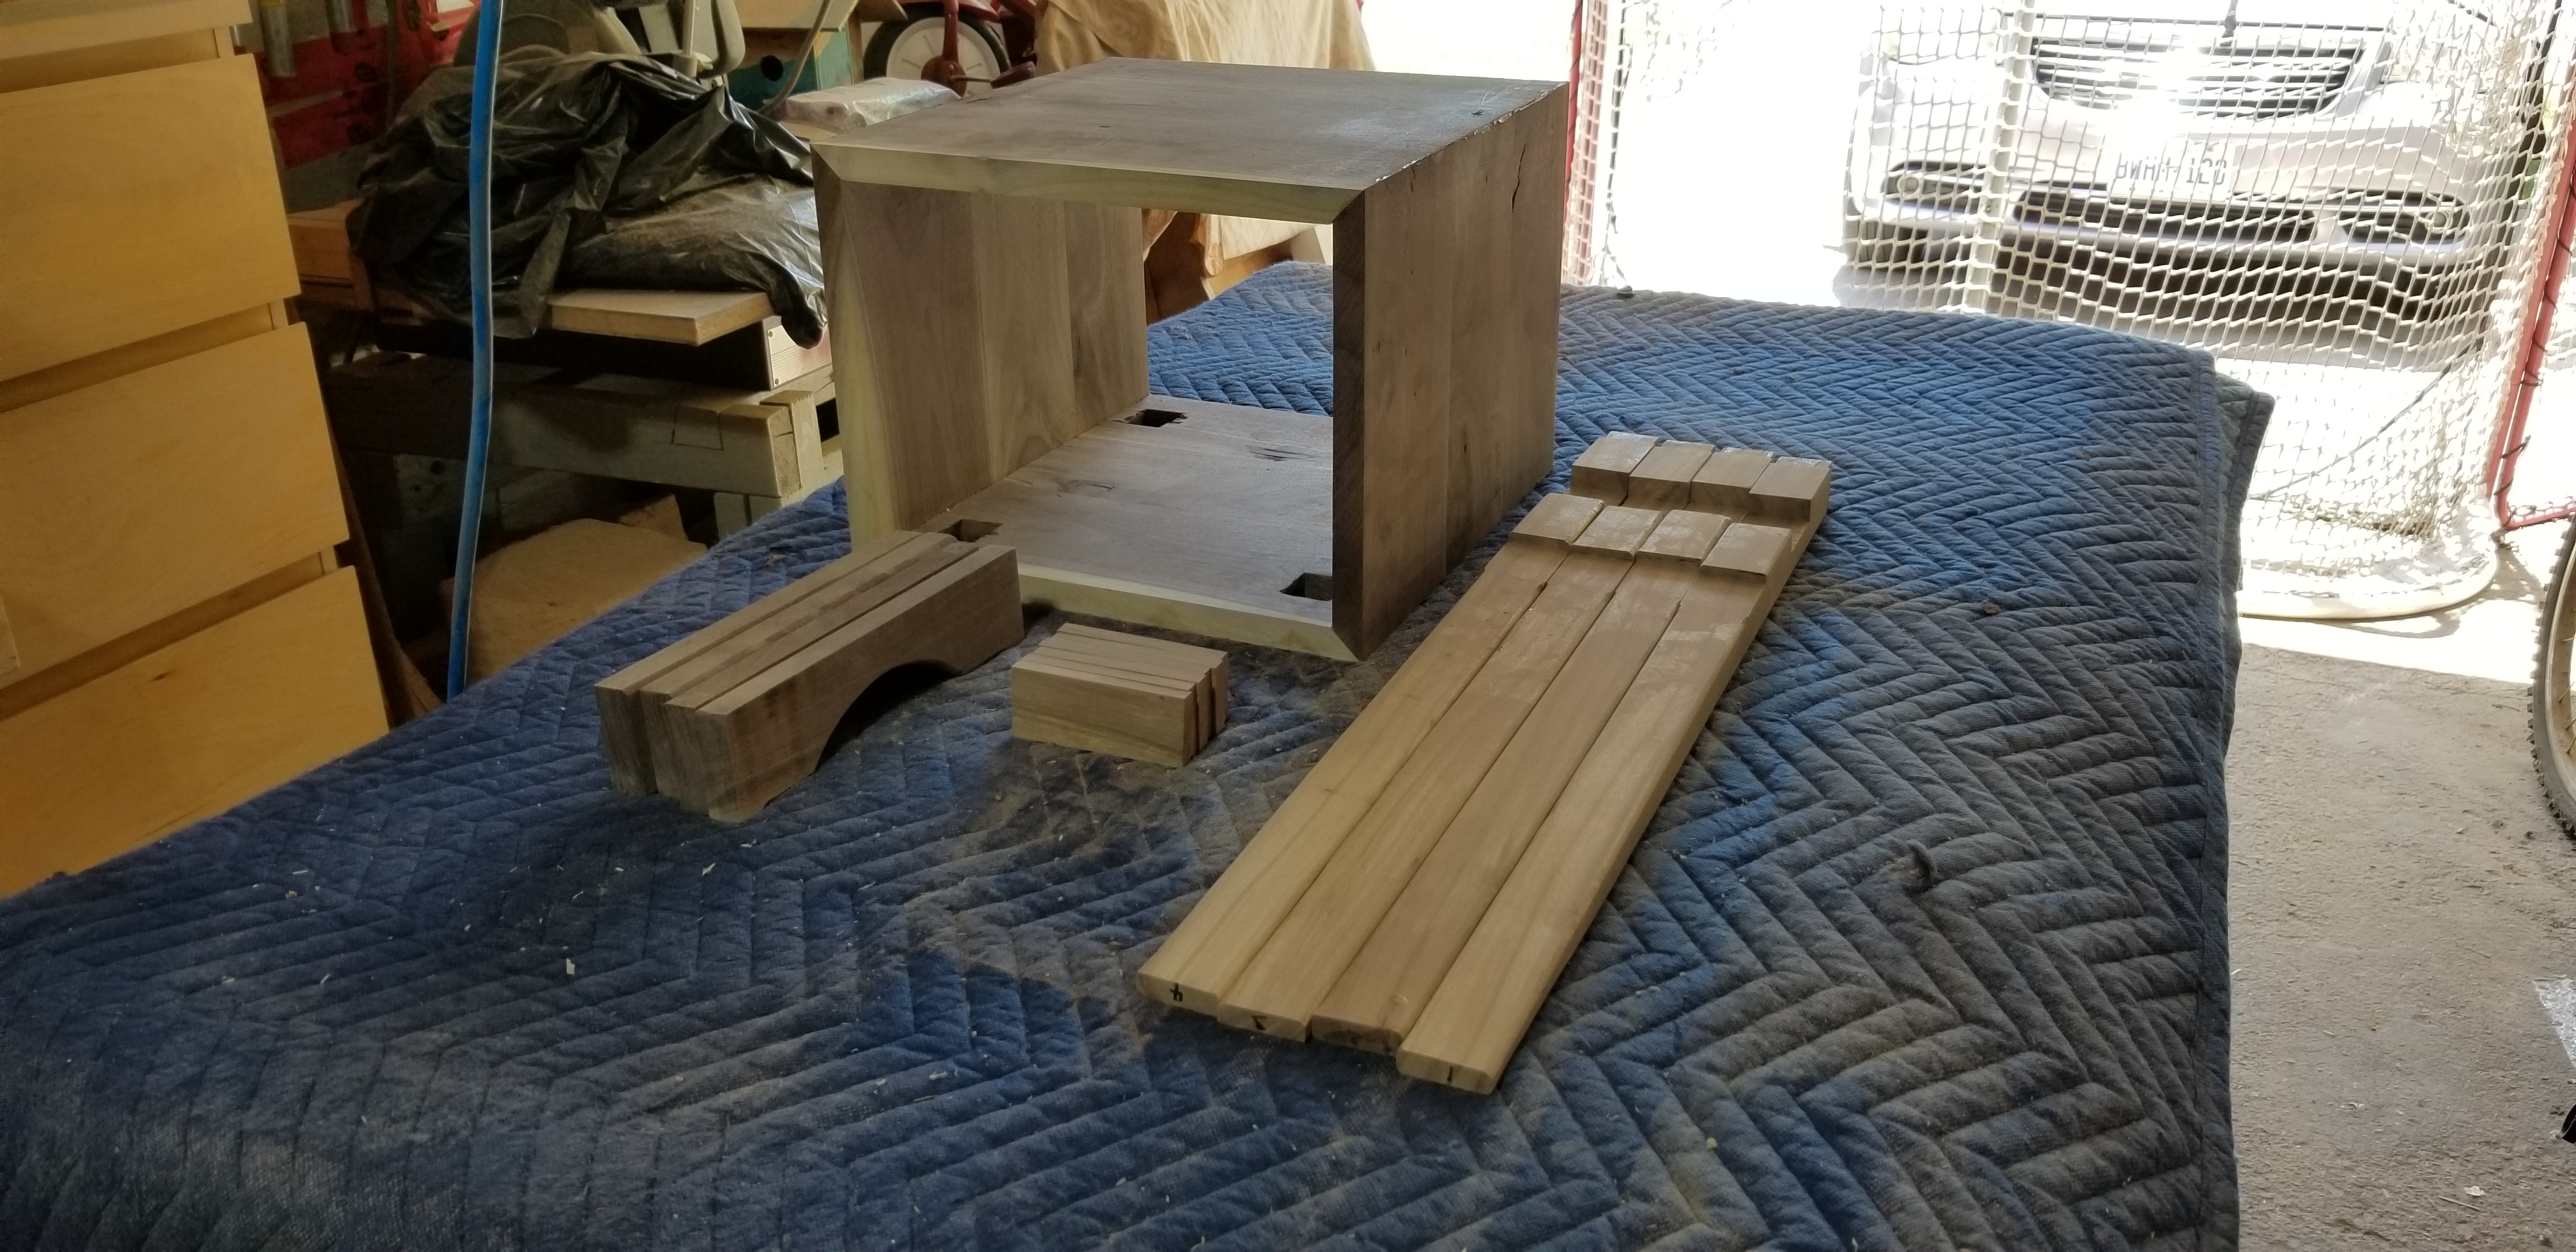
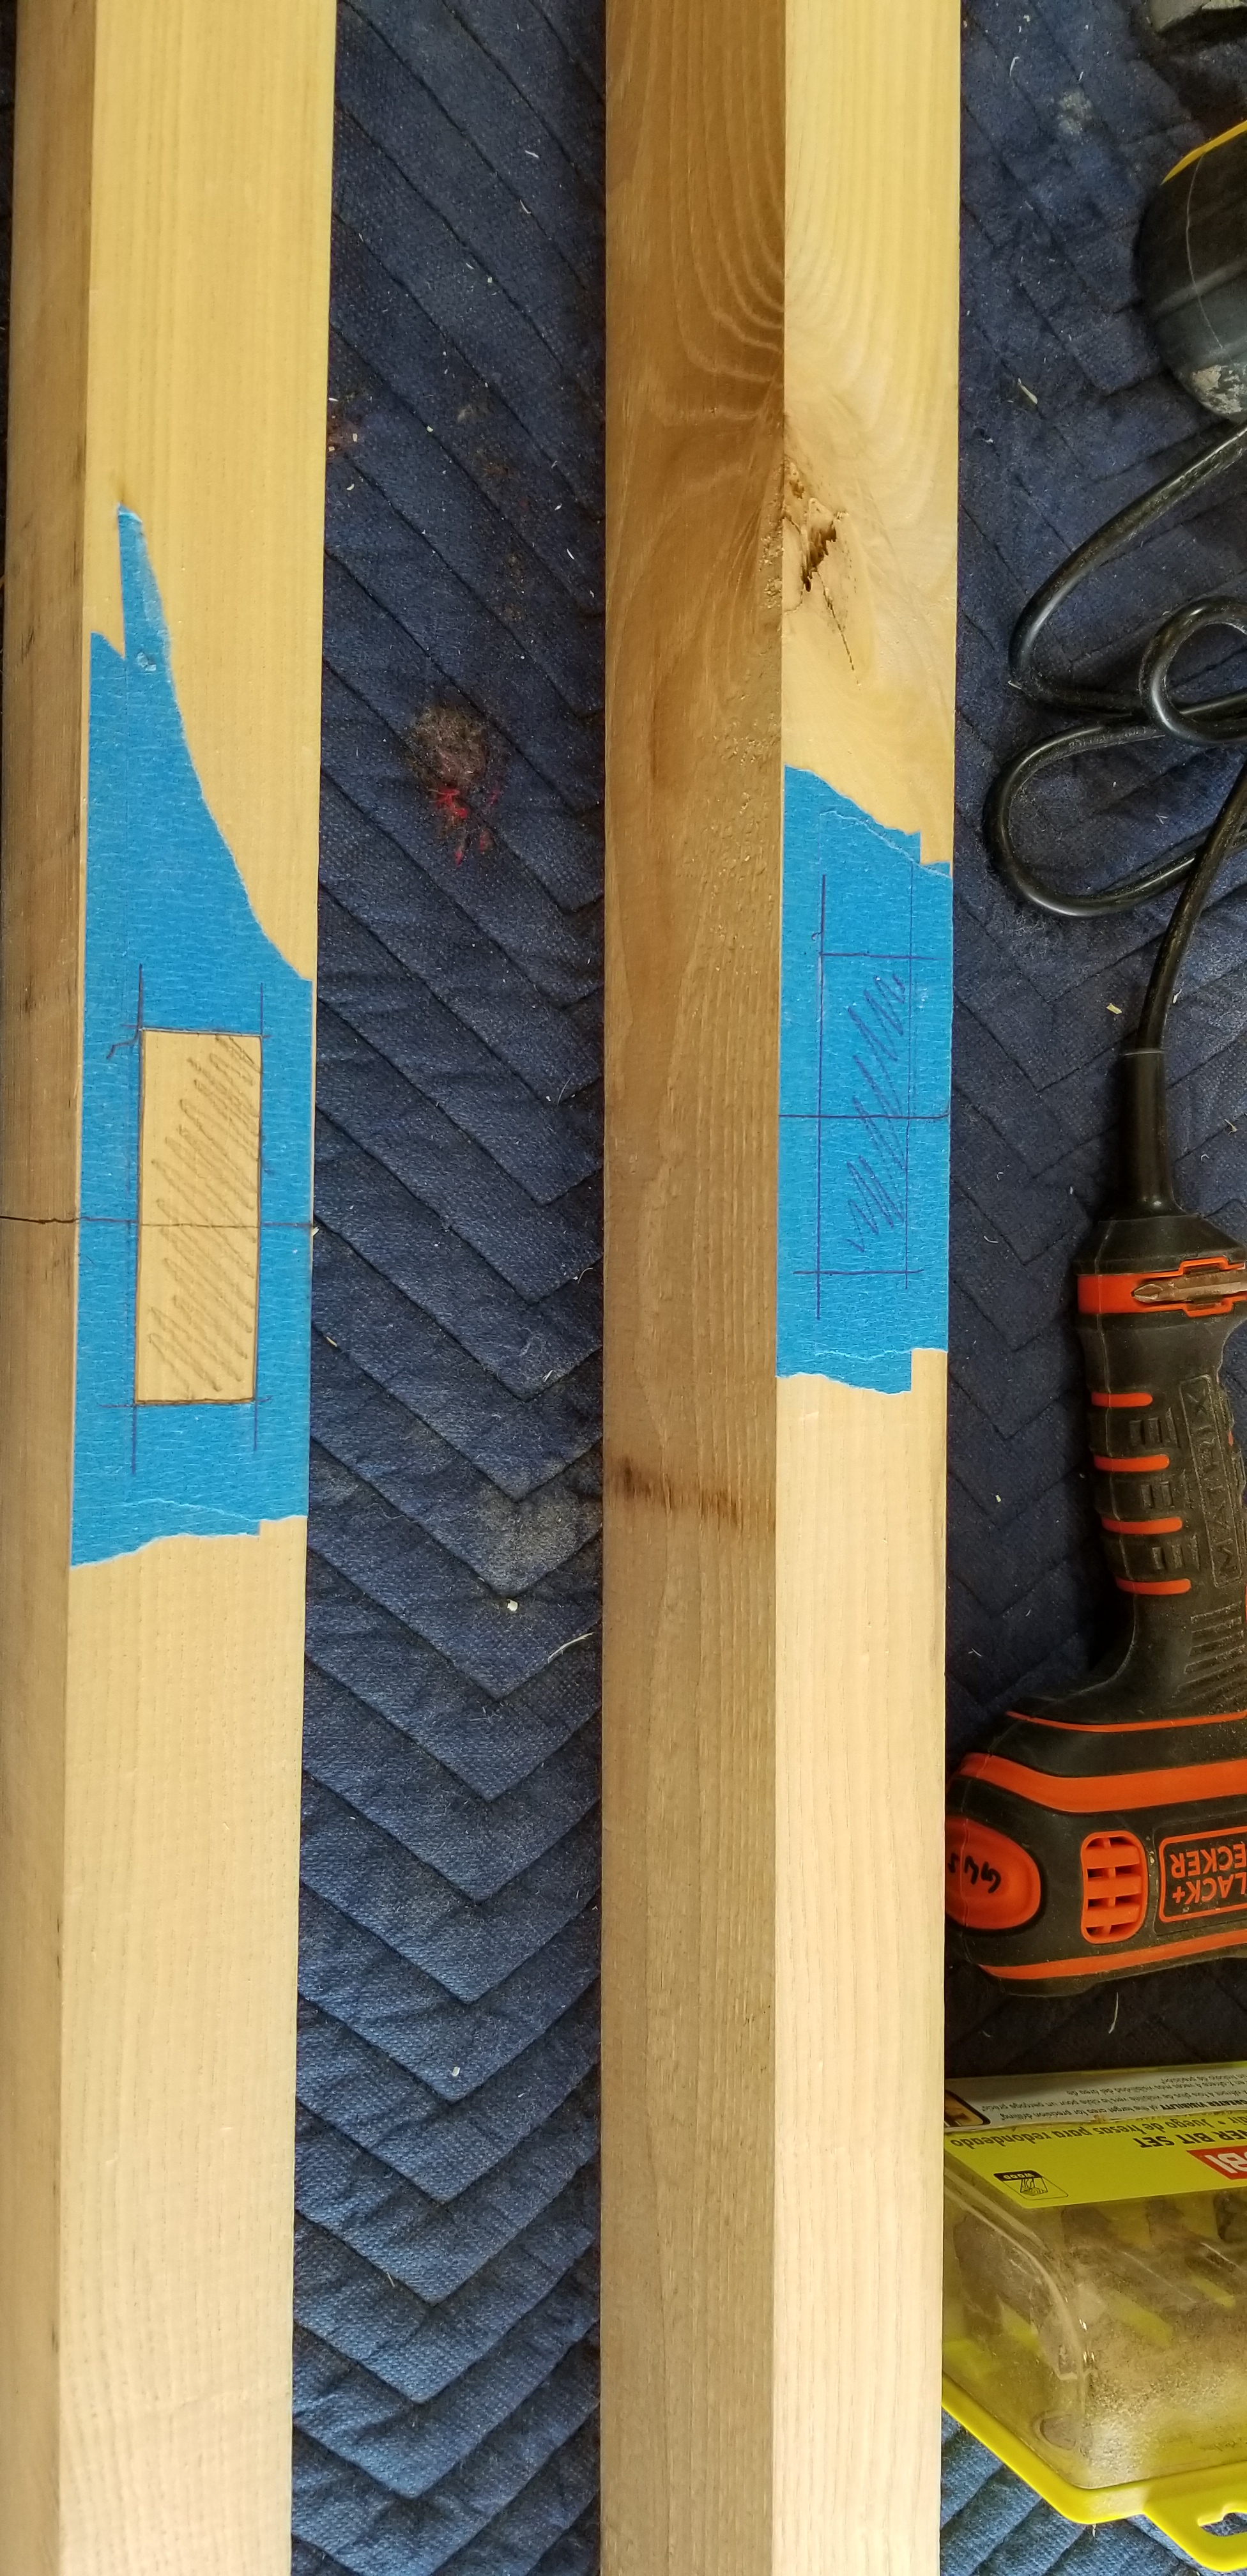
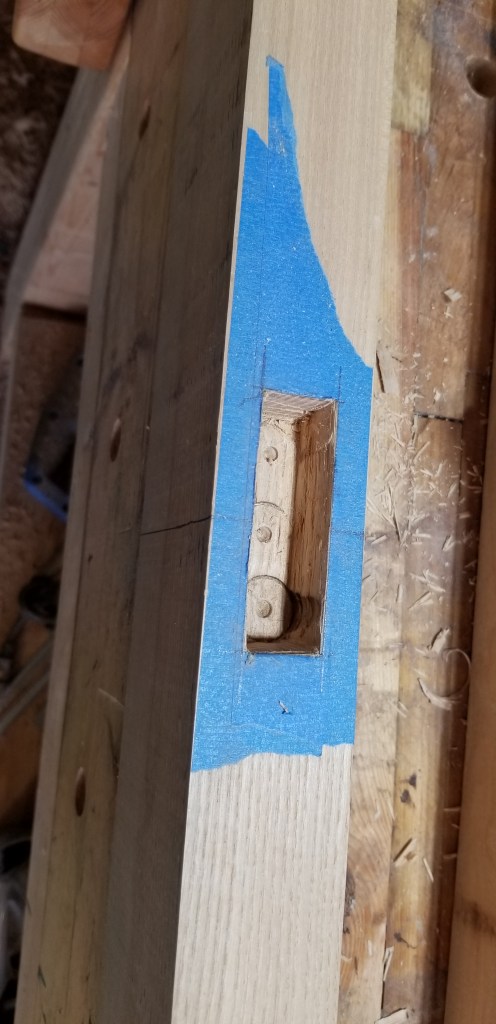
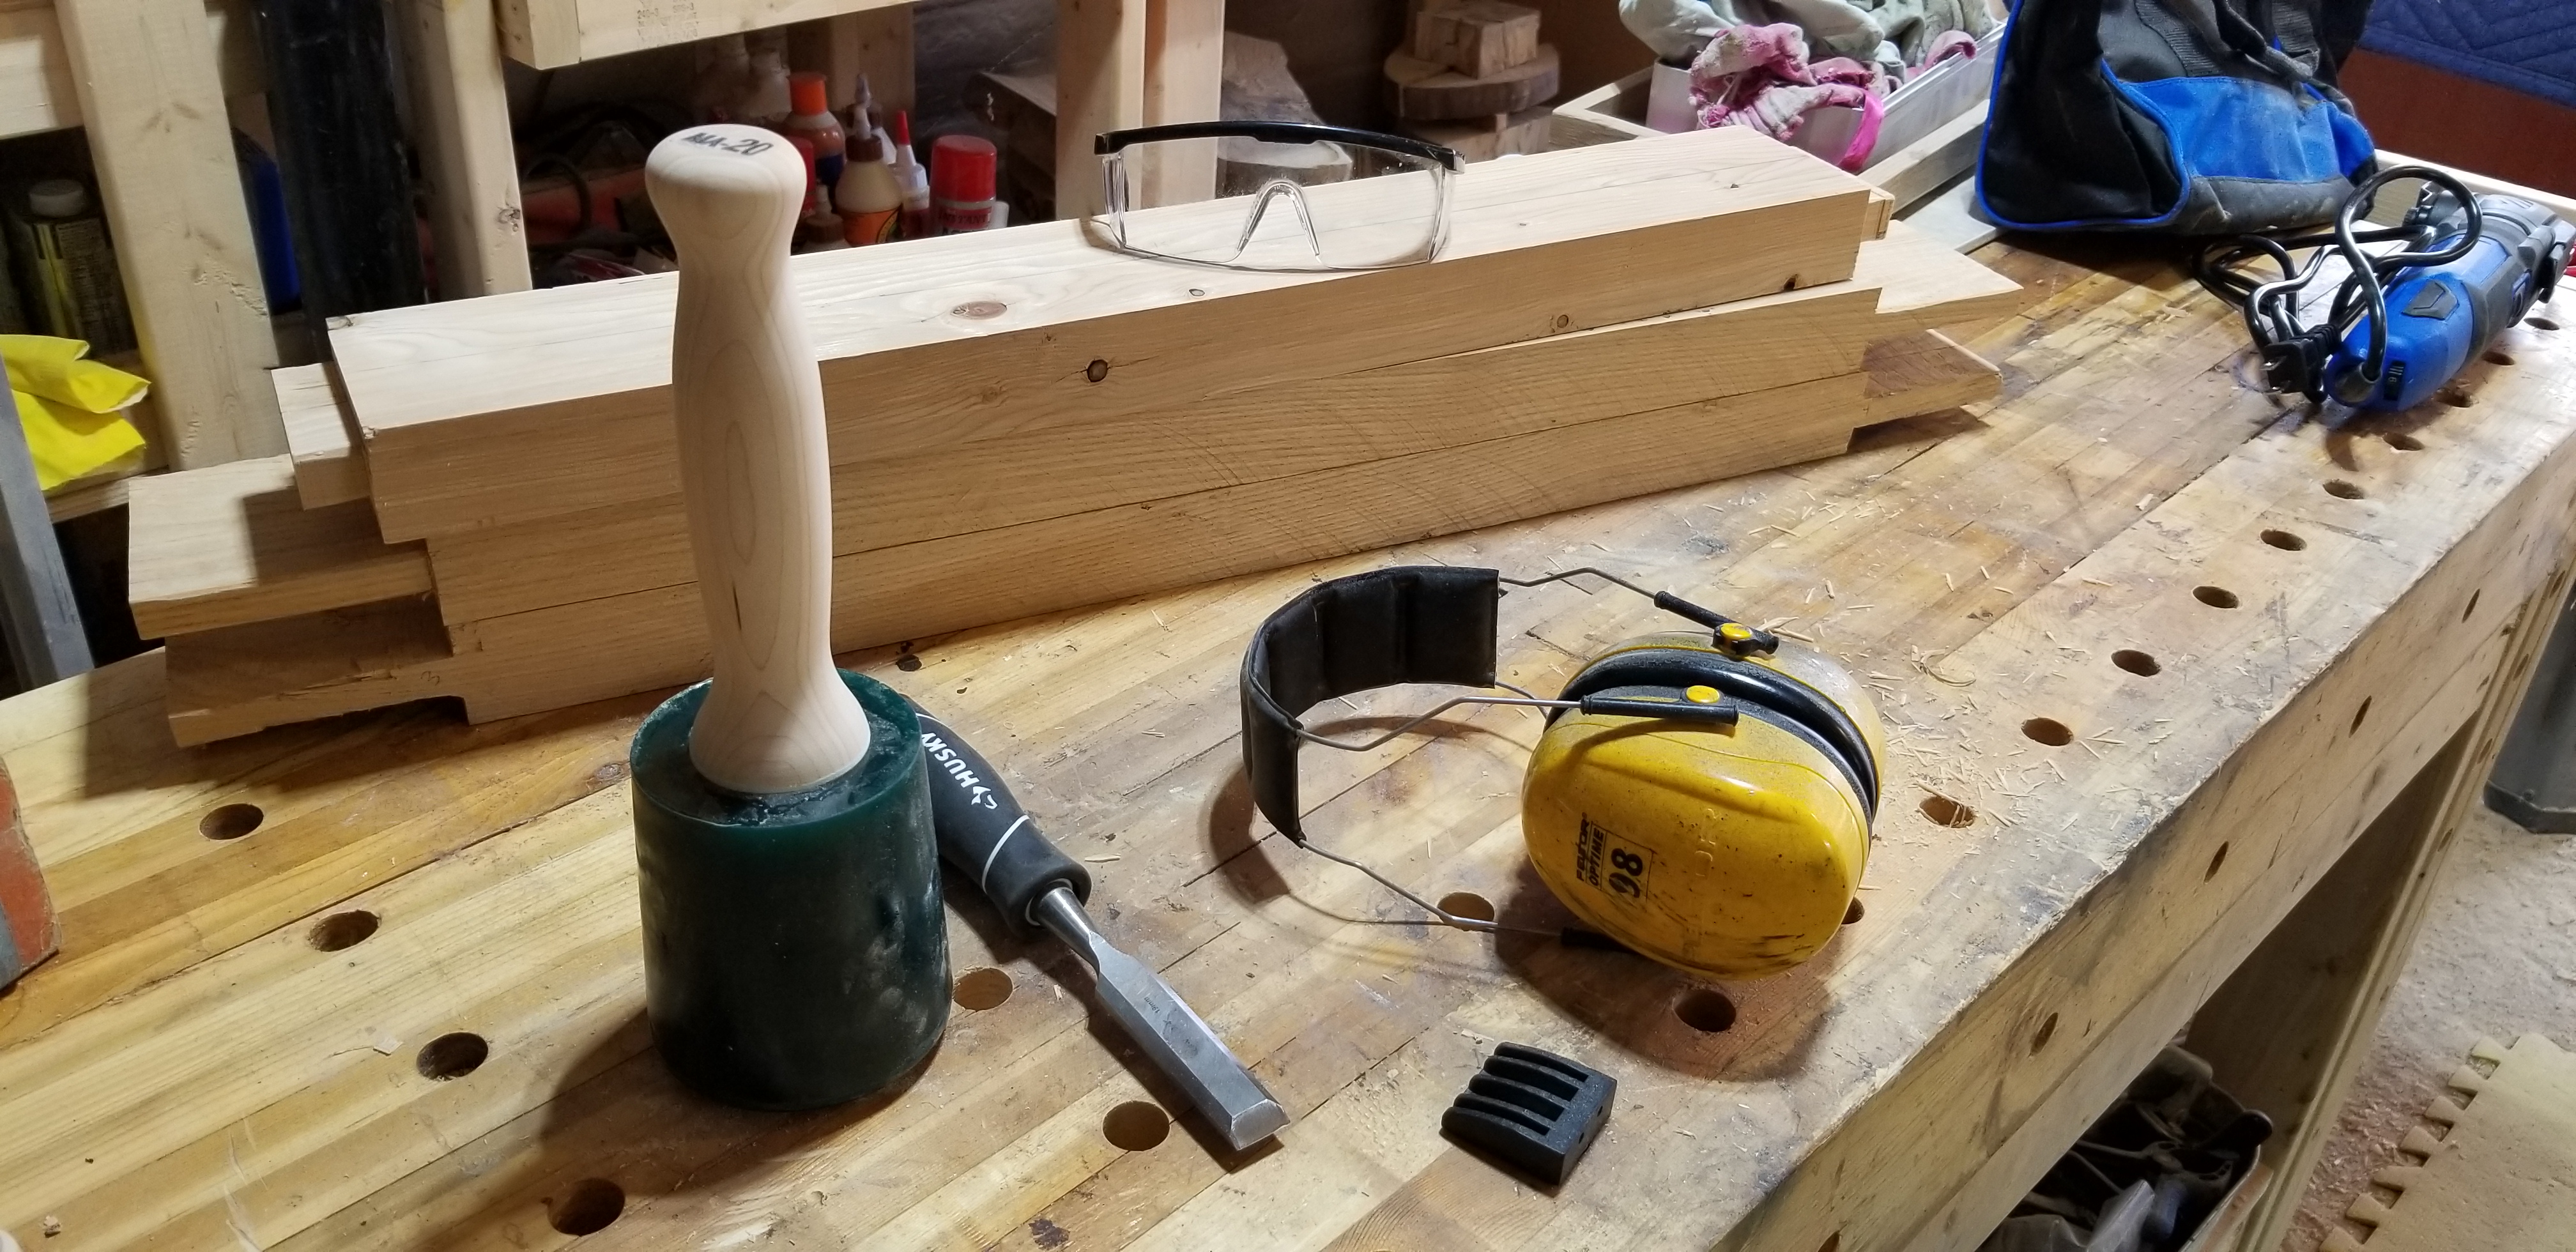
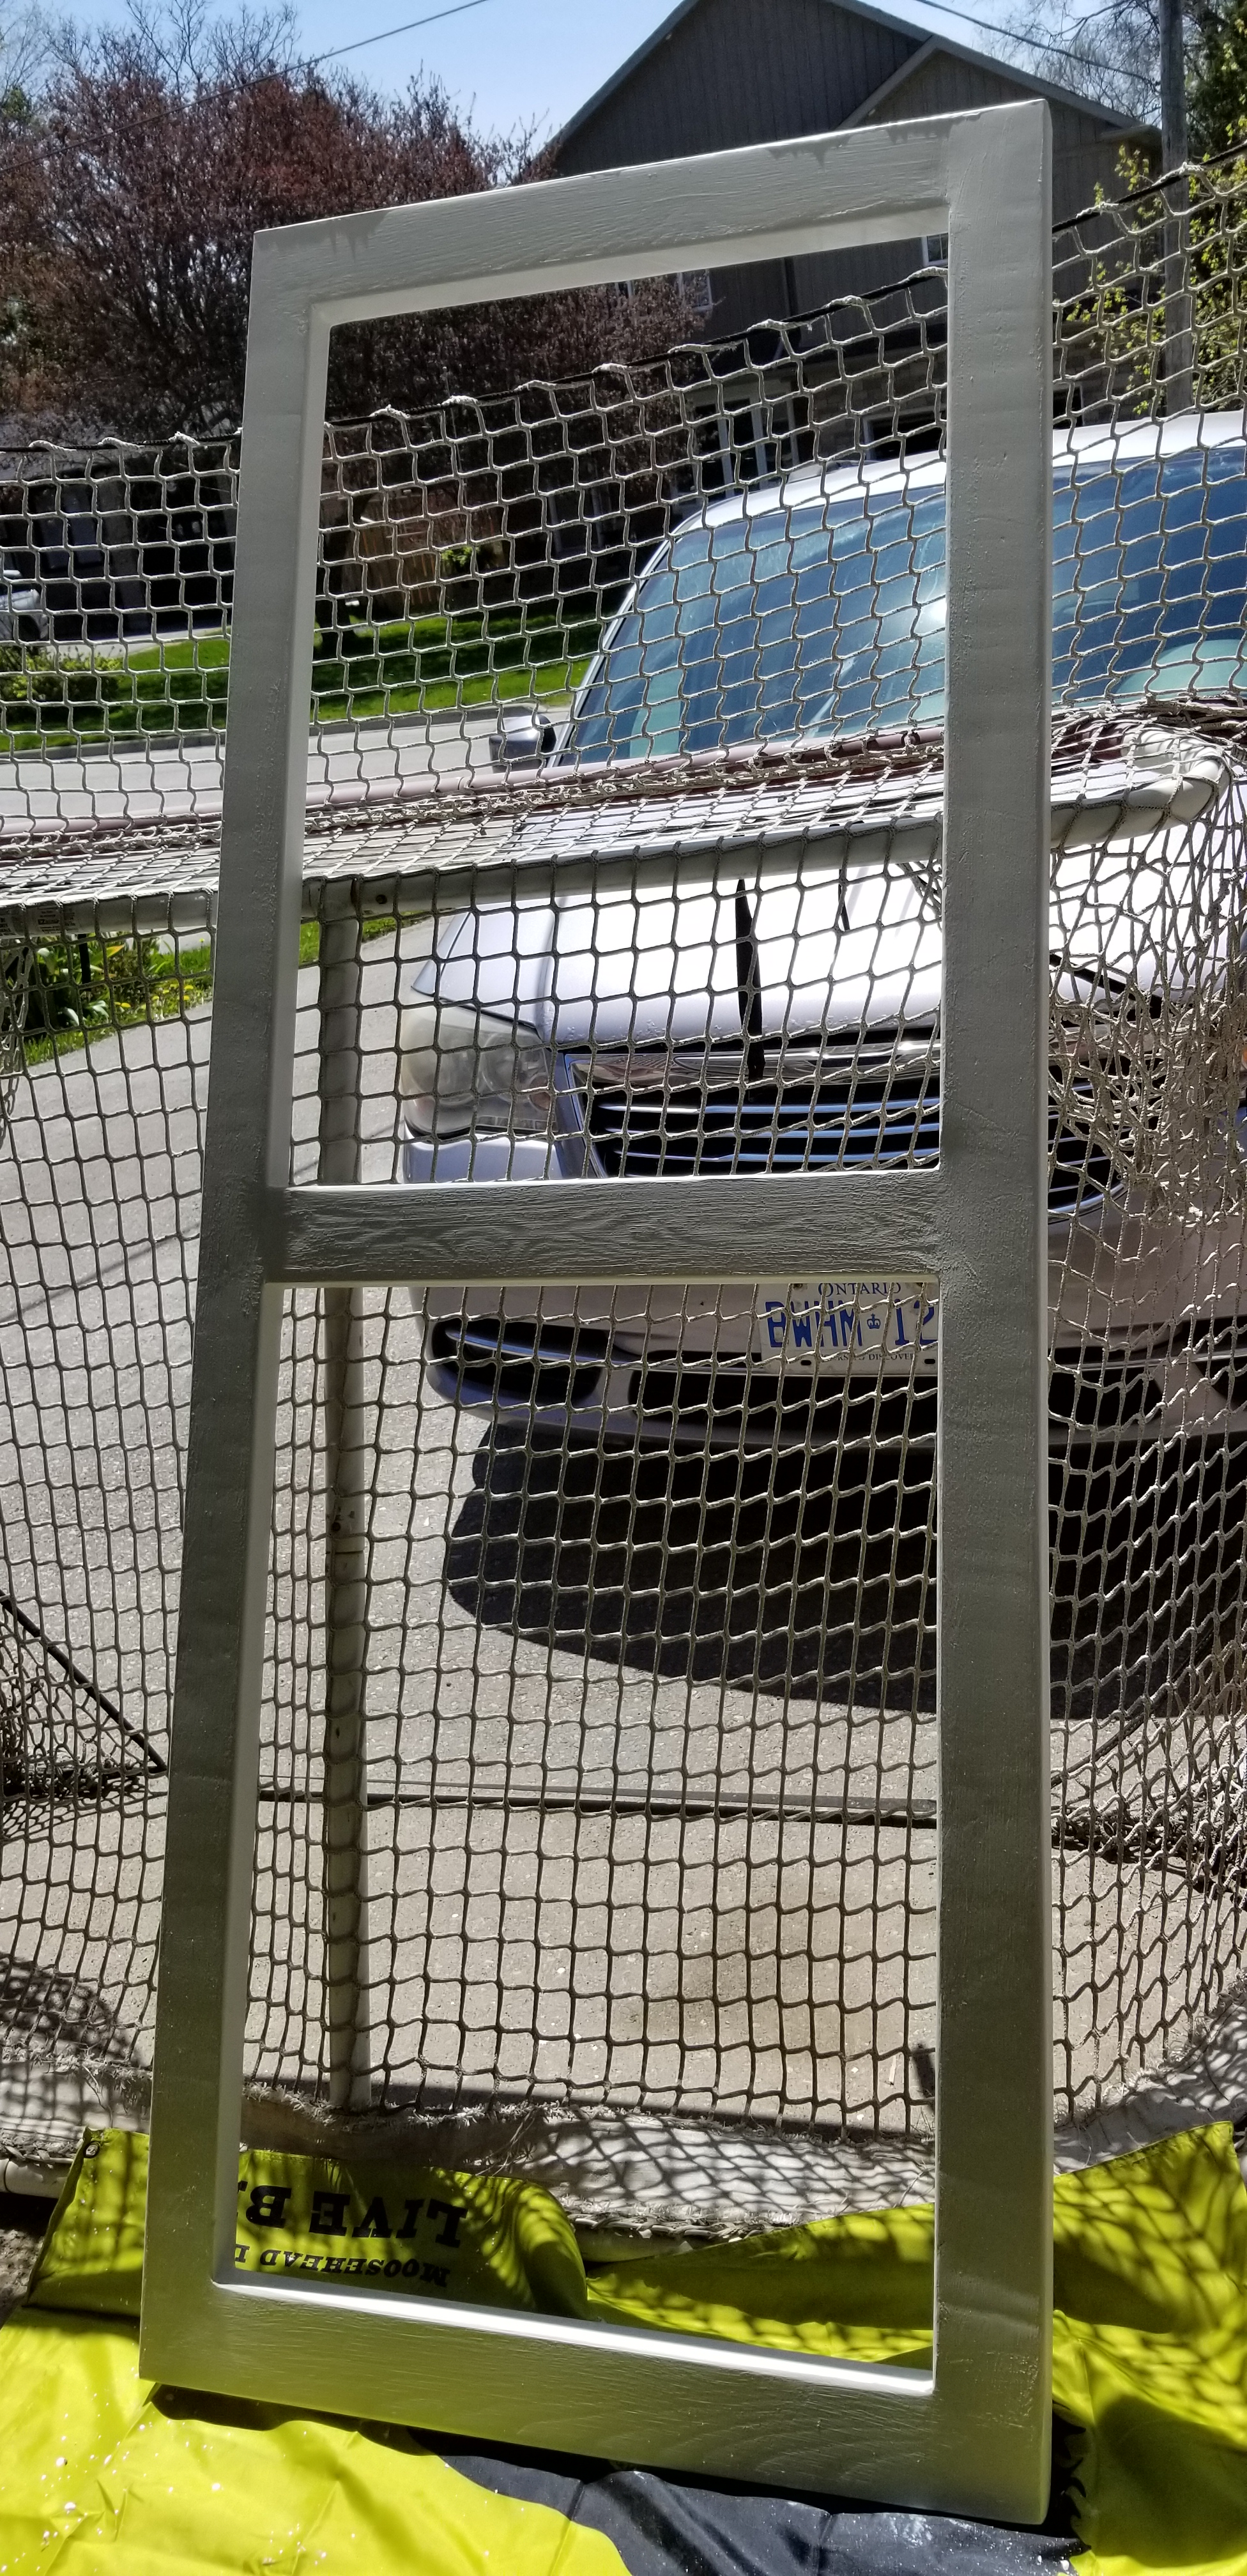
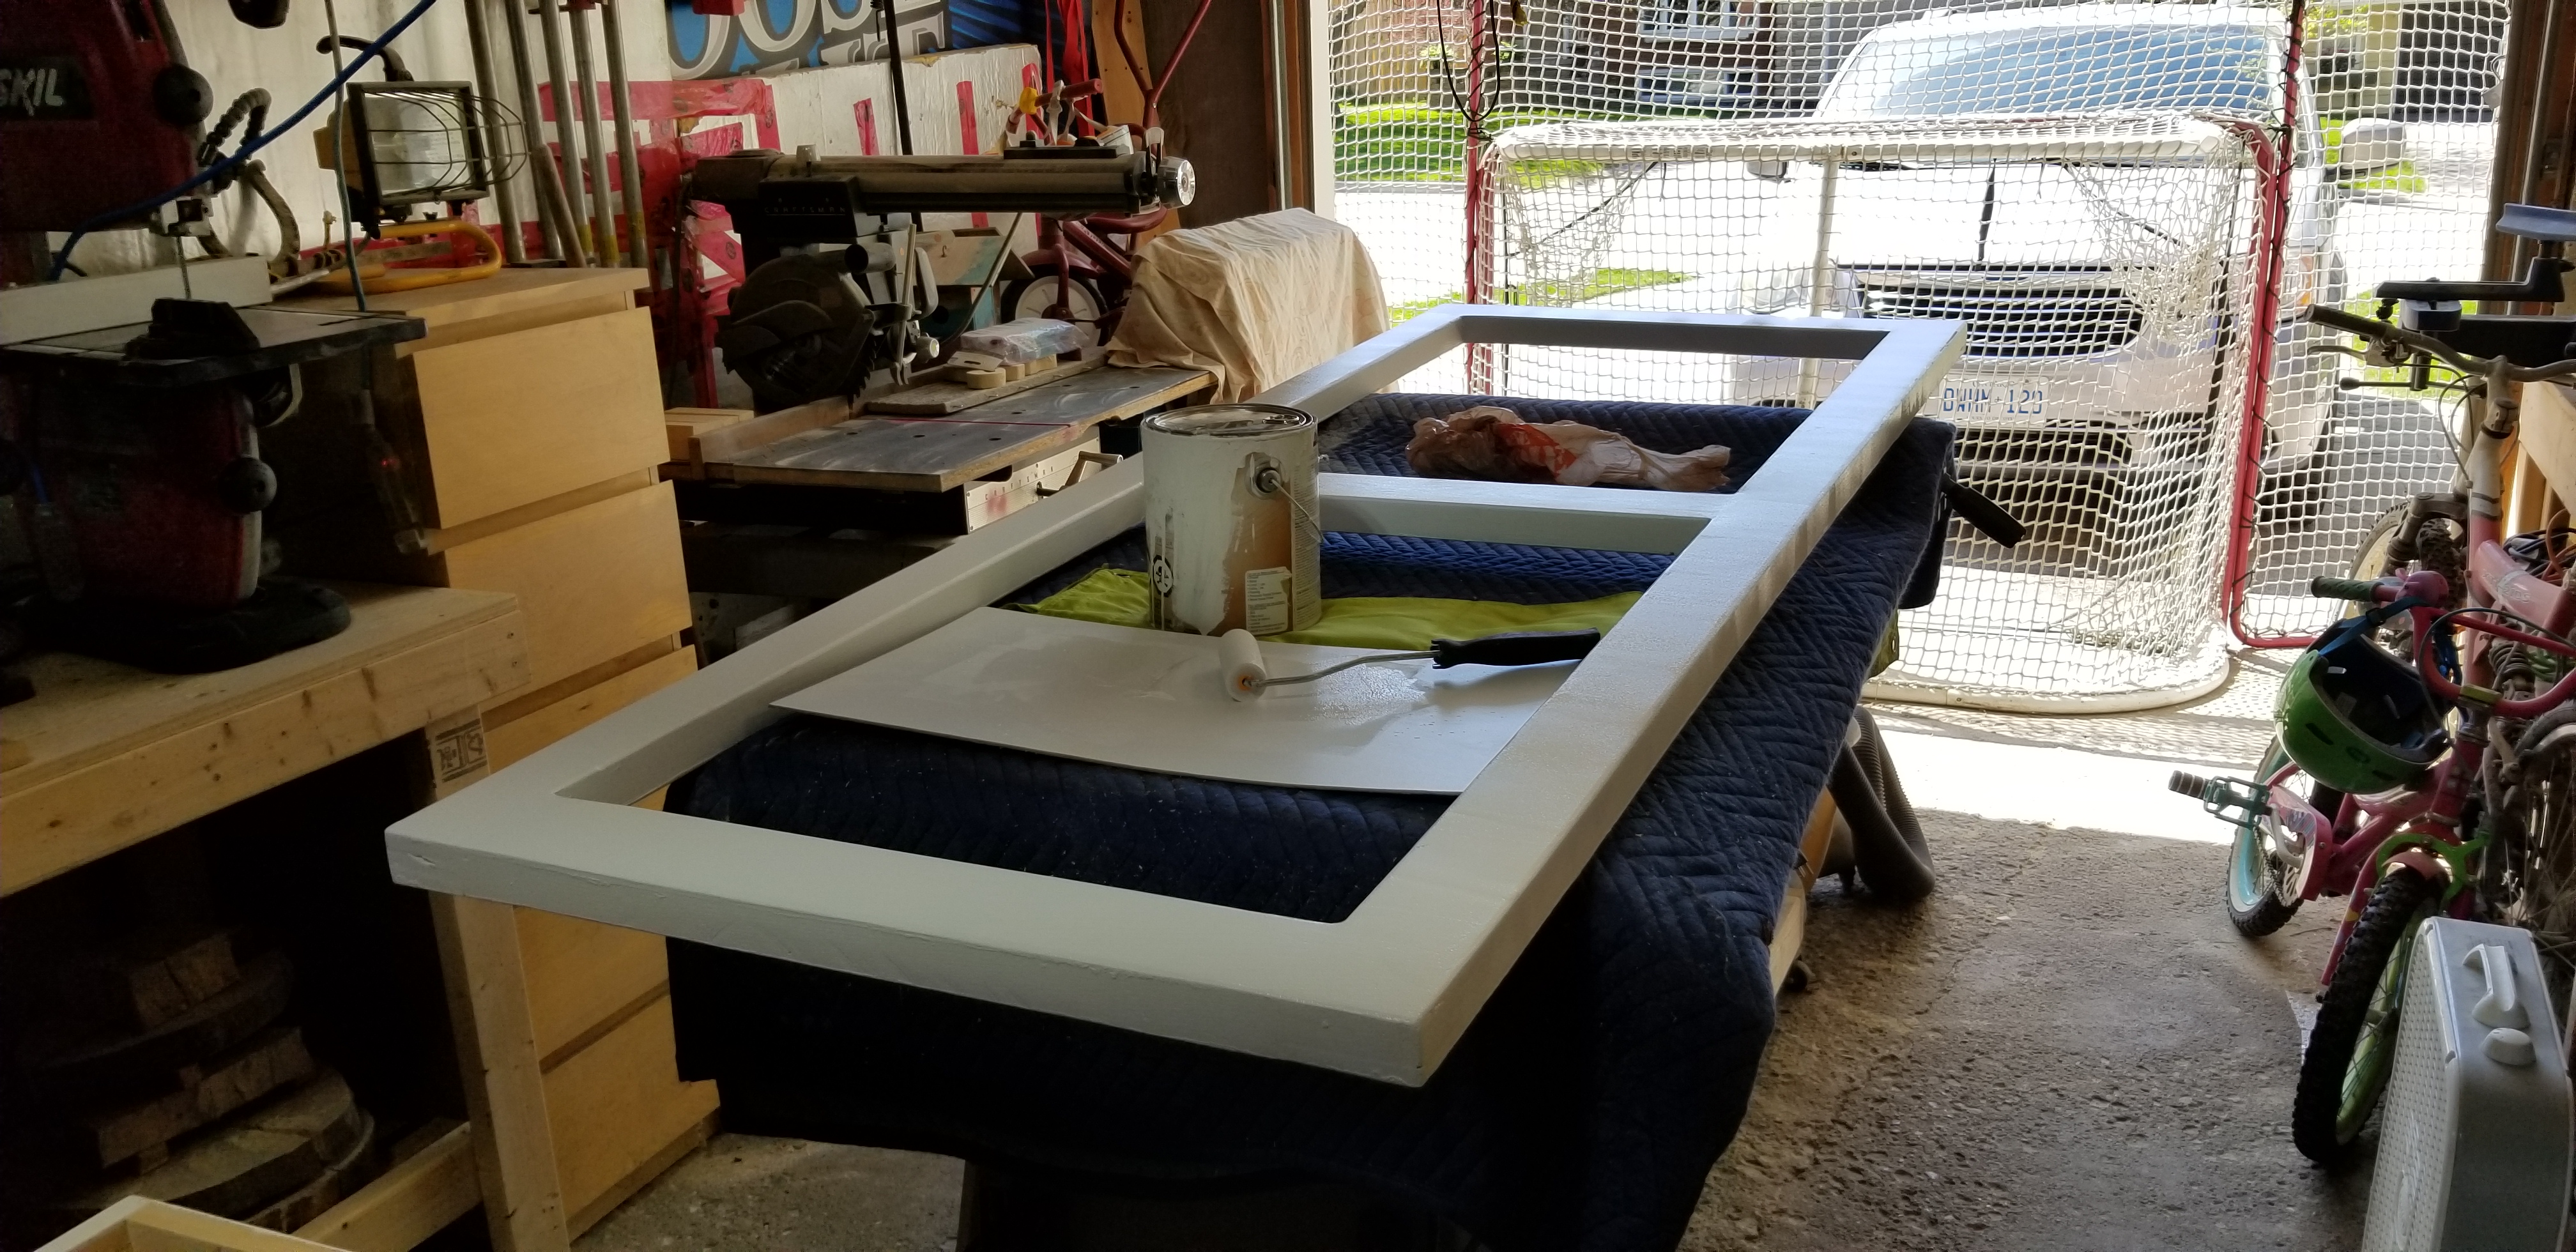
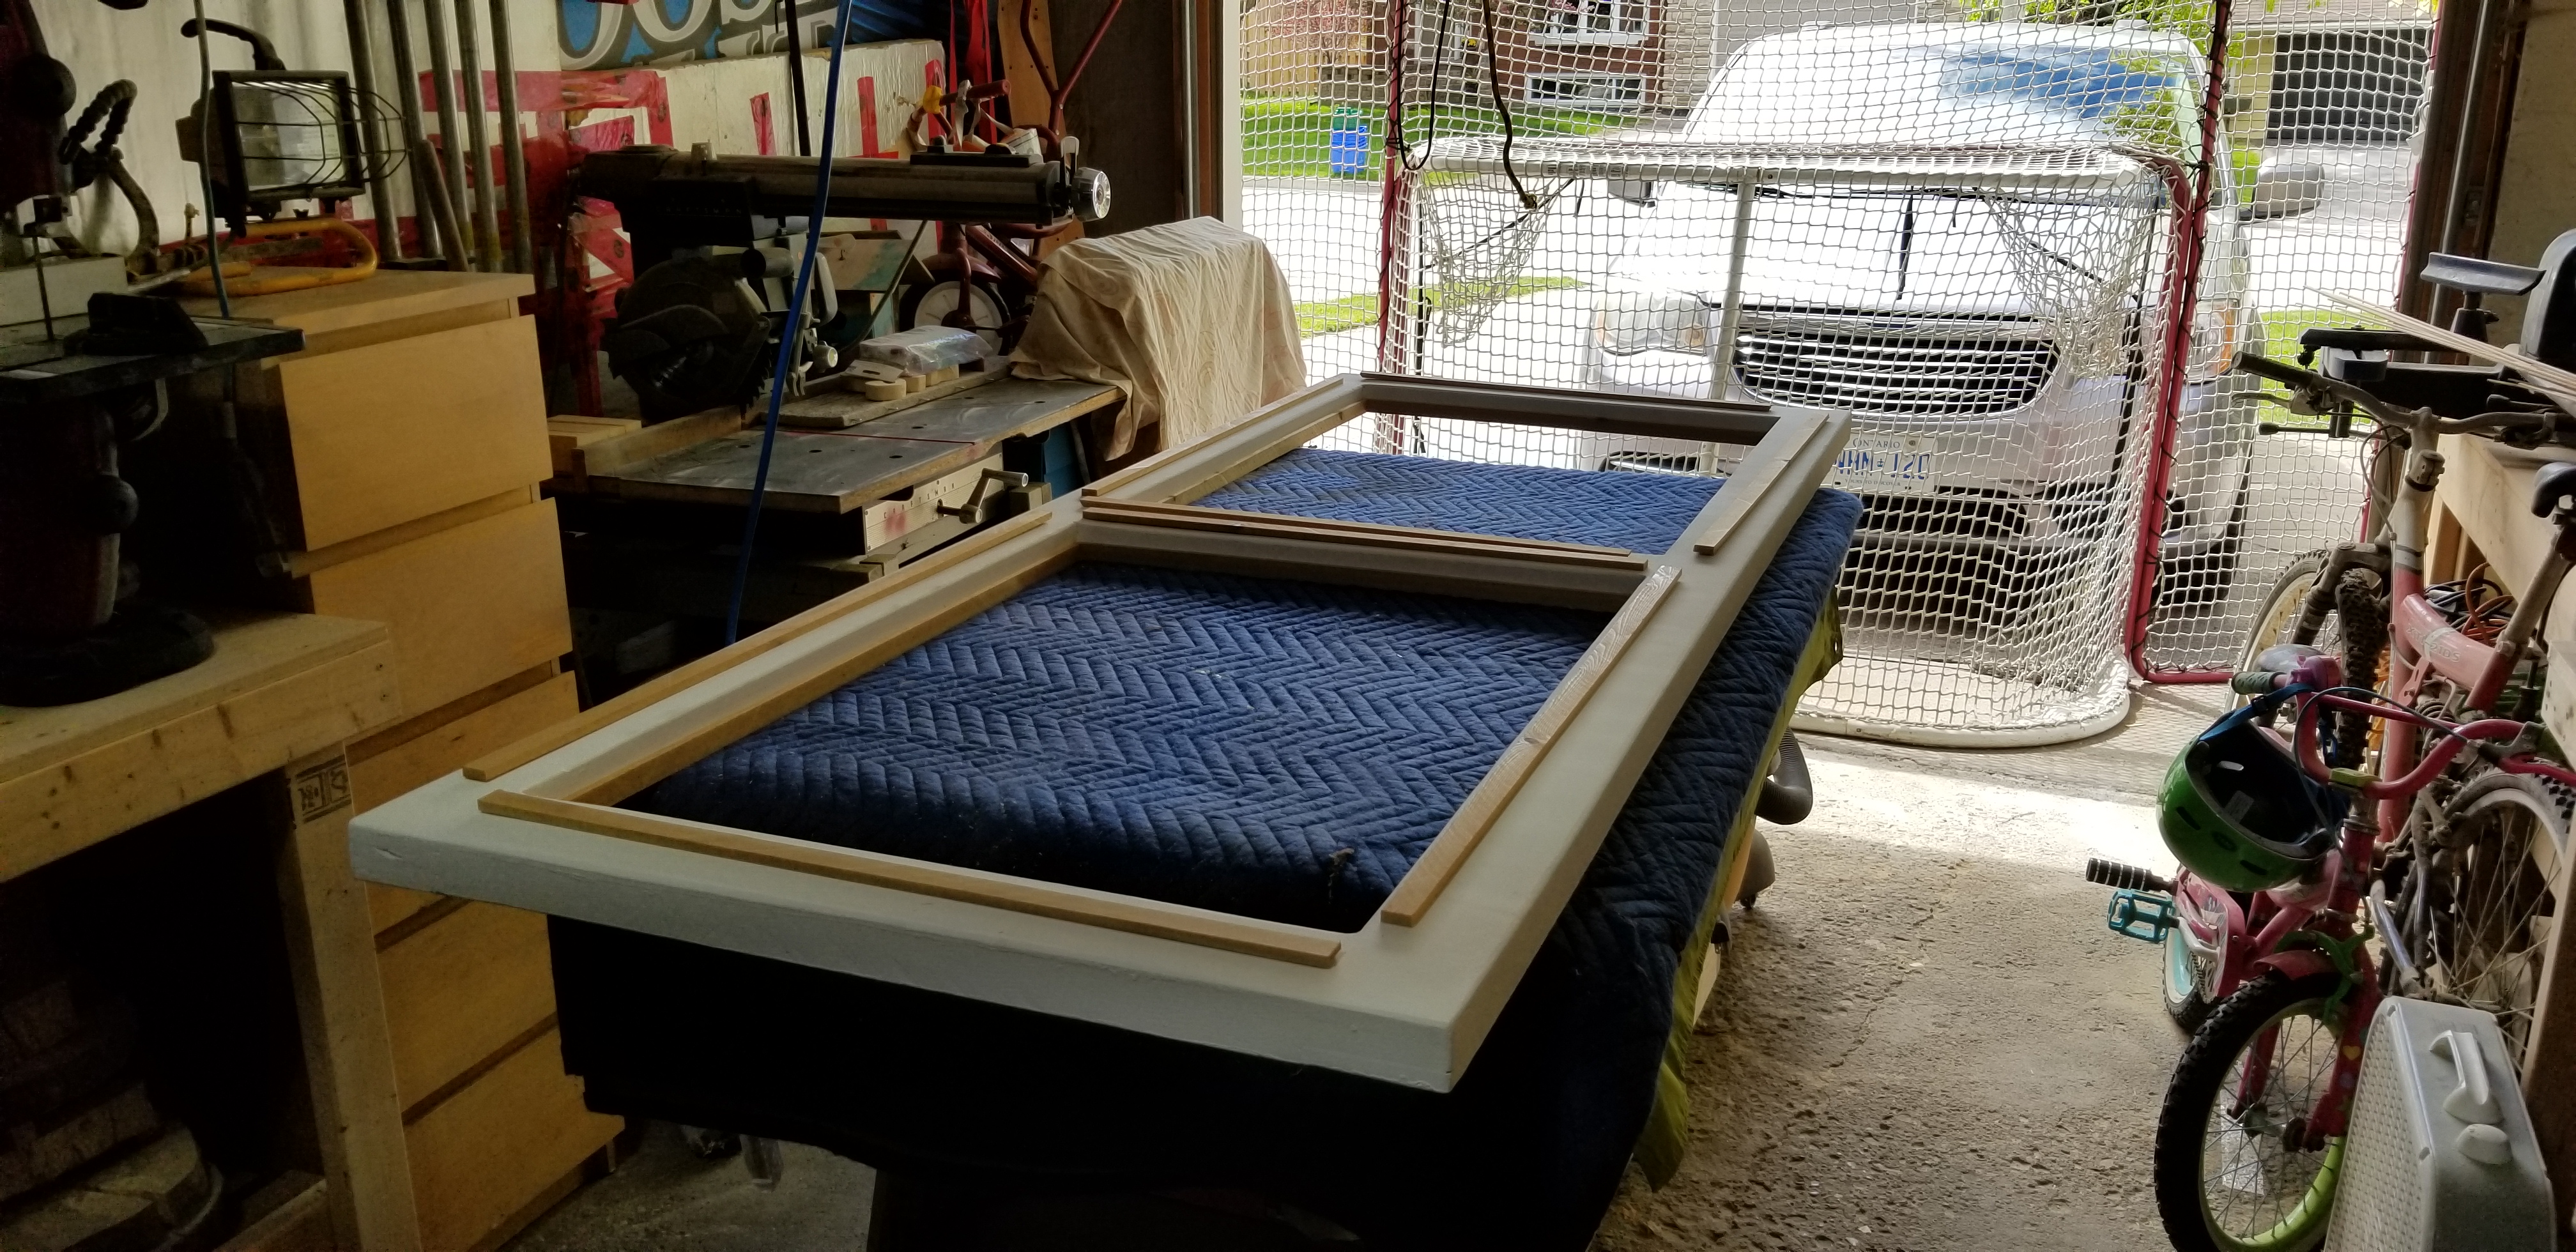
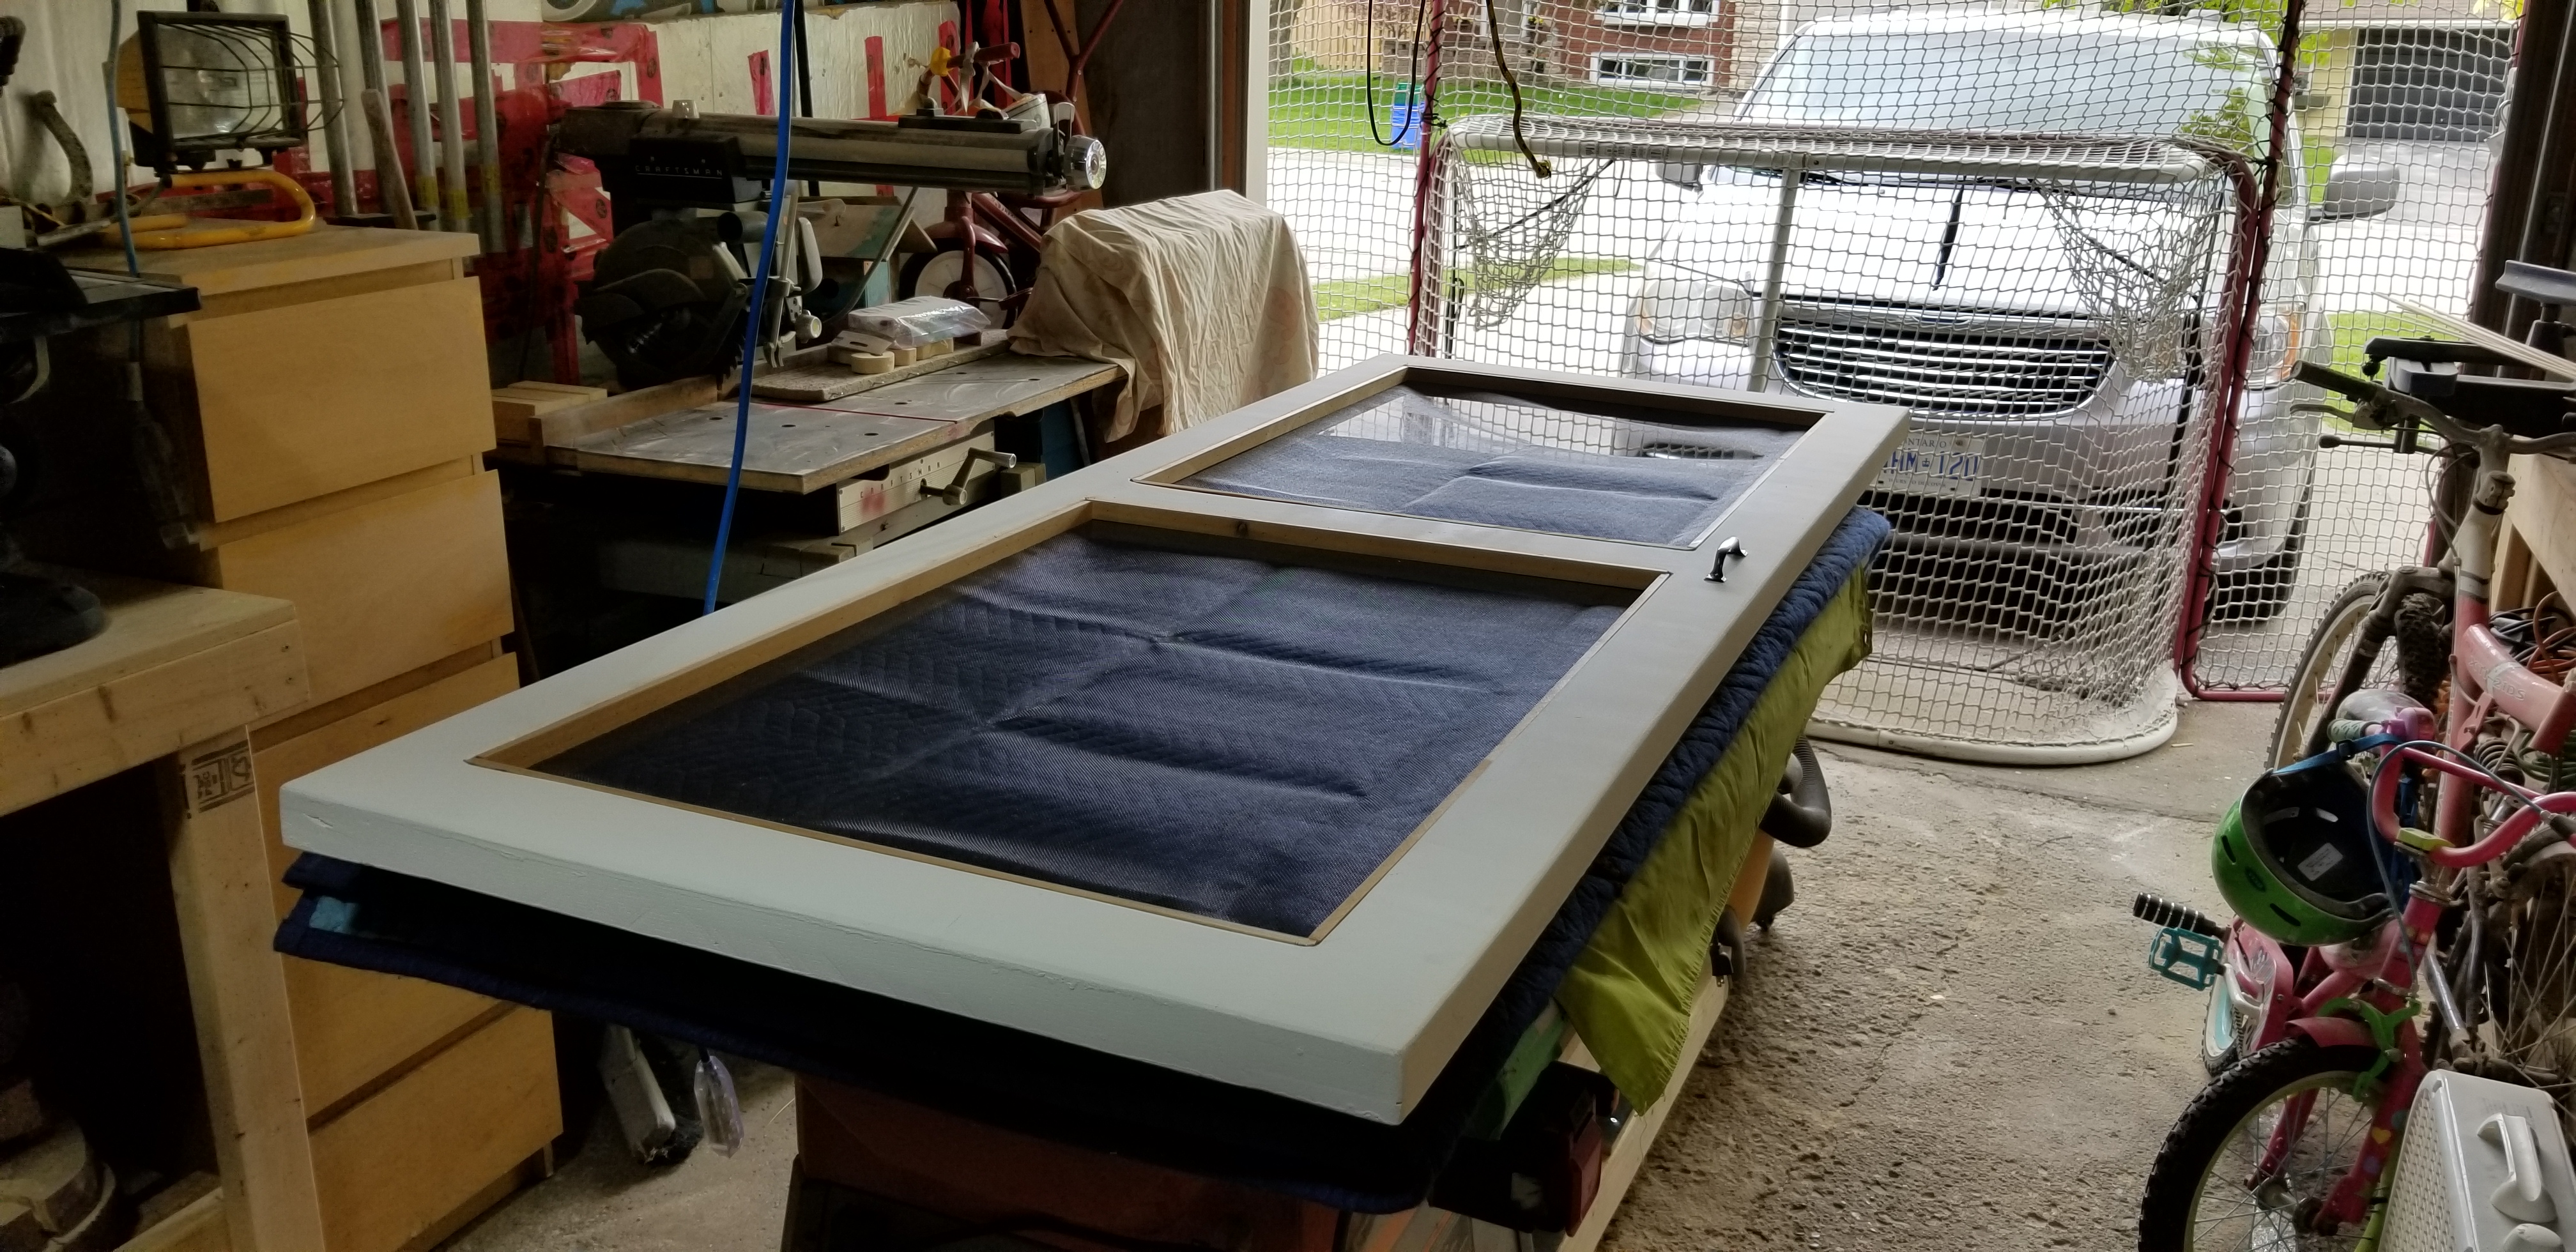
Did a tiny amount of wood working yesterday, nothing major. Refinishing an old bench that has sat in the elements for several years. If I could have taken it back to my shop I could have done more to it, but sanding it in place wasn’t too bad.

You know what I’m really starting to miss, playing my guitar. I’m looking forward to having a lengthy jam session with my trusty Gibson Studio and my portable speaker. That and tapping out some tunes on my electric keyboard. Music really is a vital part of what relaxes and recharges me. Back before I had kids I used to cart all of my gear up north and play on the dock. It wasn’t much but it was a whole lot of fun.

Looking forward to playing some golf on Sunday with one of my brothers and his eldest son. I have to imagine that his daughter doesn’t care much for golf, she’s into ballet, and quite talented from what I’ve seen. (Which isn’t much unfortunately, given Covid). I’d have to ask. Wish I had brought my own clubs with me. But I left them elsewhere. That’ll be the fourth round in twelve years, woow! Look at me, developing a golf habit. Ha. I had hoped to go to the driving range, and play several rounds of golf this summer, but I’ll take two rounds of nine (9) holes. Better than zero rounds of eighteen! I’m more of a nine iron, pitching wedge and putter type of golfer. I’m either right down the middle, or twenty seven strokes to the hole. Not much inbetween. I tend towards mini putt and the driving range more so than actual golf. Probably why my game is so streaky. I can get a good run of long straight balls, then fall apart. So we’ll see how Sunday morning turns out.

I’m closing in on 250 days soon. I may even take this to a whole year if I can! I wonder if I should dig up my children’s book this fall and try to finish that up. Would be great to get such a big project finally finished. I started it when my eldest was like three years old, and now we’re getting close to eight, so, you know. Get on that shit my man! Then I’ll post the pdf’s for all three books on here and see if anyone at all reads them. Not that that really matters to me, I’ll just be happy that I had an idea and brought it to life, story and artwork and all. Nice!

Staining on Day 196.

Last quiet days of school are upon us, and I have some hobby stuff to finish prior to my next report coming in. Decided to recut my cross braces, as I sanded them too vigorously and the snap fit became too loose. So I recut those four pieces and sanded the two faces only that don’t affect their fit. I have it all broken down and am just waiting for the danish oil to soak in and dry. Then a quick glue up and this project is done! The oil really makes it pop. The Osmo I ordered came in, so maybe I’ll polish this up with some later on? Not certain. I’ll be holding off on furniture building until September anyway. So now rush now it’s just about built, and I can keep it inside where it is temperature controlled and the humidity is under wraps.

Not even ten am yet. What a great day. Glad I had enough material laying around to recut those braces, as i was pretty mad at myself for the overzealous sanding. The Walnut stain really does bring it all together though. Love it.

I’m going to close down for a bit, give this a chance to dry without interference from me. Glue up next! Weeee!

Tear out, glue ups & cutting splines.

As much as I love the look of Walnut, it comes with a fair few issues to work through. Namely gouges and tear out during milling, and chunks coming loose when hand chiseling. I will have quite a few places to patch when it comes time to do a final sanding. I need to glue it all up first, then make a Walnut dust paste to patch all of the imperfections. I hope it doesn’t ruin the overall project.

I used packing tape on the outside mitered corners, and painter’s tape on the inside edges of each glue up. See fig 1. And fig 2.

Fig 1. & fig 2.

I used a good amount of LePage glue in the joints, which I spread with an acid brush. I folded it all up into a box, and added additional painter’s tape to the final corner. I used two box clamps and a set square to keep the hollow Walnut box as square as I can get it. See fig 3. And fig 4.

Fig 3. & fig 4.

I also clamped around the middle of the box to make sure it didn’t bulge or have the seams pop open or slide around.

After the box had dried in the 27°C heat of the day for several hours I unclamped the hollow Walnut box and began to cut in my Hickory splines. I chose to do three per corner edge on the top. And depending on how the experience goes, I might add two more on both bottom edges too. I started with a Crown Dovetail saw, cutting just inside my marked lines, and then used a .25″ chisel, cutting along a 45° angle from both the top & bottom to remove the gap where my Hickory splines will rest. If you’re legit, you’d take note of grain orientations and how your boards were sawn, and grain patterns, but I’m just trying to get something done here. Two of the three had good pressure fits, but a possible gap situation might have occured from a too deep of a run with the Dovetail saw. More Walnut dust paste will be needed. See Fig 5 & fig 6.

Fig 7 shows the glued in splines.

I only managed to cut in three splines on one side and glue them in yesterday evening. See fig 7. Once the top panel has three more glued in I can flush cut them off. I added them purely for visual interest and not for strength. Though, they may help in that respect.

I had managed to complete a dry fit test and have it all stand up on its own. I will take that as a win at this point. I know I have several hours of touch ups to do after the build up and assembly is done.

Parts layout. Still so much sanding left to do!

Once I complete the top portion I will shift focus back to the legs and skirting braces. Lots of sanding to do here. I think I will finish it off with some Danish Oil to tie the whole thing together. Ciao Bella!

Throw Back To: Episode of when I took two plus years to build a screen door.

It all started when I was gifted some Ash boards from the family farm, that were rough sawn, and stored in a shed for twenty plus years. I gladly took them home after sawing the sixteen footers in half by hand, and tossing those heavy suckers in my van.

I planed them for what felt like hours, and then had to man handle them across my jointer. Which took forever to do. This was back when I had my tiny 10″ Ryobi table saw, which kicked on full tilt, and scared me to death. Cutting 2 inch thick ash boards that were 80 plus inches in length took some doing, and set my heart to pounding. I settled on four inch wide boards by roughly eighty inches long, and two inches thick.

I then cut down four cross members, two in Ash, and two in a douglas fir that was pretty heavily knotted. It was at this point that I began to run out of warm season, and all my flat, square milled lumber got shut away in the garage for seven months.

The following spring I dug out my lumber, which was still square and decided to hand cut some mortises for the top and bottom of the door uprights. I first used a circular saw to cut two slices through the end grain about four inches deep. This was super sketchy, and my super old school, under powered Kawasaki circular saw died after a cut & a half – twice. So I finished it off with a Stanley hand saw. You know the old kind that weirdos play with a violin bow to make high pitched whiney muzak. I had to climb up on my work bench in order to get this to work.

I gathered up my chisels and a hammer and got dug in cutting away the channel where the cross members would rest. This would prove a difficult and arduous task. It took several days, and my channel was not straight, nor were they even. I took a file to them, and worked that for a few days too. It was at this point that I started to refinish a rocking chair for my very pregnant sister in law, and that took my whole season.

The following year ( this year 2022) I took some rasps to my channels, and evened them out a fair bit. I then used a brand new Dado blade to cut some even tenons for the cross members. It was an endless cycle of dry fit testing, rasping, filing, and planing until I had a suitable snug fit. Then I measured out my center line, and cut out two mortises for the third, and final center cross member. I hugged it out with a forstner bit, then used a multi tool to cut through the rest, and then hand chiseled it to a clear rectangular hole. It worked quite well. After assembling it all as a dry fit, I noticed my angles were all wonky, and then realized my flat, square lumber, was now bowed, and twisting ever so noticeably. But as I was about to begin sanding I hit the most egregious spots with a hand plane, and sort of made the best of it.

I took the time to glue the frame together. Then in each corner I drilled out a 3/8ths hole and glued some dowels through the joints. Flush cut those, and then did endless rounds up through the grits on every single surface of the door. I stopped to add copious amounts of filler, which meant no more natural wood look, but I was now going to have to paint it all white, to match the house trim.

I used an oil based primer to paint on four coats of pristine paint. Then I cut down some Cedar strips, 16 lengths in all, which would sandwich my screen mesh in place, for the two openings on my screen door. After much cutting and sanding i put the first layer in place. Cutting the mesh material was far simpler than i was imagining it would be. So i put those in place, and pin nailed my last strips on, holding the mesh as tight as i could get it.

It was at this point I placed my hardware on the door. Pilot drilling holes for the handle and a push plate. I also then hand cut in my hinge recesses. Drilled and attached those. Fought with the door for an afternoon to cut in the receiving hinge slots on the house, and hung the door single handedly (do not reccomend). I then added backing trim to stop the door swinging too far inwards and binding. Added a latch, and an extra handle, and Bob’s your uncle. Done like dinner.

I didn’t take any photos while cutting the cross member tenons, but they’re there, and I did them myself.

That End Table episode we’re all talking about.

This time around I thought I’d go a little bit fancy. Which is, or course, a relative term. To me that meant attempting repeatable tapered Hickory legs. Which required me to build a whole new jig/sled to accomplish exactly that. And would you look at that it worked. I was duly impressed with myself.

Then I cut down my skirting, and added a relief to the underside, which recieved a round over, to soften it up a bit. Followed by setting up the dado blade as fat as it’ll go, and cutting the slots for said skirting, and adding the .75″ long tenons to the end of each leg.

I rounded over all four faces to each leg, and did a test fit of the skirting. Wouldn’t you know, three of the four were spot on, and the first was a touch loose. Not a big deal. I can manage.

The glue up of the three Walnut boards to make one large panel was mostly uneventful. I had to joint a bunch of complementary edges, and RIP off the bark, or ruined portions. Use thirteen clamps to wrestle the twist out of the boards. Scrape the excess glue off, and then move through a series of hand planers, and my Bosch electric hand planer to even out the end product. I also took my card scraper for a spin to get a better starting surface once I complete the structural elements and begin the sanding process.

I saw a tutorial somewhere that said for tighter outside edges on a mitered box, you should over shoot 45°, for something like 44.8°. But my table saw doesn’t do that, perhaps a higher priced Cabinet saw would, but mine does not. So a straight 45 it was. Praying for no slips or binding against the fence. We will only know during the glue up.

I used a 1″ forstner bit to hog out the bulk of my mortises. I had intended to chisel out the rest, but I cracked an edge, so had to pause to blow glue into it, and reclamp it. Switched over to a coping saw to save any undue stress on the base piece of Walnut.

I will progress through, 60 / 80 / 100/ 120/ 150 / 220 / 320 grits with an random oribtal sander. Then after I glue up and I need to do touch ups, the very top most surface with get a hand sanding at 400 grit.

After assembly of the hollow top, I will cut in eight (8) splines on all four corners, to add some visual interest. Then round it all over to look a bit cleaner. The tenons of the legs are through & throughs on the base. So a pocket of colour should be seen when you get up close to it. Not finished yet, but you get the gist of it.

Just gonna squeak one in here on ya, if’n you don’t mind.

Had a brain wave the other day about building a walnut side table that was hollow, but could accept the floating bottom walnut drawer I had made a few months ago. Make it tall, on thin Hickory legs, do a thicker walnut skirt, and try a tapered edge on the legs. Round it all over, and then see how close i got to my plans. I’ll draw it out first, and then see if i was actually able to pull it off. That should give me a sense of where i am making my mistakes. I also need to finish by June 30th, before 11:00am, as that’s when schools out for the summer. Pushing against a dead line, and following a plan. Could be fun. But i have a report coming late this week, so that’ll cut into my time significantly. Chop chop, quite literally.

So I have cut up four Hickory legs, the last substantial portion of my slabs. I milled and cut up some rough walnut, and have glued up a single four foot long panel, which will be chopped down into my hollow top. I cut two inch strips for skirting too. I need to figure out a jig for careful, and repeatable tapered legs. Dado out my leg slots to hold the skirting on. I’ll keep the legs poking up above it, to tenon into the hollow top. Then it’ll be round overs on round overs, and sanding until my hands go numb. A quick and easy project.

Here’s how my other table build turned out. Doesn’t look too out of place in the basement. Good height for the sofa that’s there anyway.

The Ninja Turtle is progressing. I like the Apoxie Sculpt, a tad sticky though. But fast to work with. I may still end up detailing it out with Super Sculpey, but for now I’m enjoying the process with Apoxie Sculpt. This could potentially sit for months if need be before I come back to it. I’ll focus primarily on the furniture build, as that can warp, buckle and twist if I don’t build it sooner rather than later. Learned that lesson the hard way with my screen door.

Today is domestic duties Monday, so I need to get the second load of laundry in, run the dish washer, vacuum and tidy up a bit today. I’ll need to sort and hang the laundry too. I hear the temperature is on the rise through this week. Going to feel like 40 °C for several days in a row. Yikes. Also need to get rolling on my youngest child’s birthday party later this week. Busy – busy. Ciao Bella!

The Coffee Table Build Episode.

The one that started out being about turning two book matched Hickory slabs into one monolithic water fall edged table, with a fat & chunky Ash leg on the opposite end. Then I pulled the slabs out from storage and the small one was perfect, and the show piece was cracked in three so badly it snapped in my hands. So new idea. A smaller coffee table using one live edge slab as the top, and the broken pieces of the other as the legs. Then I hated the live edge aspect, and cut it down into a more traditional rectangle. Chopped the Ash chunk into four legs, and decided it was a boring blob of a thing. So I cut skirting, and then I thought, what if I use a Dado to inset the skirting on the interior side of all four legs. After that I figured I should add a drawer that was shallow, and use the skirting to hold up and slide the drawer out, rather than metal drawer slides. Much cheaper option too. Then I thought, well the drawer is so shallow I could build a slatted shelf about 6″ up from the bottom of the legs. I looked at my available raw materials and saw I had to go front to back with six slats rather than across the width. I was hoping to make it look and feel longer by running the open slats across the longer axis, but materials dictated I go otherwise. Not angry. My last vestiges of doubt were on just doing a clear coat vs staining with Danish Oil with a Walnut Tint. I don’t like the bleached look of Ash, so tinted stain we go!  Now once all of this dries I will clear coat with a Varathane brand Diamond spray finish from a rattle can.

I did my glue up in stages to try to offset my amateur hand cut mortises. The tenons I did on the table saw, so I knew they were as good as I could get those. I hand chiseled out a few other odds and ends, but the bulk was done via circular saw on a track, and my Rigid 4512 Table saw. This was the first time I’ve ever used a bow tie to stop a crack. That took some doing, but I don’t hate the end result. I used a flush cut saw to trim off the bulk of the bow tie that sat proud of the table top. Finessed some other over hanging bits with the flush cut saw as well.

Come the fall, I would like to purchase either one long slab or two matching from the same species and actually try a waterfall edge coffee table. I opted for my electric hand planer, and manual hand planes to finish the top surface. I built a router jig out of angle iron to try to flatten the surface of my slabs, but I haven’t yet built the rails/ Saw horses it is meant to stack on top of. I have it ready for next time.

It’s not perfect by any way, shape or form, but I’m slowly getting better at whatever I’m playing at. Should look fine at the cottage or in the basement with my first ever coffee table build from years ago.