Simple-fast snack sandwich.

This assumes you own a few things, such as a toaster, a microwave, a knife, a whisk/fork, at least one small breakfast/cereal bowl and 90-130 seconds of time. And of course, one egg, some cheese and a slice of some sort of protein from a deli counter (in my instance that is German Salami).

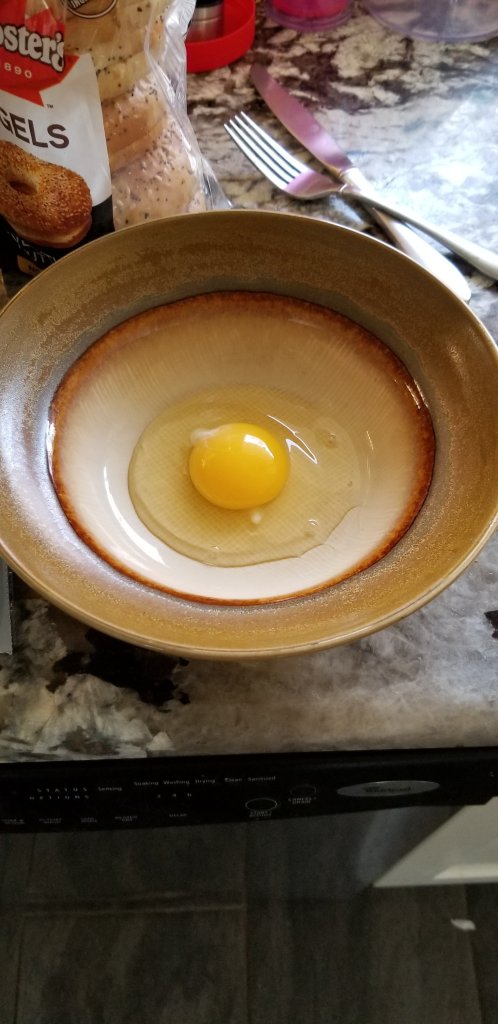
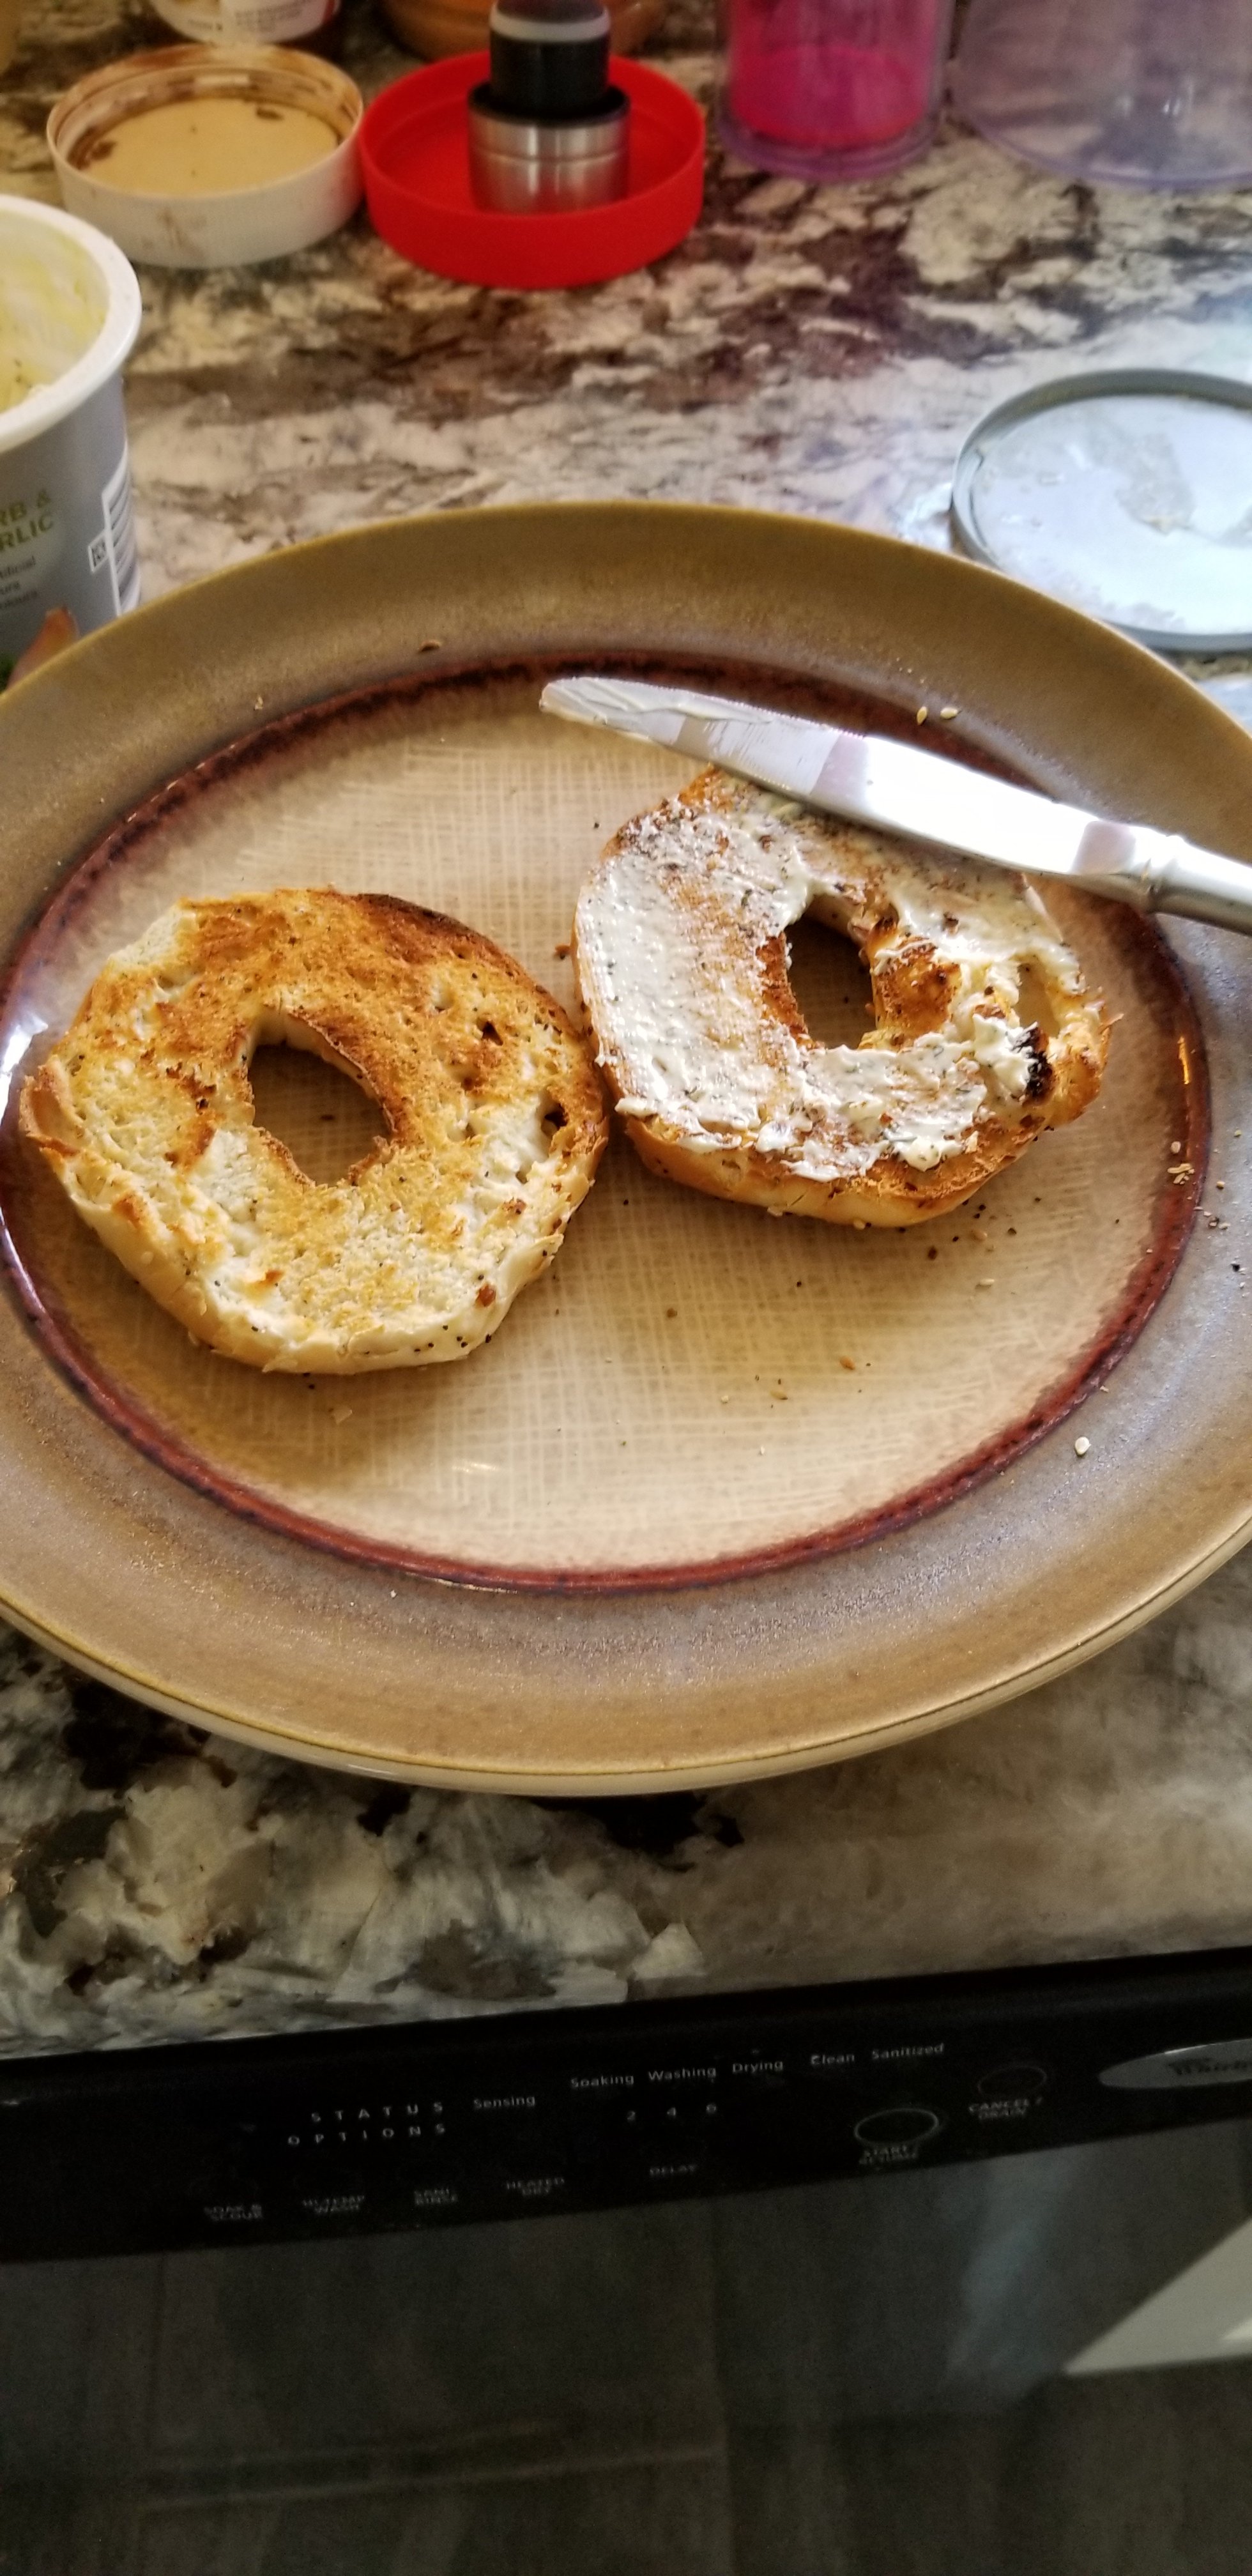
Crack one egg into a small bowl. Shake in a little salt and pepper. Whisk/stir with a fork to get a uniform yellow colour of the egg. Slap in one slice of salami. Dunk under egg with whisk/fork so it is covered. Add several small chunks of a cheese you own and/or like. Microwave for 90 seconds. Place bagel or bread in a toaster for however long yours runs at the setting you like. Ours is also nearly 110 seconds. Once the bagel pops and the microwave pings, I spread on some Herb & Garlic cream cheese, scoop the egg & cheese blob onto the bagel and consume. *You may note that a knife is handy to extricate your egg from its bowl, and for spreading your variant of cream cheese or butter on your bread of choice. Simple, tastey and effective. I have a step by step follow along procedure below, so even the young or hapless can get something vaguely nutritious to eat.

Must haves: toaster, toaster oven, microwave, bowl or cup that works in a microwave, one knife, one fork or whisk.     Also relevant: eggs, bread in one form or another, a slice of deli meat protein, salt & pepper, some form of cheese you find palatable, a bread spread like butter or cream cheese. Kind of important: at least 90-120 seconds of time to prepare and cook said sandwich.                            **if you are lactose intolerant, vegan, or Celiac I would expect you to make as many substitutions as needed for your own peace of mind and safety.

Most of the items required.
Crack your egg into a bowl.
Add a shake or two of salt, and a twist of pepper (to taste).
Mix it together with a whisk or fork until it is a somewhat uniform colour.
Use your fork to dunk your deli slice into the egg.
Add some cheese you like that you cut into small pieces.
After 90 seconds in the microwave.
Bagel after 90 seconds in the toaster with Herb & Garlic spread on one side. (I prefer the top, but you do you).
The completed sandwich, elapsed time was 132 seconds. But I took one handed photos which I wouldn’t really ever do on a normal day.

Bedtime reading aloud for any littles out there.

I certainly don’t fancy myself a voice talent, but for the times I am away and my youngest wants her bedtime story, I have recorded a read through of One fish two fish for safe keeping.

I apologize that you can hear me turning the pages of the book. Adds a touch of authenticity I think.

I usually bellow my voices, but I recorded late into the evening after my children had gone to sleep, so I’m a tad subdued. I love reading to my children, and I hope that comes through in the recording. I hope this brings even the tiniest spark of joy to your littles too. And yes, I did skip the Ish wish dish spread as it’s my least favourite one to do. When my eldest was little I used to read the whole lot, and the actual Cat in the Hat book in an Alan Rickman voice. I just can’t seem to do it now though. It certainly kept me engaged in the readings after doing it a hundred plus times. Take care out there. – M

My go to fridge clearing recipe.

First I chop up left over cloves of garlic, green onion and sweet onion and pop that in a large sauce pan with a smidge of olive oil to brown up for a couple minutes. Then I chop up and add carrots, celery, bell peppers, diced potatoes and a healthy dose of unsalted beef broth/vegetable broth. Occasionally I will add in a splash of OJ or lemon juice for a bit of a zip. Boil that until it simmers and the broth begins to reduce down to a thicker (think less than watery) consistency. In a separate cast iron pan I will crisp up and brown both bacon and chicken. Once the bacon has a good crunch, and the chicken has a crispy browned crust I plop them both into the veggie pan. Add as much honey garlic sauce as you like to the total mixture, let simmer and serve. I don’t typically add any salt, as the bacon and honey garlic sauce tend to have a significant amount in them. You can add virtually anything you have in your fridge in just about any quantity. I like that it changes from meal to meal. Looks like a dogs breakfast but tastes great, and is 75% vegetable and could easily be all vegetarian if you were so inclined.

Some things you will need: At least 2 sauce pans – chopping board – knife – spatula – 2 stove top burners

Things you might use in the recipe: Aromatics; Sweet onion, garlic cloves, green onion, ginger Meats; bacon, chicken, beef, or pork sausage Vegetables; carrots, celery, sweet bell peppers, potatoes, zucchini, egg plant, and a whole slew of others. Basically whatever you have in your fridge in whatever amount you have left. Sauces & Broths; I prefer to use the salt reduced Campbell’s Vegetable broth or beef broth, but if you like Knorr or Bovril have at it. I do like to splash in some OJ or lemon juice. And to top it off I like some Kikoman soy sauce (salty af, so that’s why I don’t have salt or pepper in the ingredients list) and then some form of a Honey Garlic Sauce. Add to taste.

Mix it all together and serve. If you use potatoes in your meal cook it all until they are done ( or if you are impatient run them through the microwave for 10:00 minutes before placing in the sauce pan – but you still have to wait on those pesky carrots!).

This is a fire, not the recipe.
A beautiful moss covered rock, but not a recipe.
Ooh the Gut, in the Kawarthas, but not a recipe.
Purple Iris, but you guessed it, not the recipe.
My daughters art installation, also not a recipe.
Pork browned in a pan, with veggies in another pan. All very brown.
Starting on that yummy in my tummy bacon (diced) for additional crunch factor.

Well, I’ve gone and done it again. Terrain build #3.

I’ve always wanted to have an interconnected series of gaming terain boards and now I’m on a mission to complete all four 2ft by 2ft boards.

The third installment sees us come up against some steep shoreline, more water, cliffs, and a ruined temple upon a plateau with trees growing out of its discarded rubble. I also tried something new with this build in terms of materials: namely tile grout that hardens to stone with the liberal application of just plain water. Choosing the right colour was/is an ongoing challenge unless you can store multiple sacks and/or boxes of the stuff.

Here are the build images in progression.

Cut out the foam, add the wooden rocks, add some tile grout/stones/sand for texture. Block it all into place with papier mache.
After the grout has dried.
Primered in black for a uniform colour.
Dry brush grey.
Dry brush beige.
Dry brush titanium white on the top most portions of the rocks and rubble.
Slather on watered down mixture of earthy brown paint.
Block in my water.
After adding the various colours of flocking, tufts, trees and more tile grout. Also added some clear gloss varnish to the water.
How the current three tiles fit together. Waiting on ideas for completing the fourth. Will either be a rolling hill, or a two tiered piece with a surprise.

If you looked this far, and read that, thanks for following along. One more build to go and then I’ll have to move on to my woodshop projects. Almost finished the Harry Potter trunk I’m building for my daughters book collection, wand, robes, tie, glasses and D&D dice. All I need to finish it is the burgundy felt I ordered to line the inside in Gryffindor colours. Catch you around.

We’re out here in the early spring boiling up maple syrup.

Much like the title told you, we’re busy during the spring time tapping, transporting, straining, filtering and boiling maple syrup like a bunch of Canuck rubes. Lovely weather and a lake side view are very much appreciated when on fire duty, watching that we don’t boil over the evaporator. Sometimes smells divine, other times tastes like ashe and smoke on the wind. Good times.

A bit of media for the terrain build.

I’m not a vlogger or youtuber so my video snippets are few and far between. But here’s a short flyby of my two completed terrain boards with a few minis in tableau on one half. I’ll be back to writing my short story series about The Chronicles of Kelvin soon enough. So fear not, I’m not transitioning to only war gaming, or recipes or short blurbs about nothing much at all. Take care out there folks. And with no further ado, my terrain build in video format.

And because I’m proud of much of it, my book case full of bust sculpts from my home office.

War gaming board build number two.

So the crafting terrain building bug has hit. And it hits hard. Like a sledgehammer to the skull, when things go right anyway. Shortly after completing the first board with a mountain and some water and hills, I found a second 2ft by 2ft board and started another portion. They go together to make one longer playable table or can be used separately. I ordered some new parts for it, but I had enough to finish it with what I had laying around. Could put some extra bits on later, but I don’t have to.

Same process as before. Glue on foam to the board. Cut thicknesses to make obstacles and elevations and landmarks. Glue on thick bark chunks to make rock walls (this part was new, last time I just used paper mache and a tin foil mould). Bark was simple and cheap. Found lots in the yard. Washed and dried it, then glued them on. Add pebbles, rocks and sand. Added paper mache in a thin layer to cover the foam and block in the bark to make the transitions seamless. Let dry in front of a fan over night. Spray paint with black primer. Let that dry over night. Dry brush my grey/beige/white layers on the rocks. Add watered down brown to my ground portions of the terrain. Flock and decorate. Done like dinner.

Let me just sneak this in here, I also wrote a whole slew of short stories, some take place in space. Check them out. An interconnected series of short stories set in space. Cheers! -M

Building war gaming terrain.

So for the last week or so my eldest daughter and I have been building a 2ft x 2ft gaming board with multi leveled terrain.

I think we got to about 97% of what I was hoping to achieve on our first attempt at a large scale terrain build not from a kit or that was store bought.

A few things we learned along the way were : mdf bases warp like hell. Paper mache based mainly on flour shrinks a tonne. Hot knifing to cut foam smells dreadful (glad we did so outside) and takes a while if you don’t own a heated wire cutter. Static flock applicators will get your grass to stand on end, where as shaking from height out of the container does not yield such results. Tin foil rock moulds are handy but not as good a actual rock moulds used with plaster of paris. Paper mache takes a lot longer than you think it will. It also is a lot messier with a six year old helper. Dry brushing doesn’t take very long at all to achieve decent results. Exploded styrofoam slabs are great for flat surfaces but the extruded xps foam is where it’s at for topographical elements and carving. Sculptamold knock offs are good but not great. Use a fan to speed up drying times by an exceedingly wide margin.

I look forward to building more terrain in the years to come with my daughters. Campaigns await!