As much as I love the look of Walnut, it comes with a fair few issues to work through. Namely gouges and tear out during milling, and chunks coming loose when hand chiseling. I will have quite a few places to patch when it comes time to do a final sanding. I need to glue it all up first, then make a Walnut dust paste to patch all of the imperfections. I hope it doesn’t ruin the overall project.
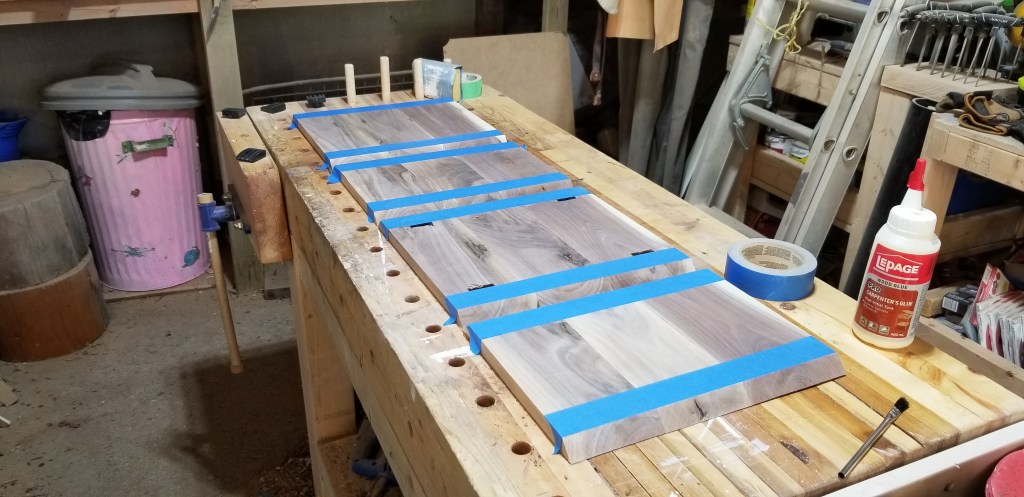
I used packing tape on the outside mitered corners, and painter’s tape on the inside edges of each glue up. See fig 1. And fig 2.

I used a good amount of LePage glue in the joints, which I spread with an acid brush. I folded it all up into a box, and added additional painter’s tape to the final corner. I used two box clamps and a set square to keep the hollow Walnut box as square as I can get it. See fig 3. And fig 4.

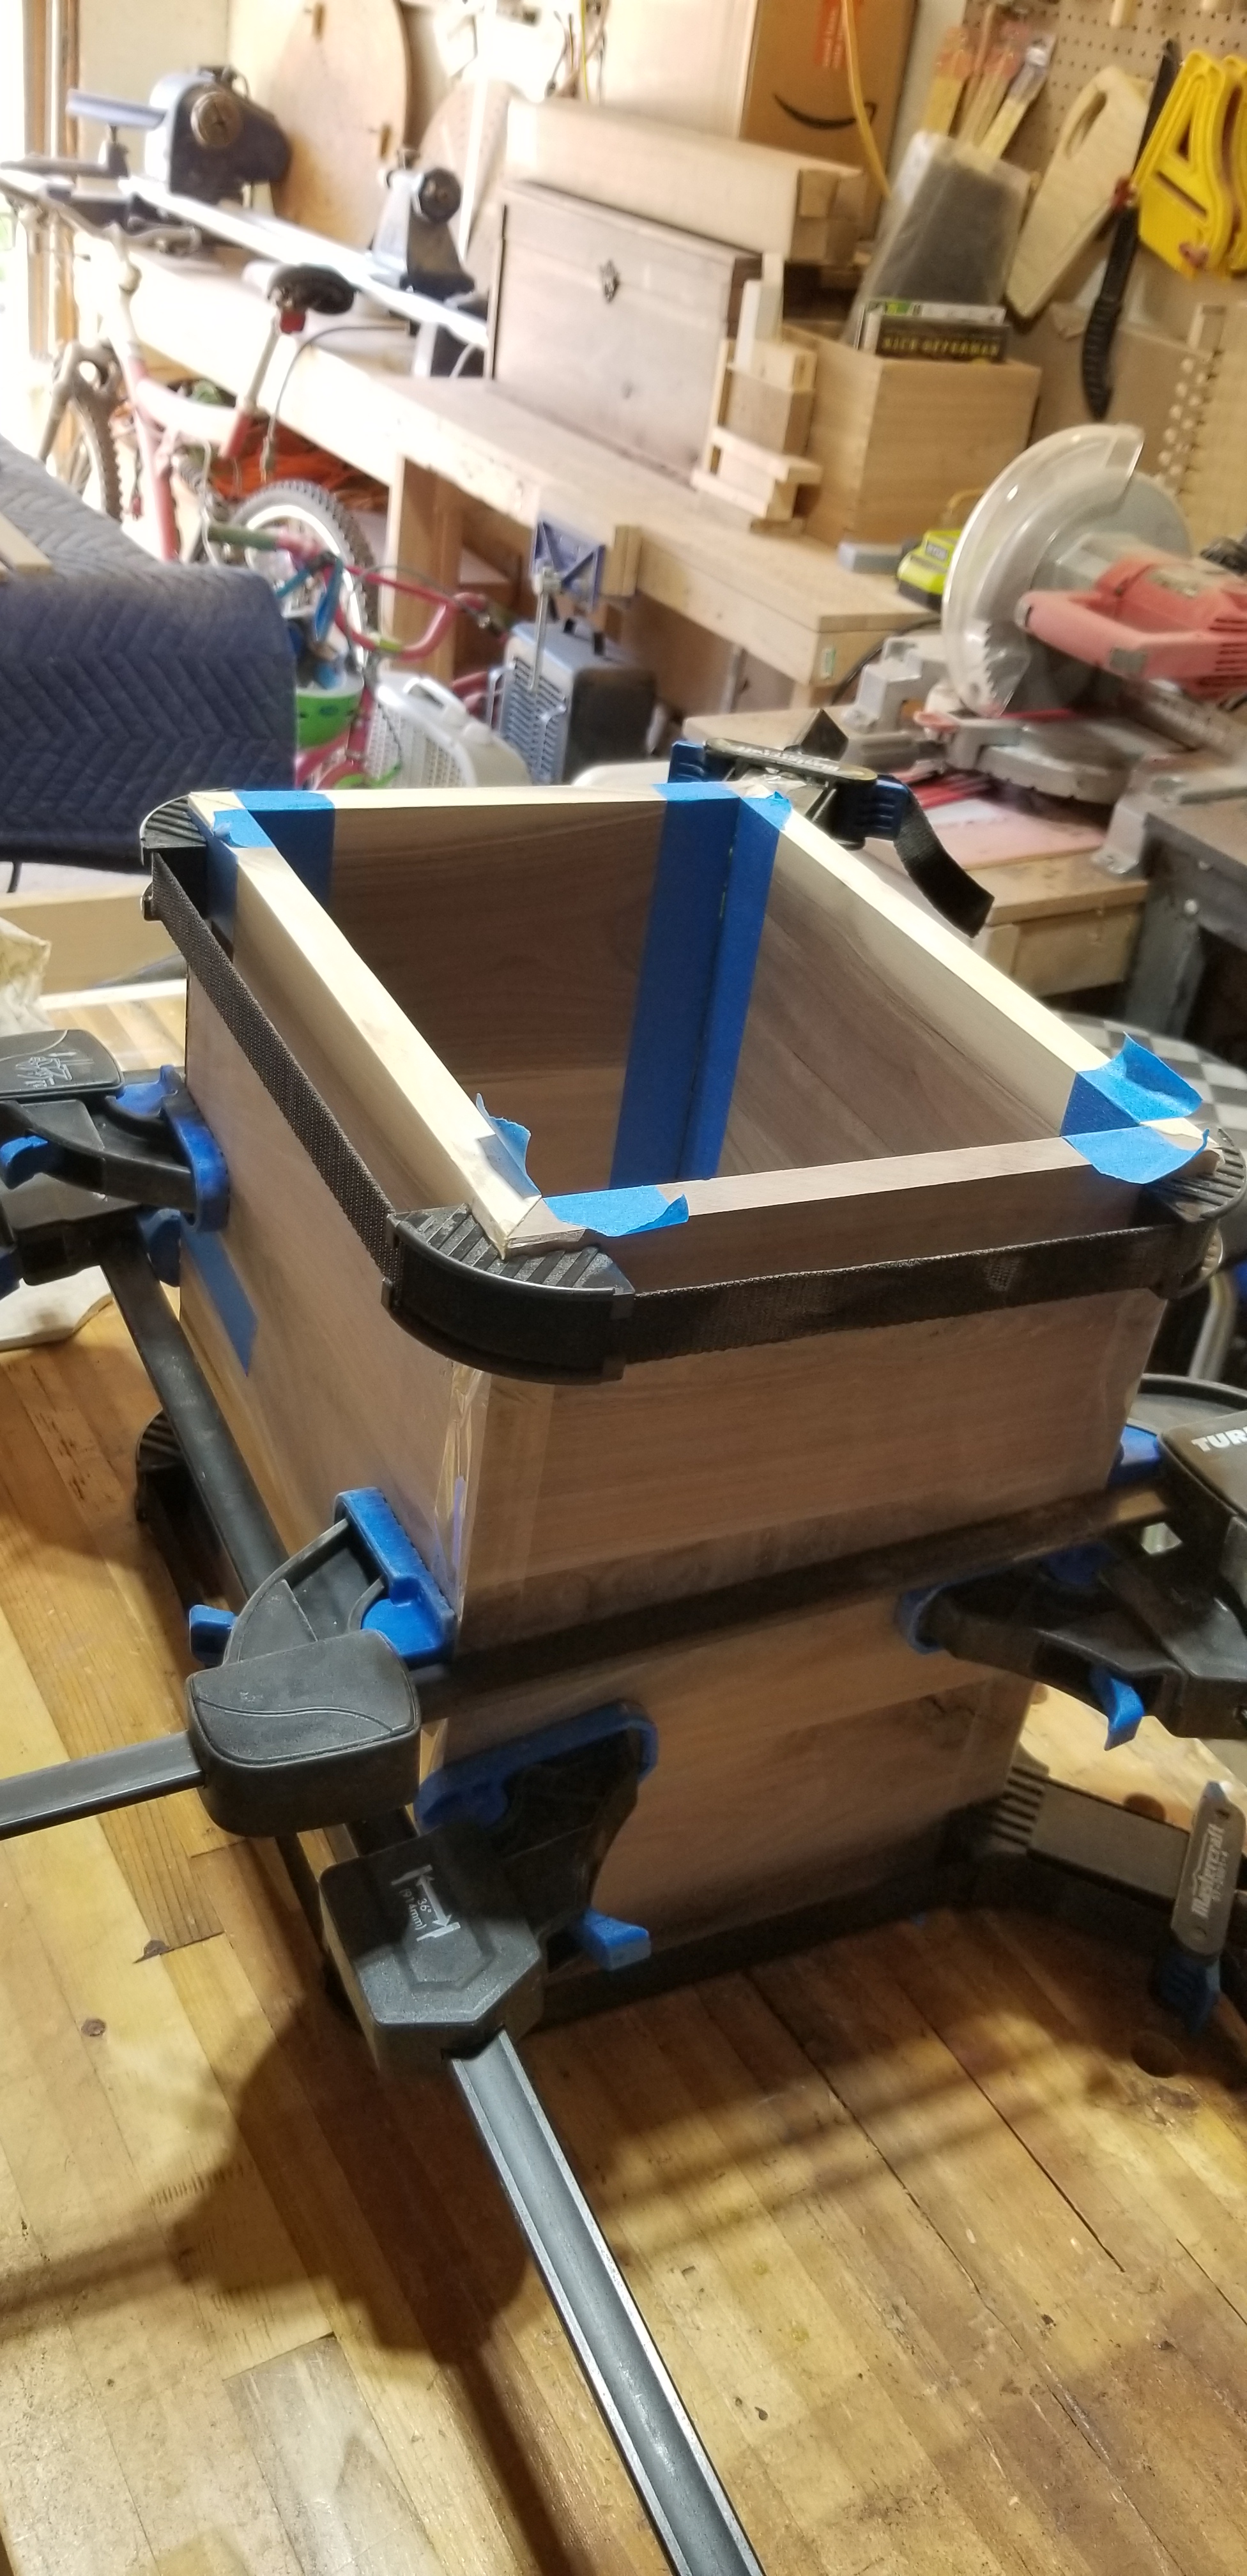
I also clamped around the middle of the box to make sure it didn’t bulge or have the seams pop open or slide around.
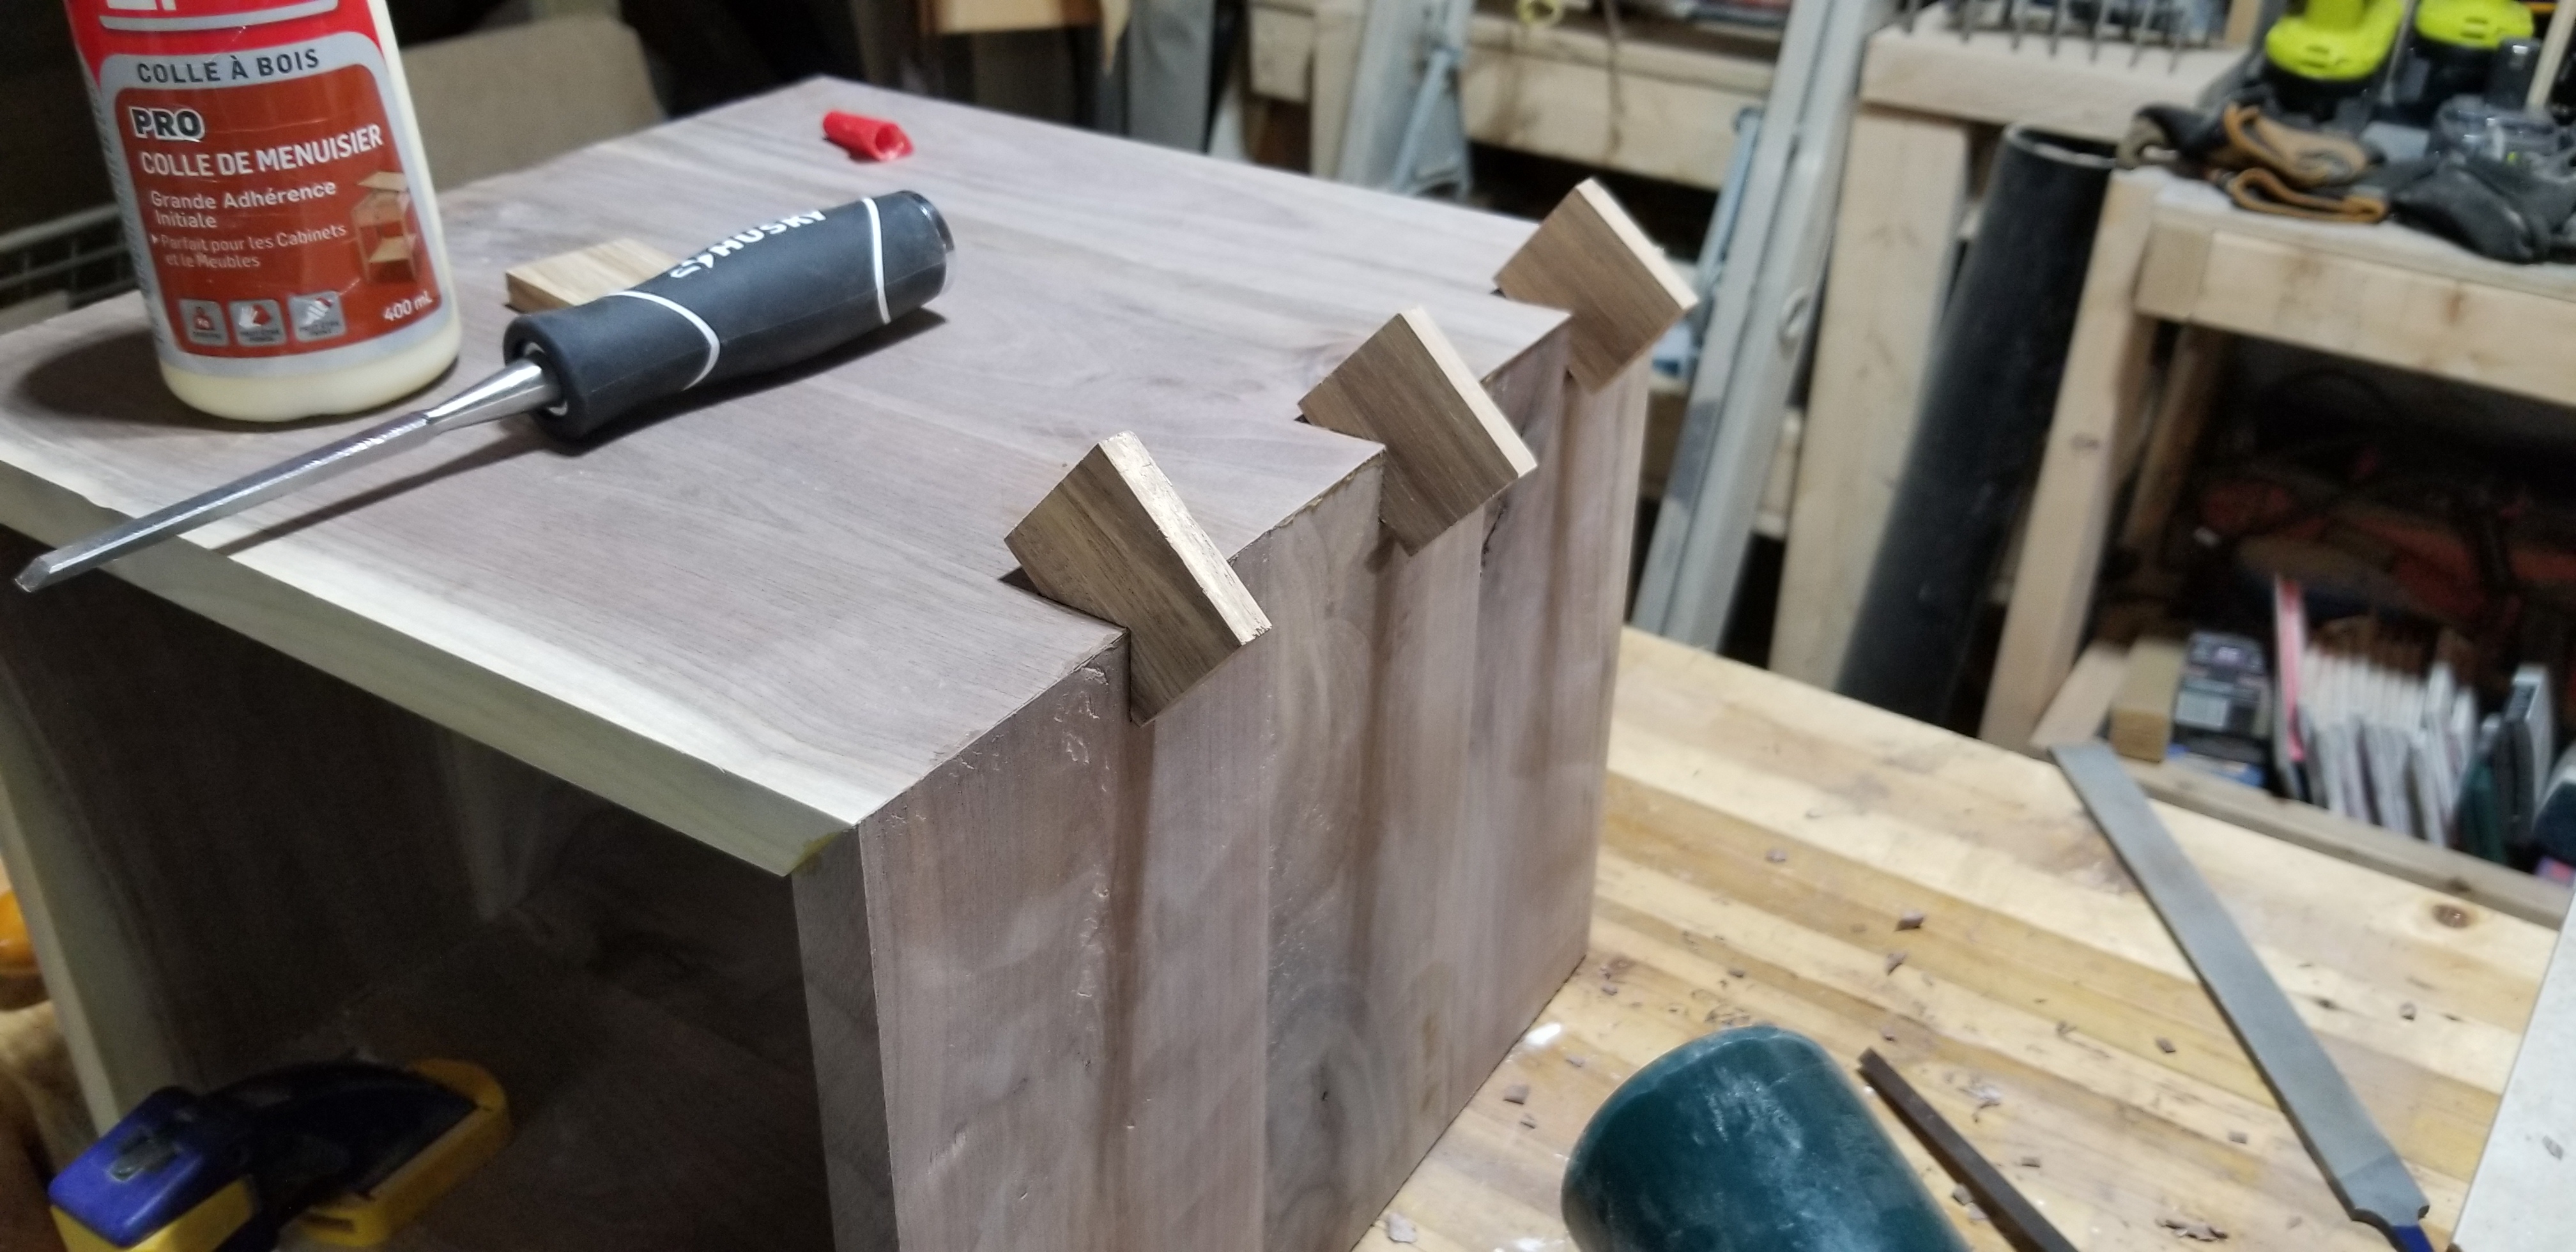
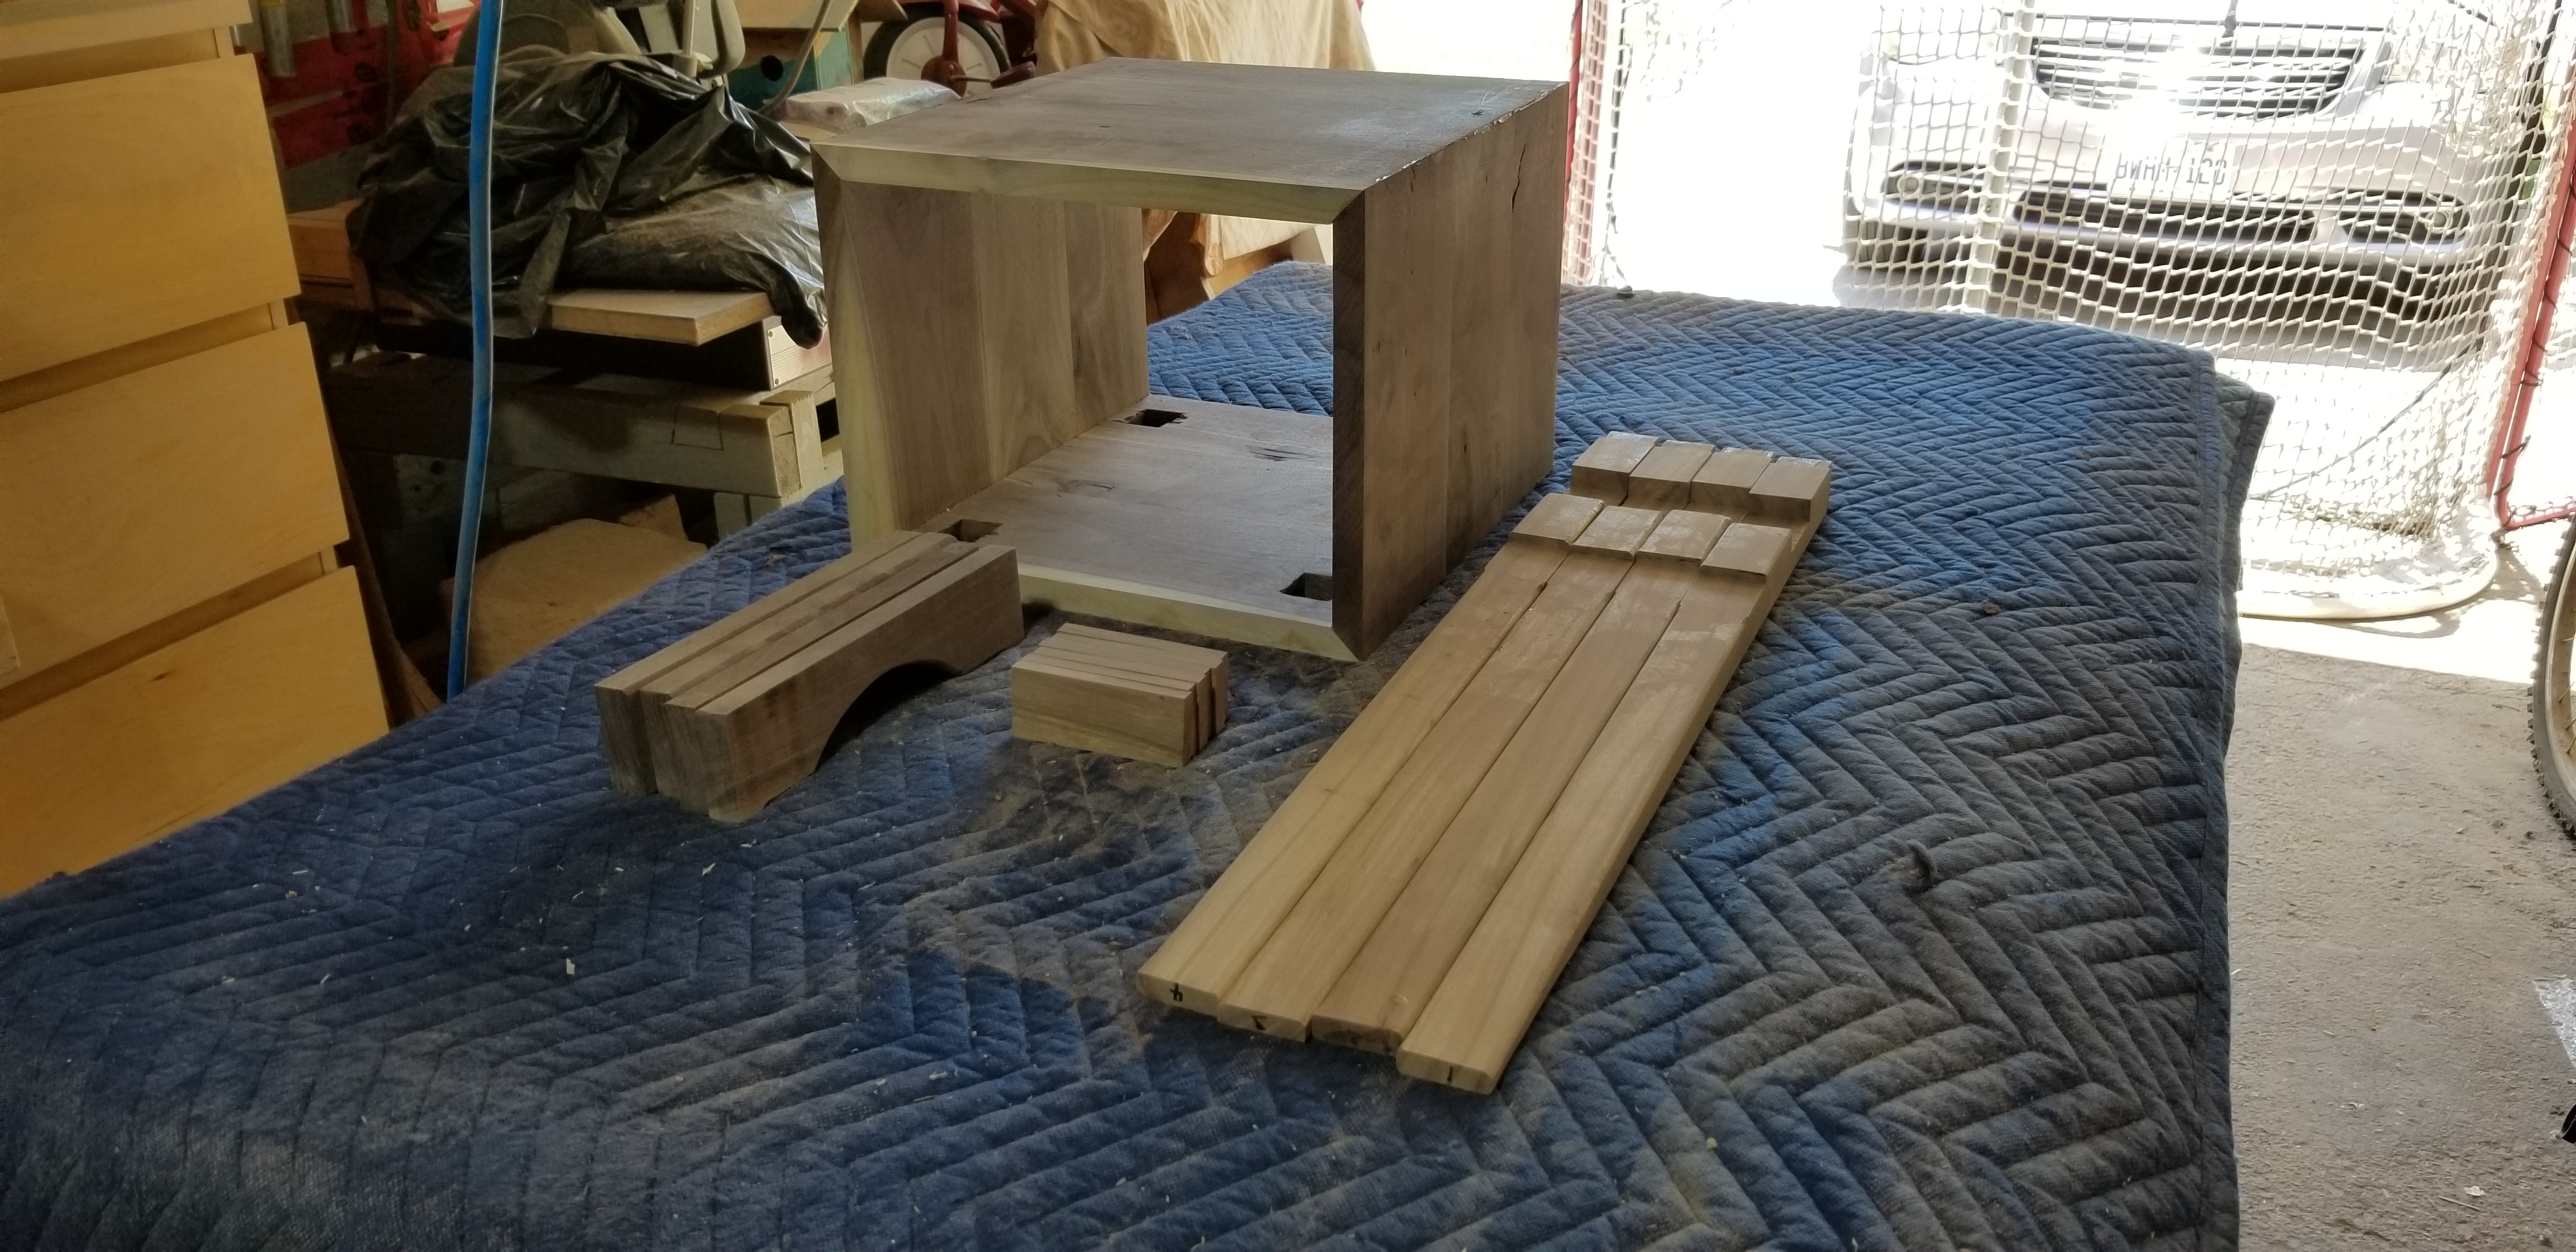
After the box had dried in the 27°C heat of the day for several hours I unclamped the hollow Walnut box and began to cut in my Hickory splines. I chose to do three per corner edge on the top. And depending on how the experience goes, I might add two more on both bottom edges too. I started with a Crown Dovetail saw, cutting just inside my marked lines, and then used a .25″ chisel, cutting along a 45° angle from both the top & bottom to remove the gap where my Hickory splines will rest. If you’re legit, you’d take note of grain orientations and how your boards were sawn, and grain patterns, but I’m just trying to get something done here. Two of the three had good pressure fits, but a possible gap situation might have occured from a too deep of a run with the Dovetail saw. More Walnut dust paste will be needed. See Fig 5 & fig 6.


I only managed to cut in three splines on one side and glue them in yesterday evening. See fig 7. Once the top panel has three more glued in I can flush cut them off. I added them purely for visual interest and not for strength. Though, they may help in that respect.
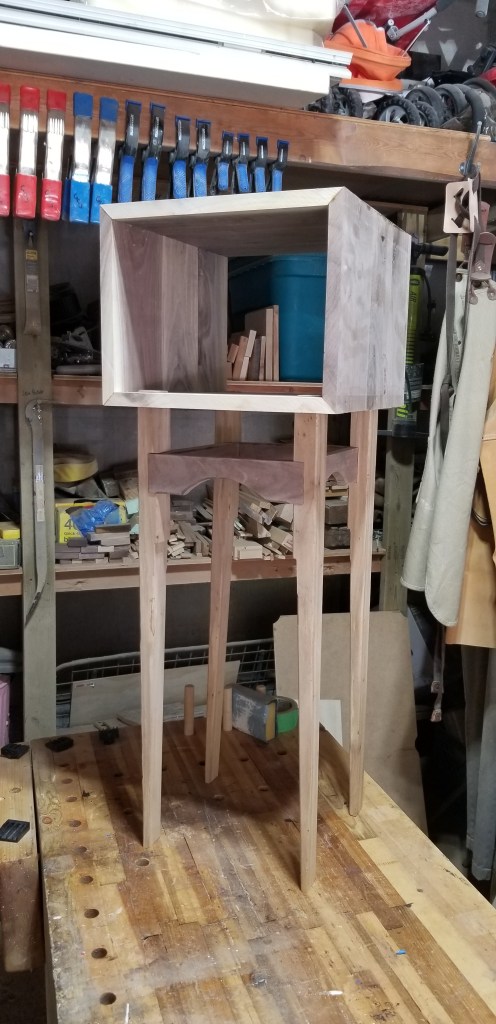
I had managed to complete a dry fit test and have it all stand up on its own. I will take that as a win at this point. I know I have several hours of touch ups to do after the build up and assembly is done.
Once I complete the top portion I will shift focus back to the legs and skirting braces. Lots of sanding to do here. I think I will finish it off with some Danish Oil to tie the whole thing together. Ciao Bella!


You must be logged in to post a comment.