The unit is finally taking shape after a few weeks of lingering on the bench, languishing in stoppage after stoppage. I still have quite a ways to go on it, but progress has been made over the last week.
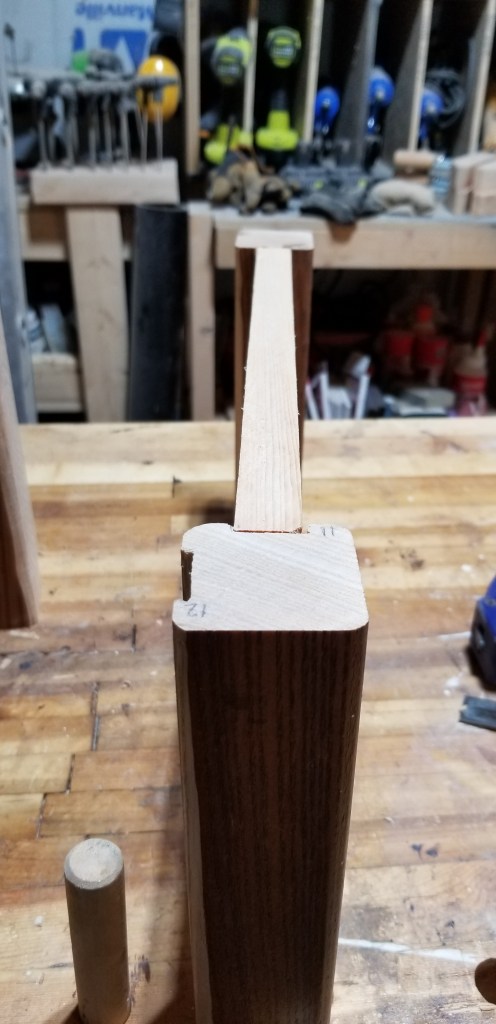
I hand cut all twelve mortises. Well two of which, the through and throughs, were done on the table saw once I had build a quick & nasty jig to clamp the legs to so as to not put my hands near the blades. But all of the .25″ deep mortises were chiseled out by hand over two or three days. I am currently busy with paid design work. So I’m slow moving with home infrastructure projects.

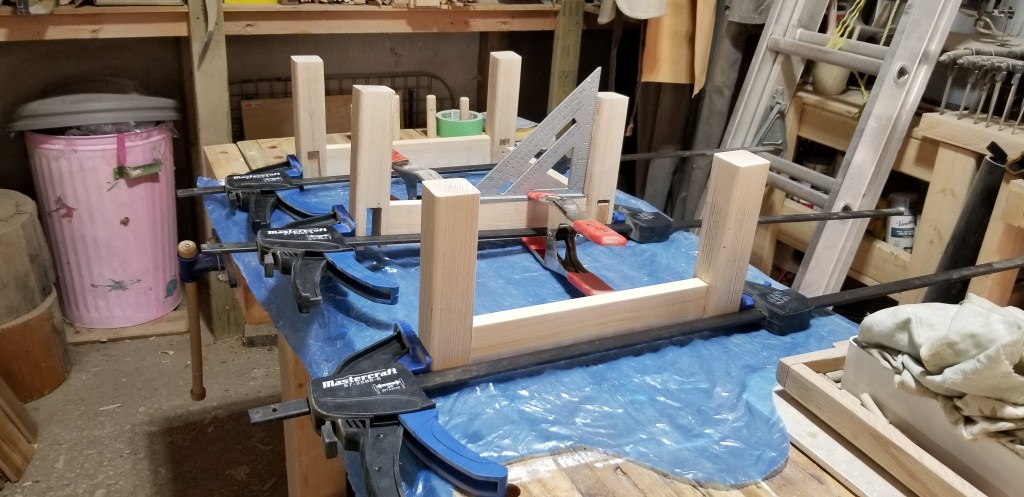
Then I completed a dry test fit which lead me to do some last minute rasp work for better fitment. Nothing major. I put the whole base together to test things out which was tricky to do single handed, as my pressure fit mortises are shallow, and I knocked it down a half dozen times tugging on corners that weren’t square. But I got it to stand freely of it’s own accord.

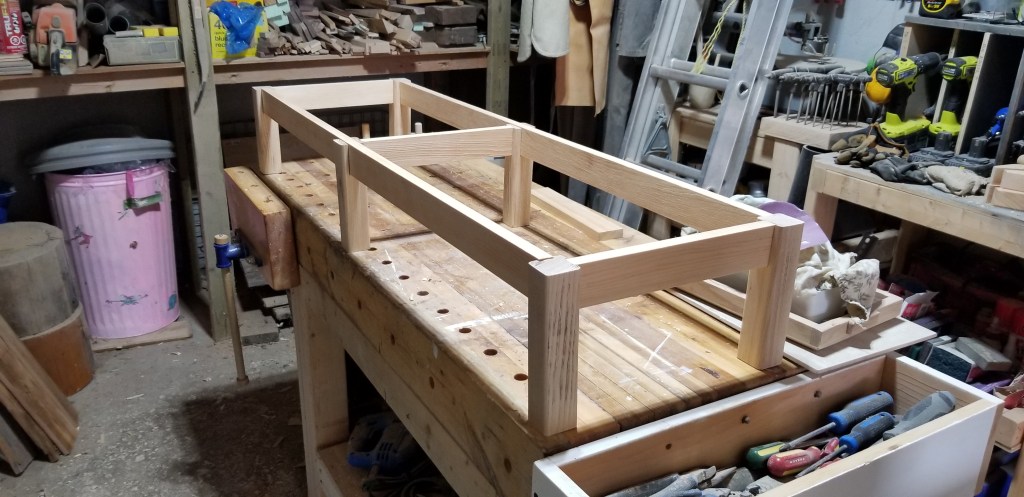
Then as of yesterday I began to glue up the cross braces for the base, three pairs of them. Glued and clamped for assembly. No real hassles here. I glue up on my bench over blue plastic garbage bags. Only need to glue a vital piece to your wooden bench once to know never to do it again.
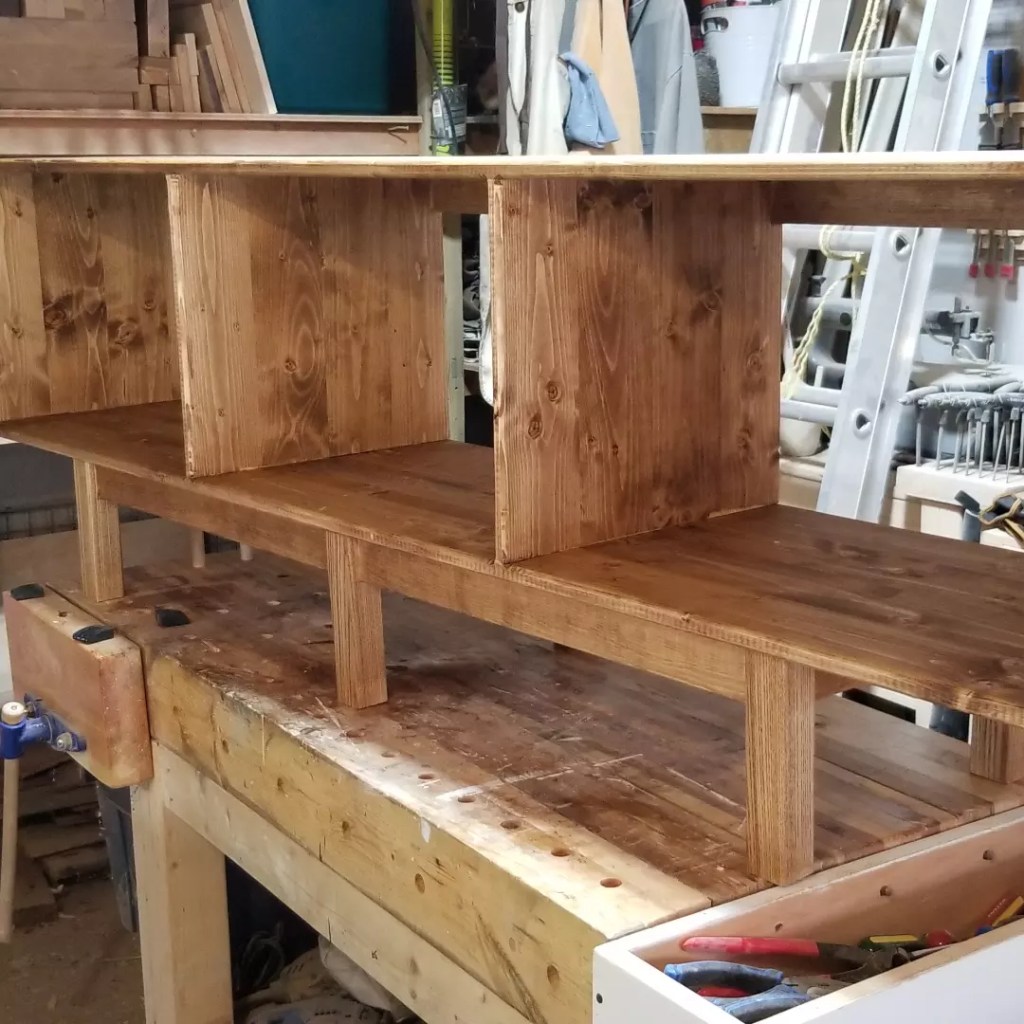
The top box was formed several weeks ago. Measured, cut, built using a dowel construction method, sanded, glued up, and sanded again. Still needs more sanding and then I can stain both it and the base portion together. Then I will use dowel to connect the two pieces, apply finish and bring it inside.
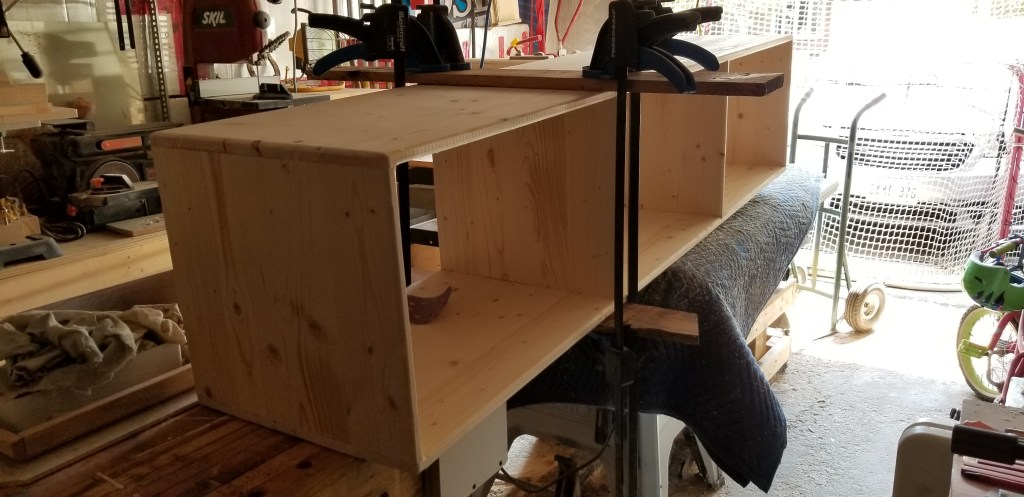

I’m excited to see it all come together. I used three 72″L x 16″ W x .75″ H pine laminated boards for the top box. Plus 1.5 72″ x 5″ x .75″ pine boards that I cut down into 2.25″ H strips for stretchers and braces and used along the back of my box to strengthen it against any possible racking. The six legs are made of Ash, and are 1.75″ x 1.75″ x 8″h. That I had laying around from a new set of stairs that got put in at the cottage two years ago. I’ll post a photo once I get it all completed and set in it’s final resting place in our living room.
**UPDATE** I managed to get Walnut tinted Danish Oil stain on the base and shelf portion, as well as put in the dowels to join the top & bottom together. Waiting on the glue to dry as we speak. Last item is a 400 grit scuff followed by some Osmo poly clear wax to pick up the shine/gloss. So excited!


You must be logged in to post a comment.