Something to keep in mind when you choose to work with resin, and resin based kits. The material is brittle, doesn’t handle torque particularly well, and warps like a mother fucker. Nothing a bit of hot water, clamps and a flat surface can’t handle, but expect delays, and lots, and lots of additional work that you wouldn’t find with a Bandai quality plastic snap fit model.
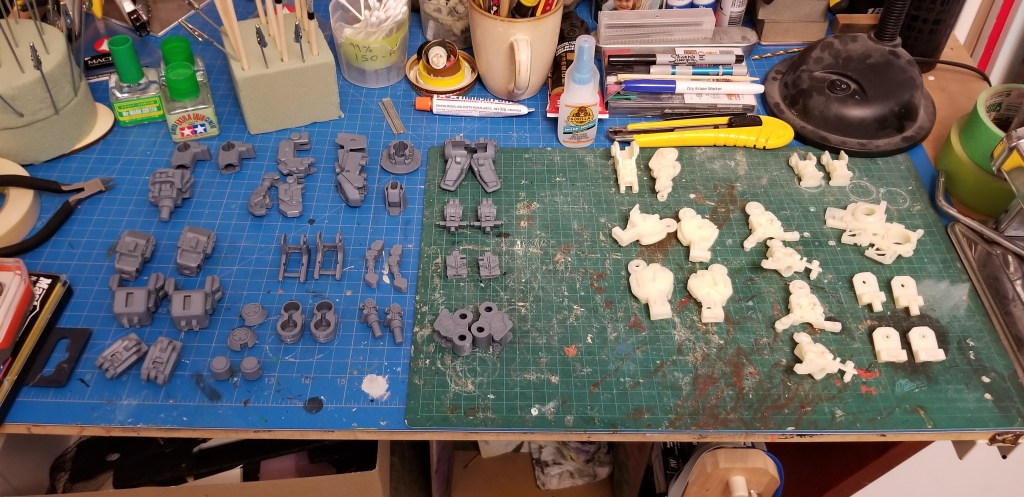
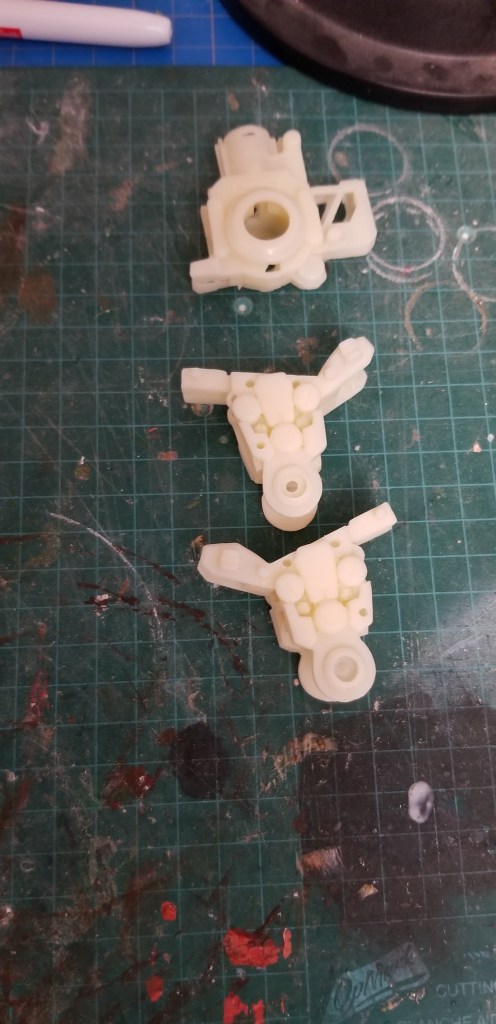
Also, rule #2, for anybody keeping track, casting quality. Pay the premium for high quality casts from the original developer, don’t chince out and buy a recasting, as the quality will suffer, and add considerable time to your build. That’s IF you can over come the casting deficiencies you encounter. I can sculpt, but I don’t do hard edged mechanical stuff, so my best hope is that the outer armor has better casting quality that will hide much of the misshapen, or poorly defined details of the internal structure. Round holes are oblong, octagonal holes for nuts, are off centre and warped, details are lumpy masses, so… yeah. Don’t get suckered into buying the 1/3 priced stuff, as it’s going to cost you in the end anyway.
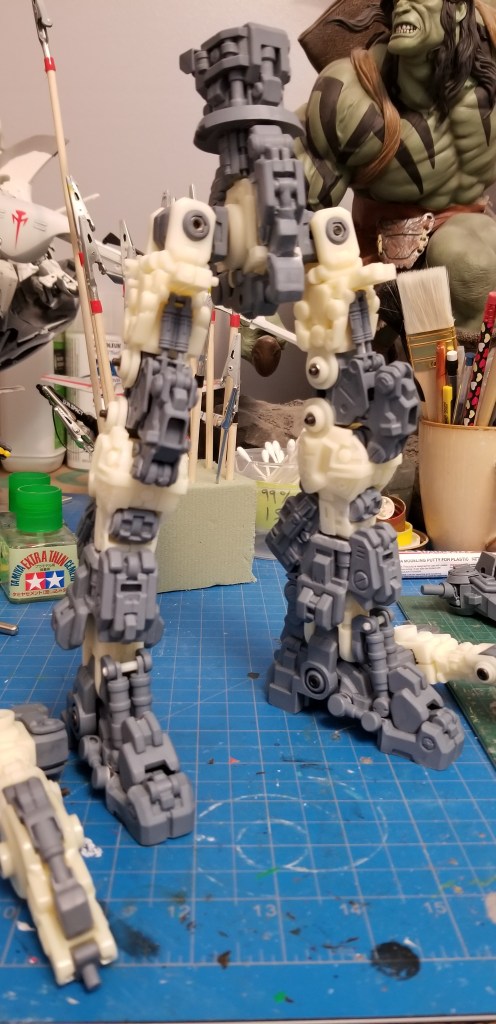
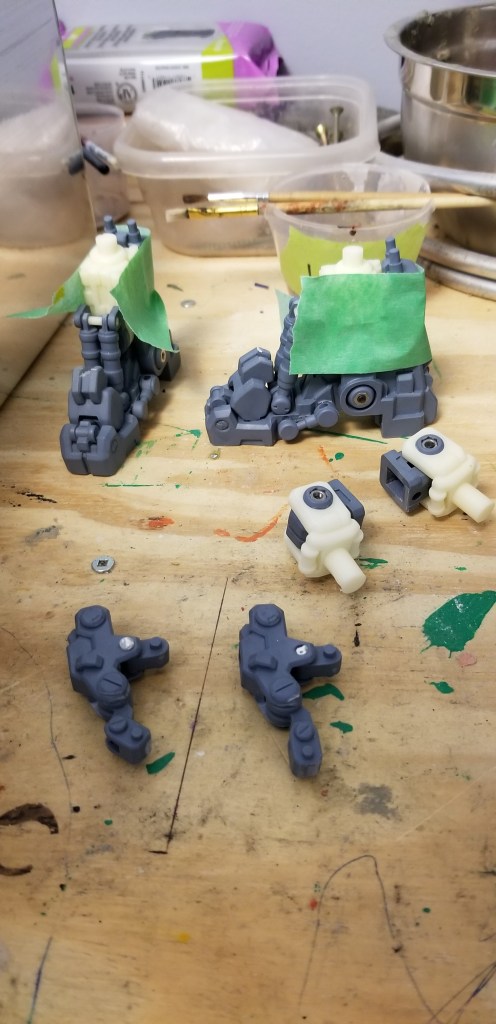
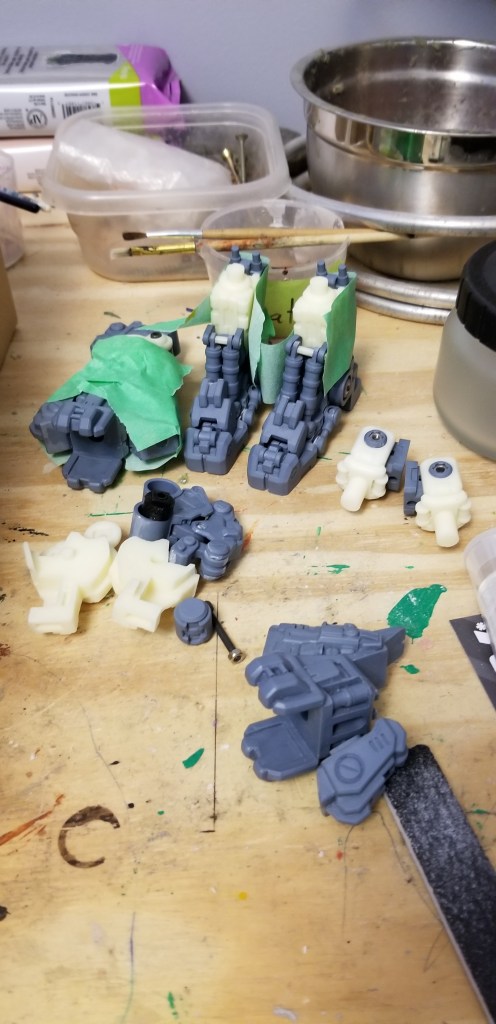
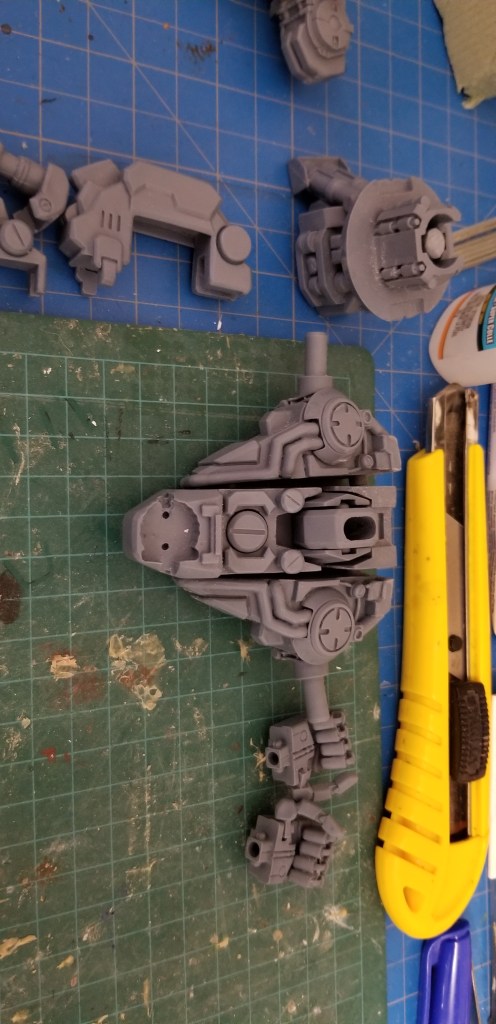
But, having said that I have managed, over the last five or six days, to build up roughly 80% of the internal structure for this massive (comparatively) model kit. I have the feet, legs, waist, lower torso, arms & shoulders built. I just need to figure out the upper torso and electronic wiring harness portion, and then I can wash (again – to remove all of the mould release agent) and begin to prime the internal bits. I’m ok if test fitting armor panels rubs off the primer, it will help me achieve a better fit. Plus painting won’t start for a while, beyond the priming stage. I may get this to a point where I can leave it for a good stretch, for a rainy day, or the cold weather again.
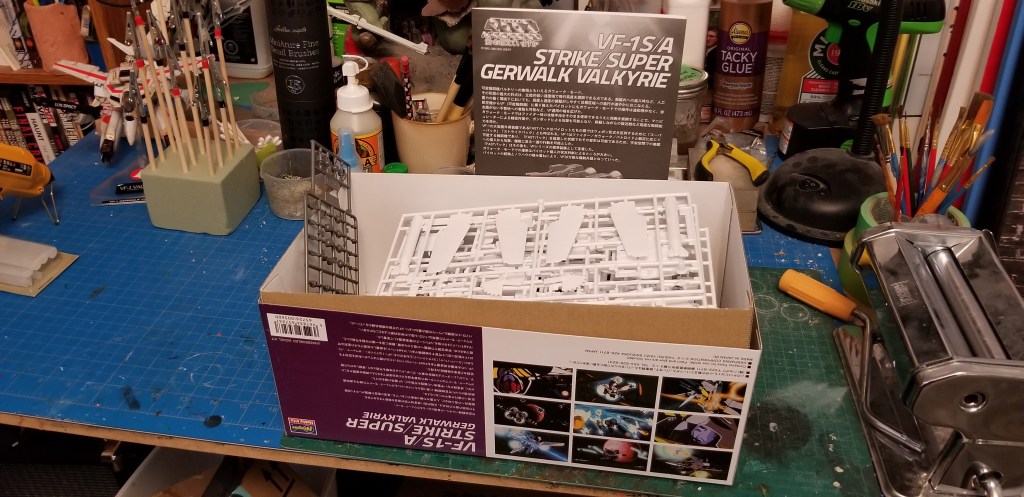
I started late because I was intimidated by all the resin (And Covid), and just how much fixing, and rejiggering I knew I was going to need to do. But now that I’m in it, and not in a rush, I am not too overwhelmed by it anymore. Funny how that works. Also for one thing the pour spouts on every single piece of armor need to be cut off, and sanded, which is several weeks worth of work. I can do that when I stop going outdoors due to the cold. I now, as the temperatures rise, want to work outside, or in my garage shop. I’ve made considerable headway on my Urn build, and I need to sand, test fit, pilot hole drill, and paint the Moose fence topper for my parents. Then figure out shipping across Canada to Campbell River BC.
So I promised some pictures, here they are in no particular order.


I spent some time on Saturday while it was warm working through the Urn build. I used wood filler to plug the pin head nail holes. I also touched up one mitered corner on the tray, and assembled the cover that goes over the main chamber & nesting tray. I have an obscene amount of sanding to do, and then a wipe on, polish off wax finish that I hope makes it all look cohesive, and wonderful. No stain for this one, just clear coat. I am toying with the idea of using a bit of trim around the base, but we’ll see how it all turns out after sanding, and rounding over some edges with a router. Easter weekend quickly approaches. I wanted to hand it off then. So I best get cracking! Ciao Bella!


You must be logged in to post a comment.