
The IT in question is sculpting stuff by hand. Several months ago I began a Ninja Turtle bust on a walnut base plate, but it has sat untouched since there was snow on the ground, and I have gone to Florida twice since that point. I was taking some time to teach my oldest daughter a few things about making an appropriate armature, and building up the rough forms before you get too far into your sculpt. And by too far into the sculpt I mean working in details when the bulk of the forms (read muscle groups, fatty tissue deposits, bones, and general thickness) hadn’t been placed upon the armature yet. It can be pretty seductive, those fun details. But best to get the whole thing in order before you put hours into skin texture, clothes, or artful extras. But I digress.
I have five full blocks of clay left untouched. As a general rule, mainly because I am cheap/not rich, I limit myself to only one block of clay per sculpture. That way I can do more! I don’t always adhere to that rule, and I have been known to try to knock out two smaller items off of one 2lbs block of clay. Living on the edge here people! Watch out.
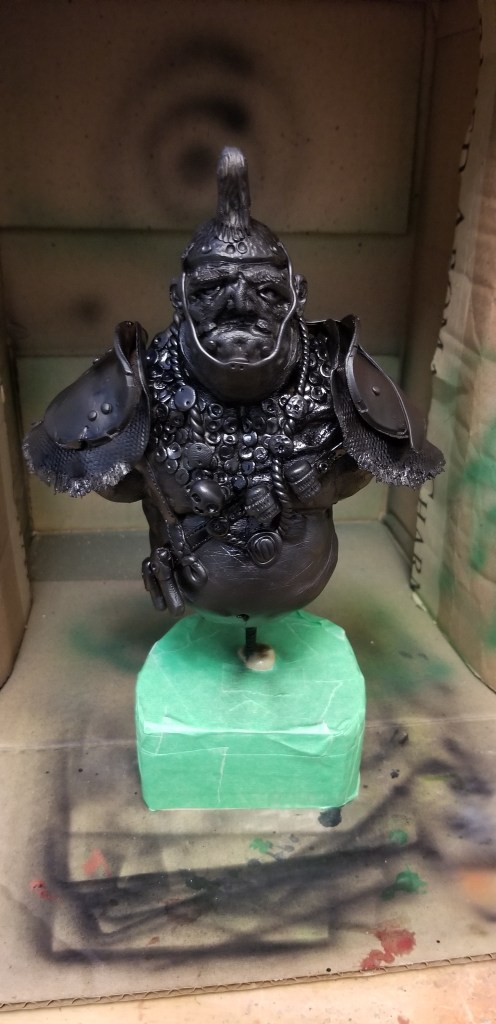
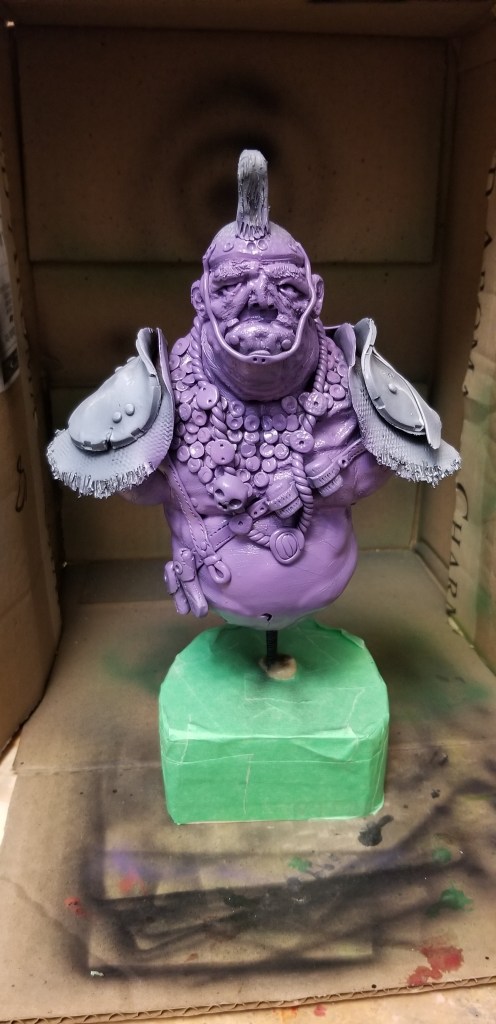
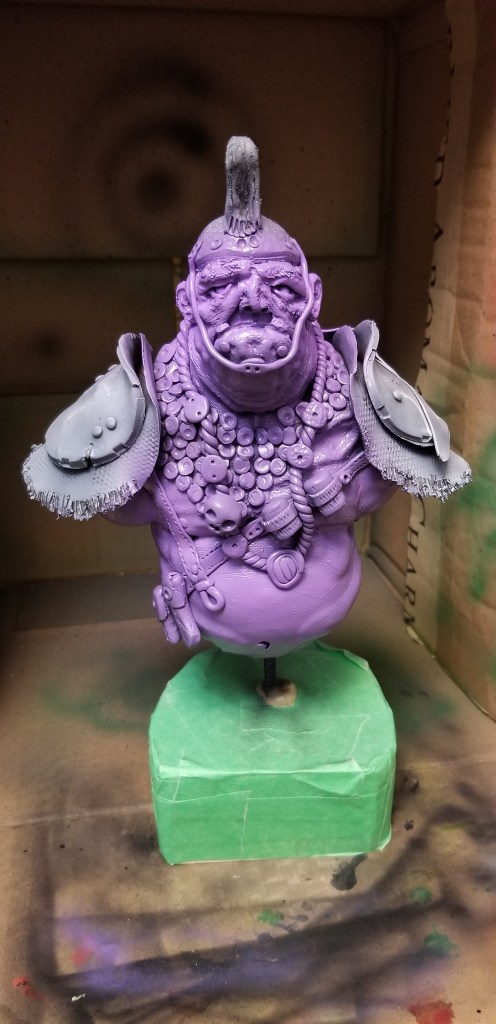
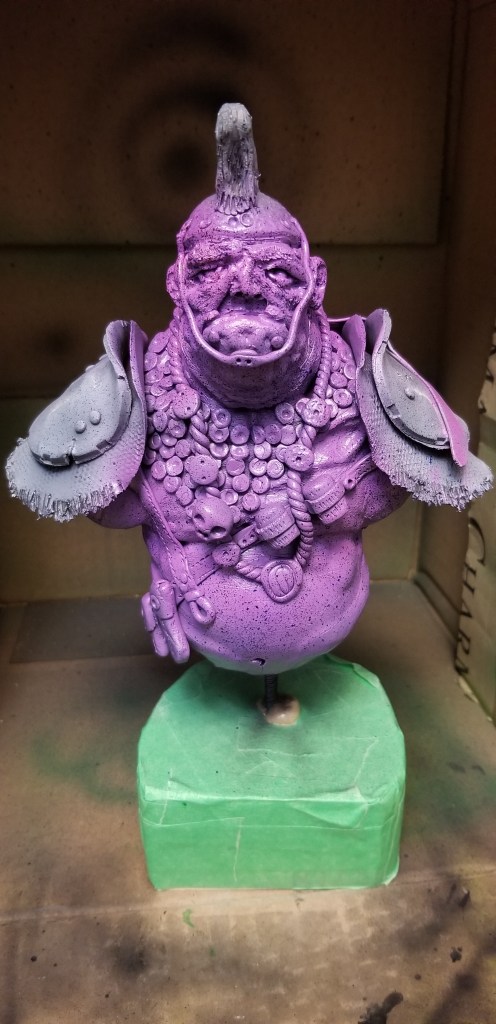
I also have a stock pile of Super Sculpey which I intend to use on a new fair entry. Not all at once. But I have enough I could do four 6-8″ tall busts along the lines of what I usually do. Ogres and beastmen of all types, goblins and gnomes, evil elves, and sailors alike. I have a minotaur that I sight copied from a fantastic sculptor from Greece. Whose name now escapes me. Fantastic sculptor though.
I could try a faircrow bust, of our event mascot, for this fall’s fair. That might garner some attention. Feels like pandering if you ask me. But whatever, at this point. Sculpting, much like any art form outside of the use of AI, is a use it or lose it scenario. Because I tend to go on a hot streak, and then move on for months st a time, I constantly have to relearn how things feel in my hands, and how the Clay’s react go my touch. If you don’t do it 24/7/365 you lose your sensitivity to it. I’m not paid to do it, so that’s ok with me. I can take a few days or a week or two to get back into the groove.
I do the same thing with wood working, playing guitar, writing short stories, and model building/painting with an air brush. My focus pulls from one to the other, on and on, all year through. I’m ok at a bunch of stuff, but not exactly a killer at any one thing. Duh!
On another note, I encountered a smell/sensation that reminded me of when I was really sick in 2015, and it has me a little spooked today. That was when I had EBV. Really unpleasant 6-8 weeks. Plus a nasty lung infection/pneumonia to go along with it. So… yeah. That’s not cool.


You must be logged in to post a comment.