The Coffee Table Build Episode.

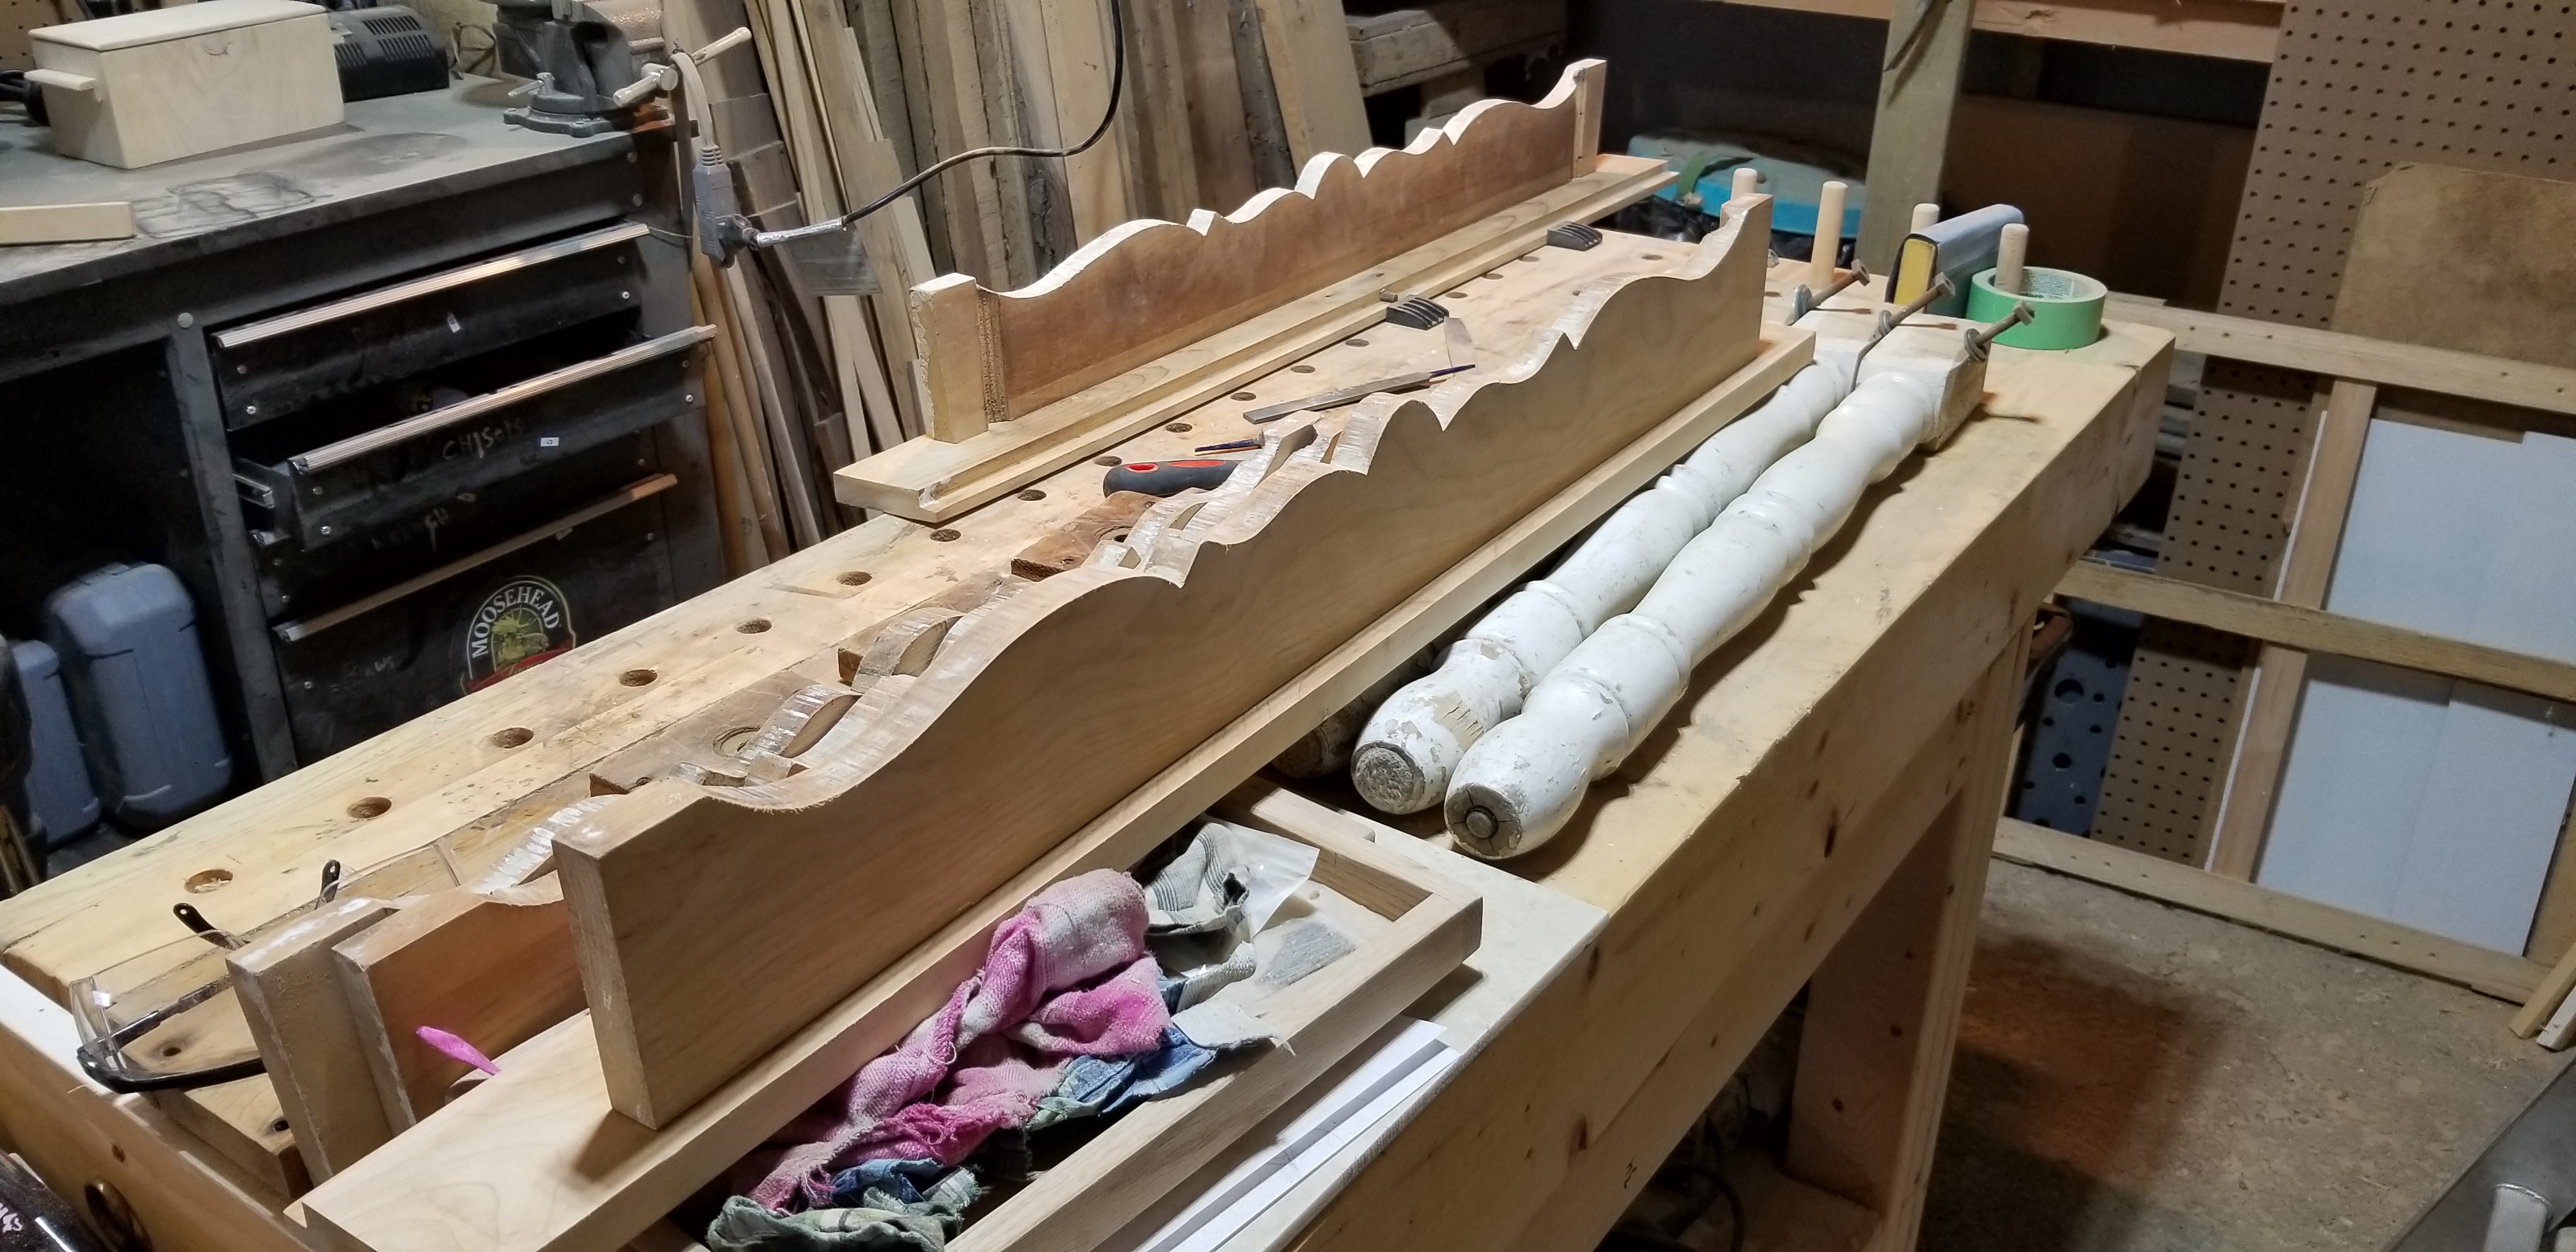
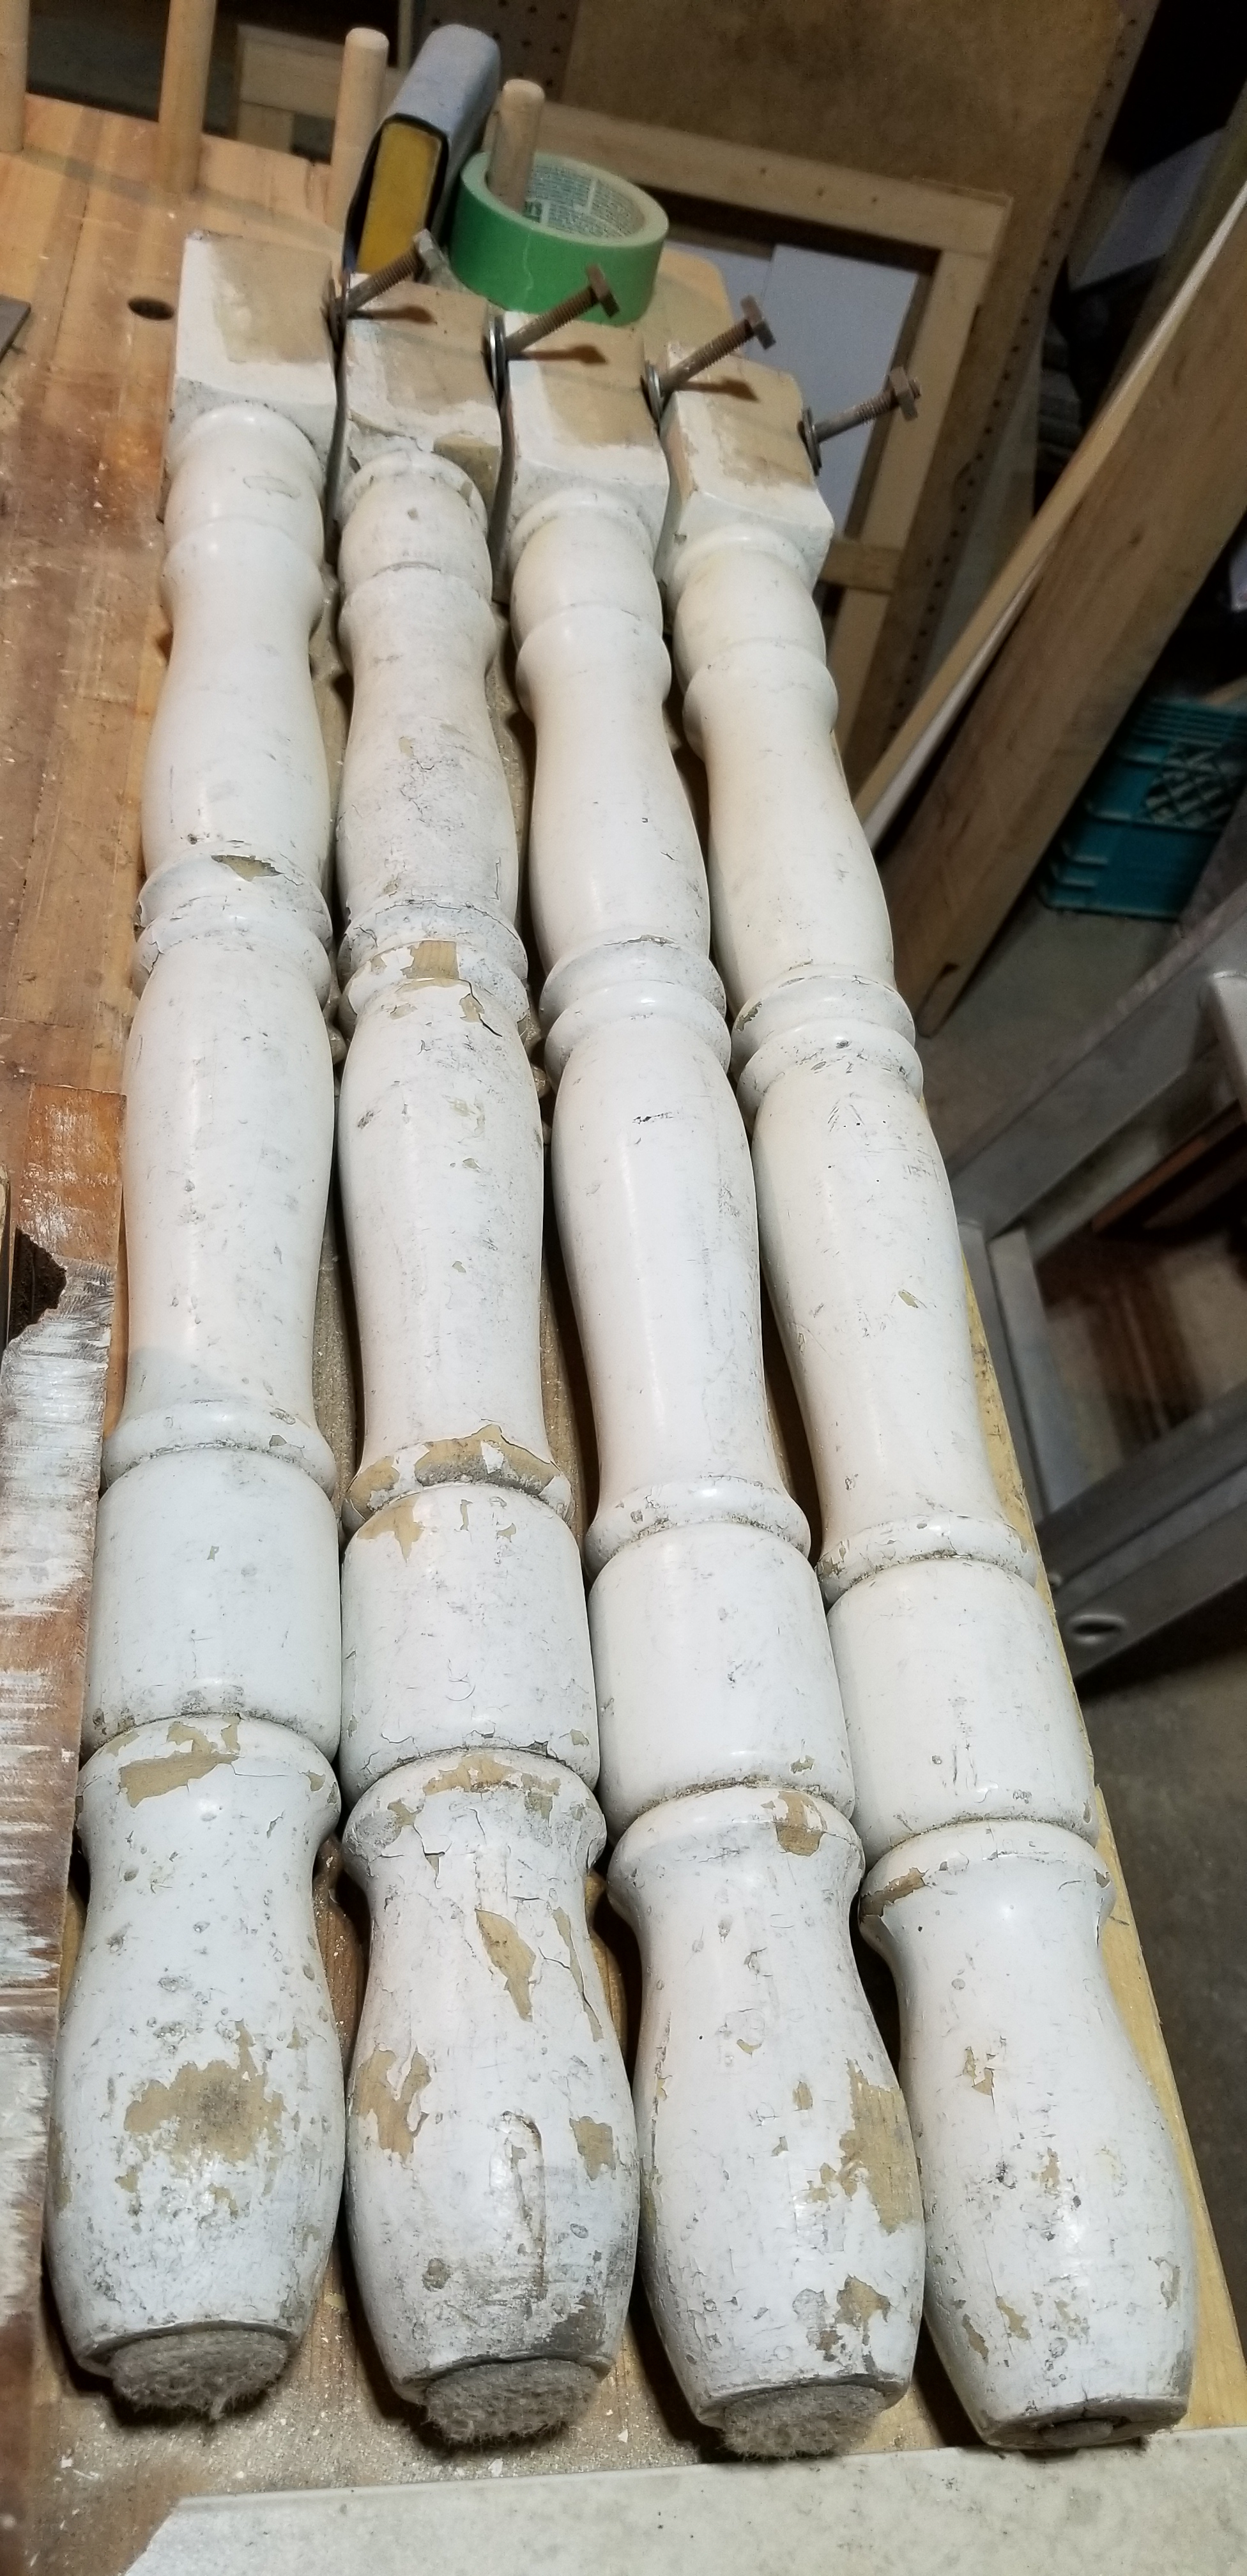
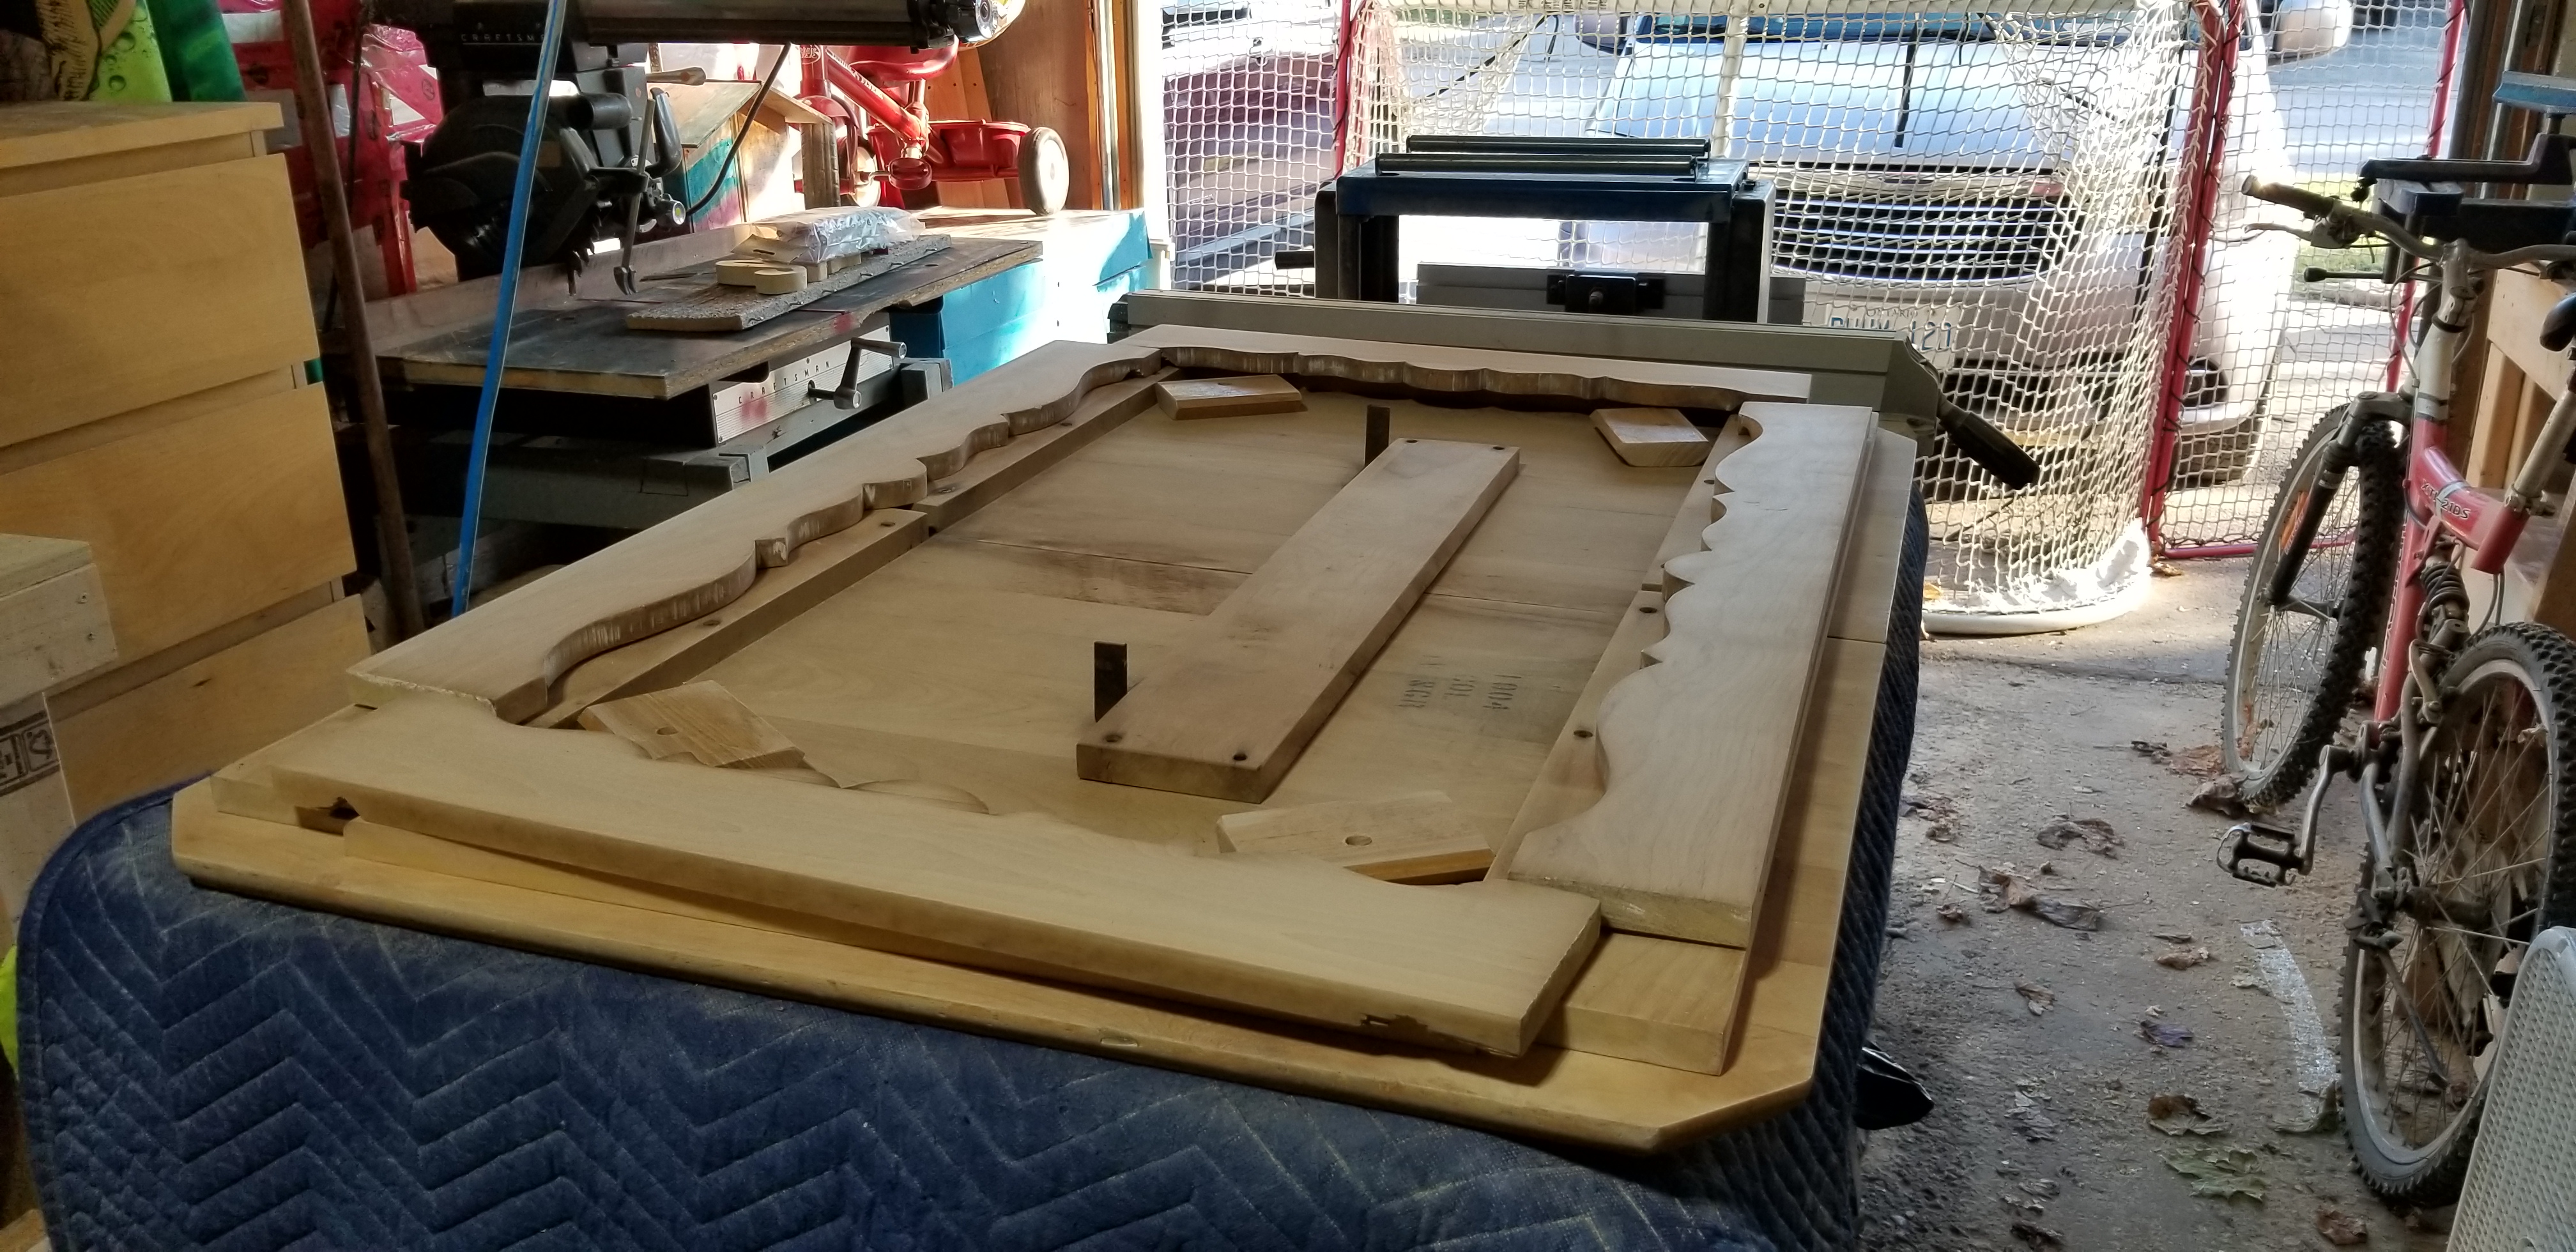
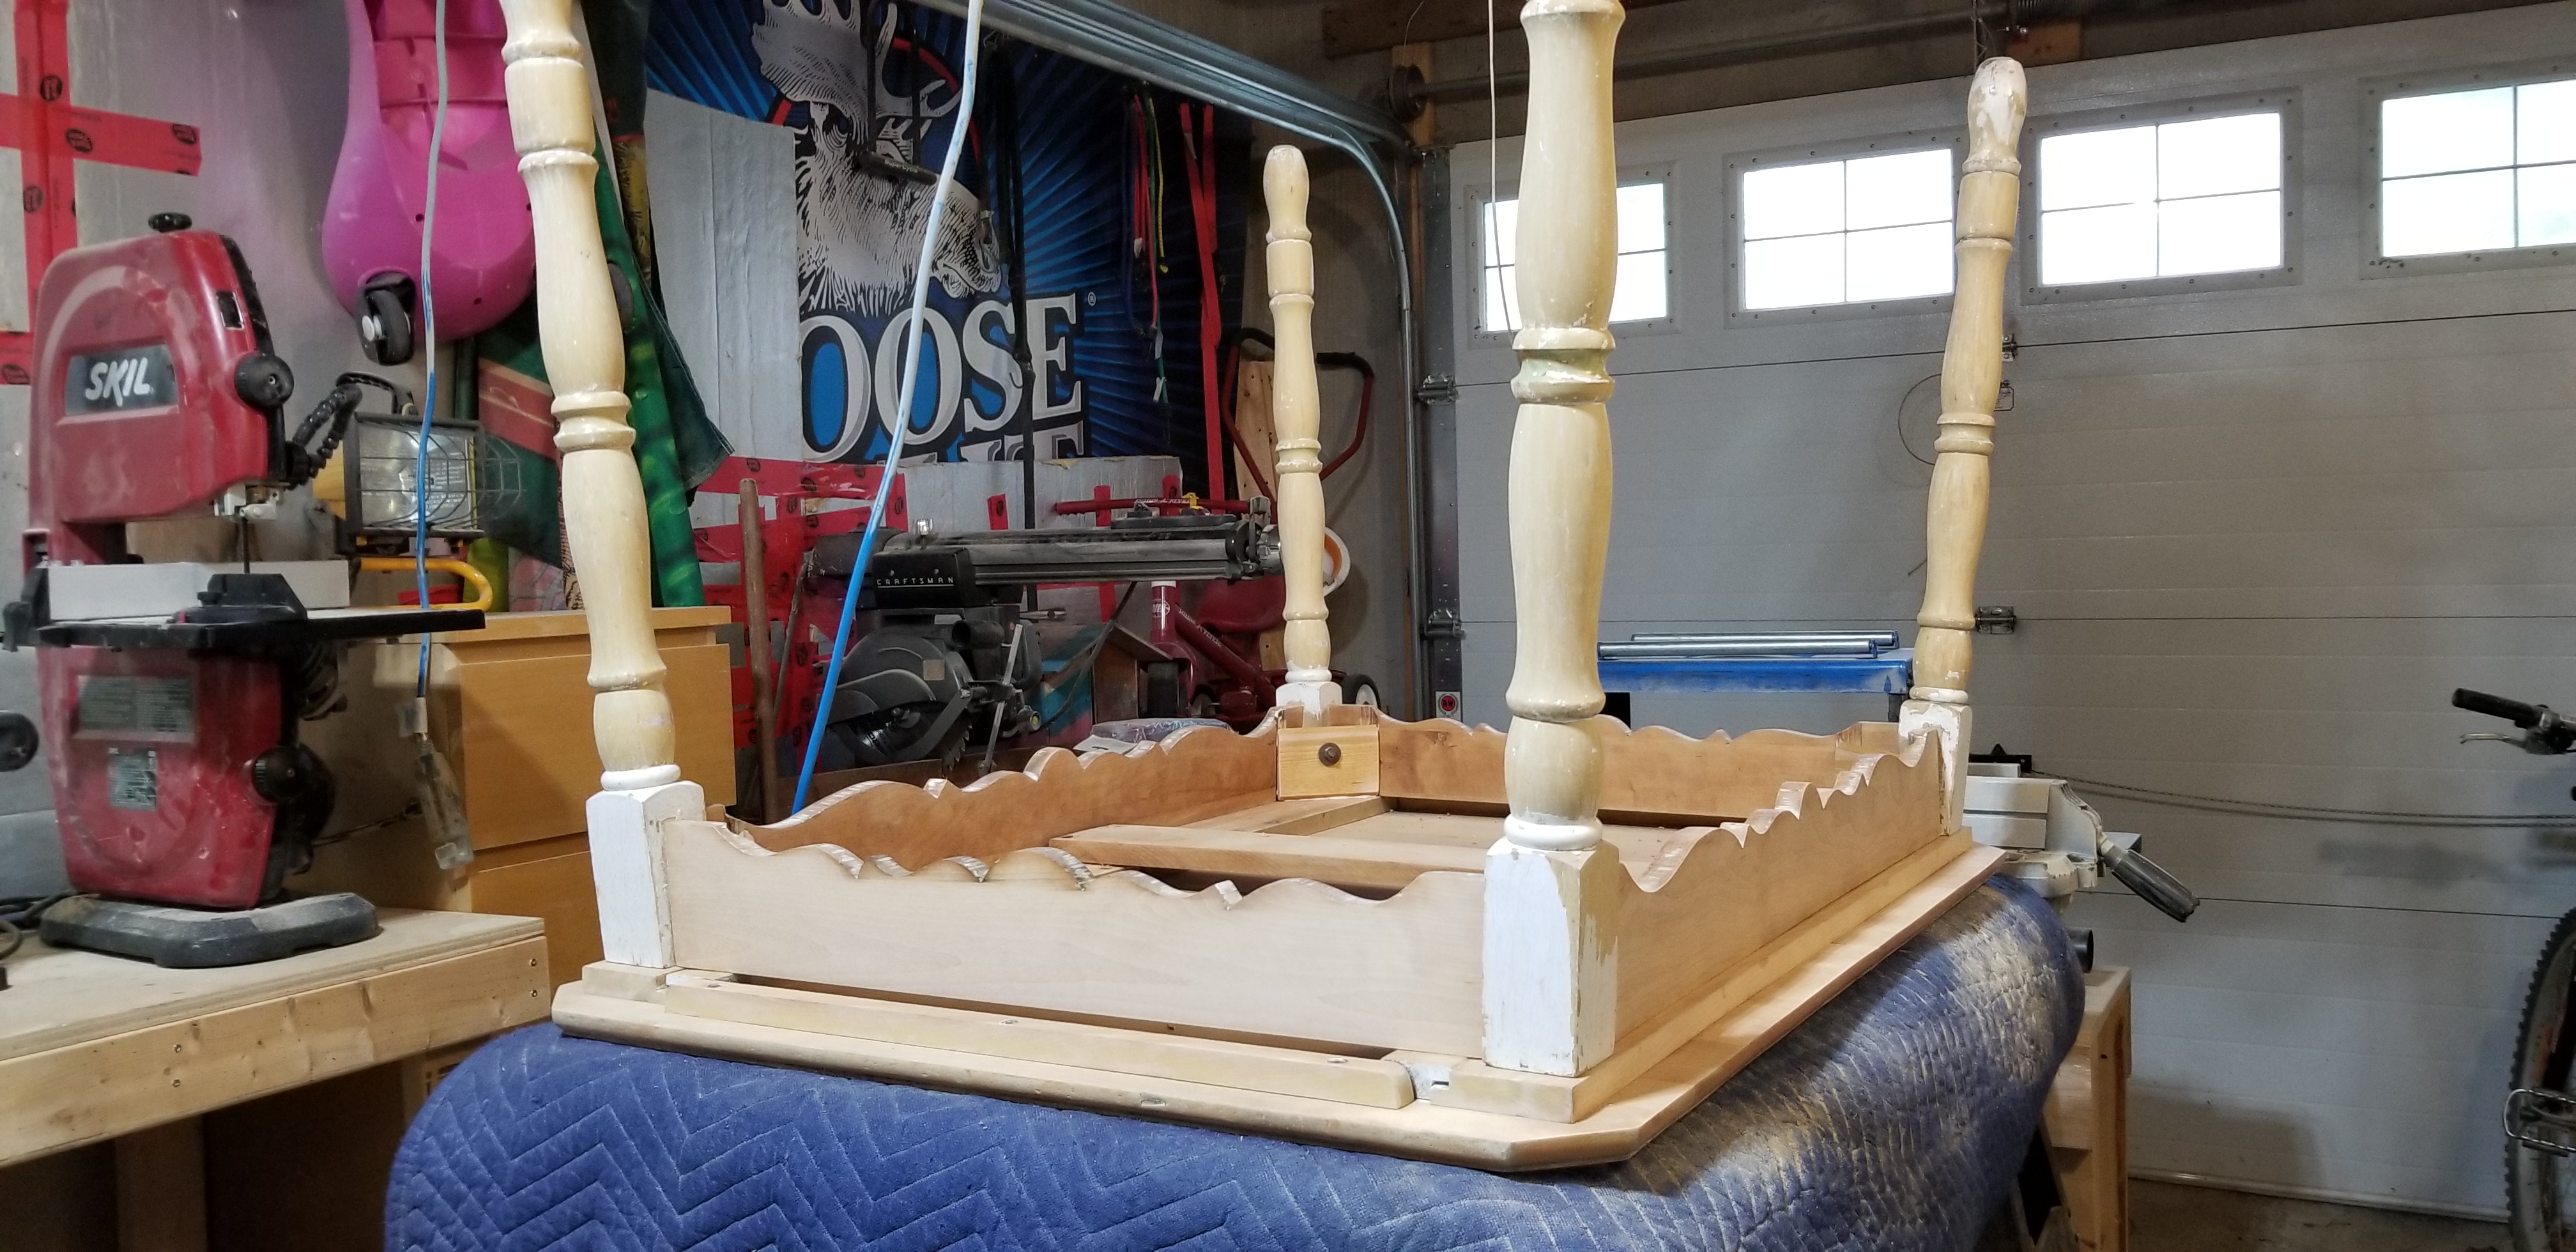
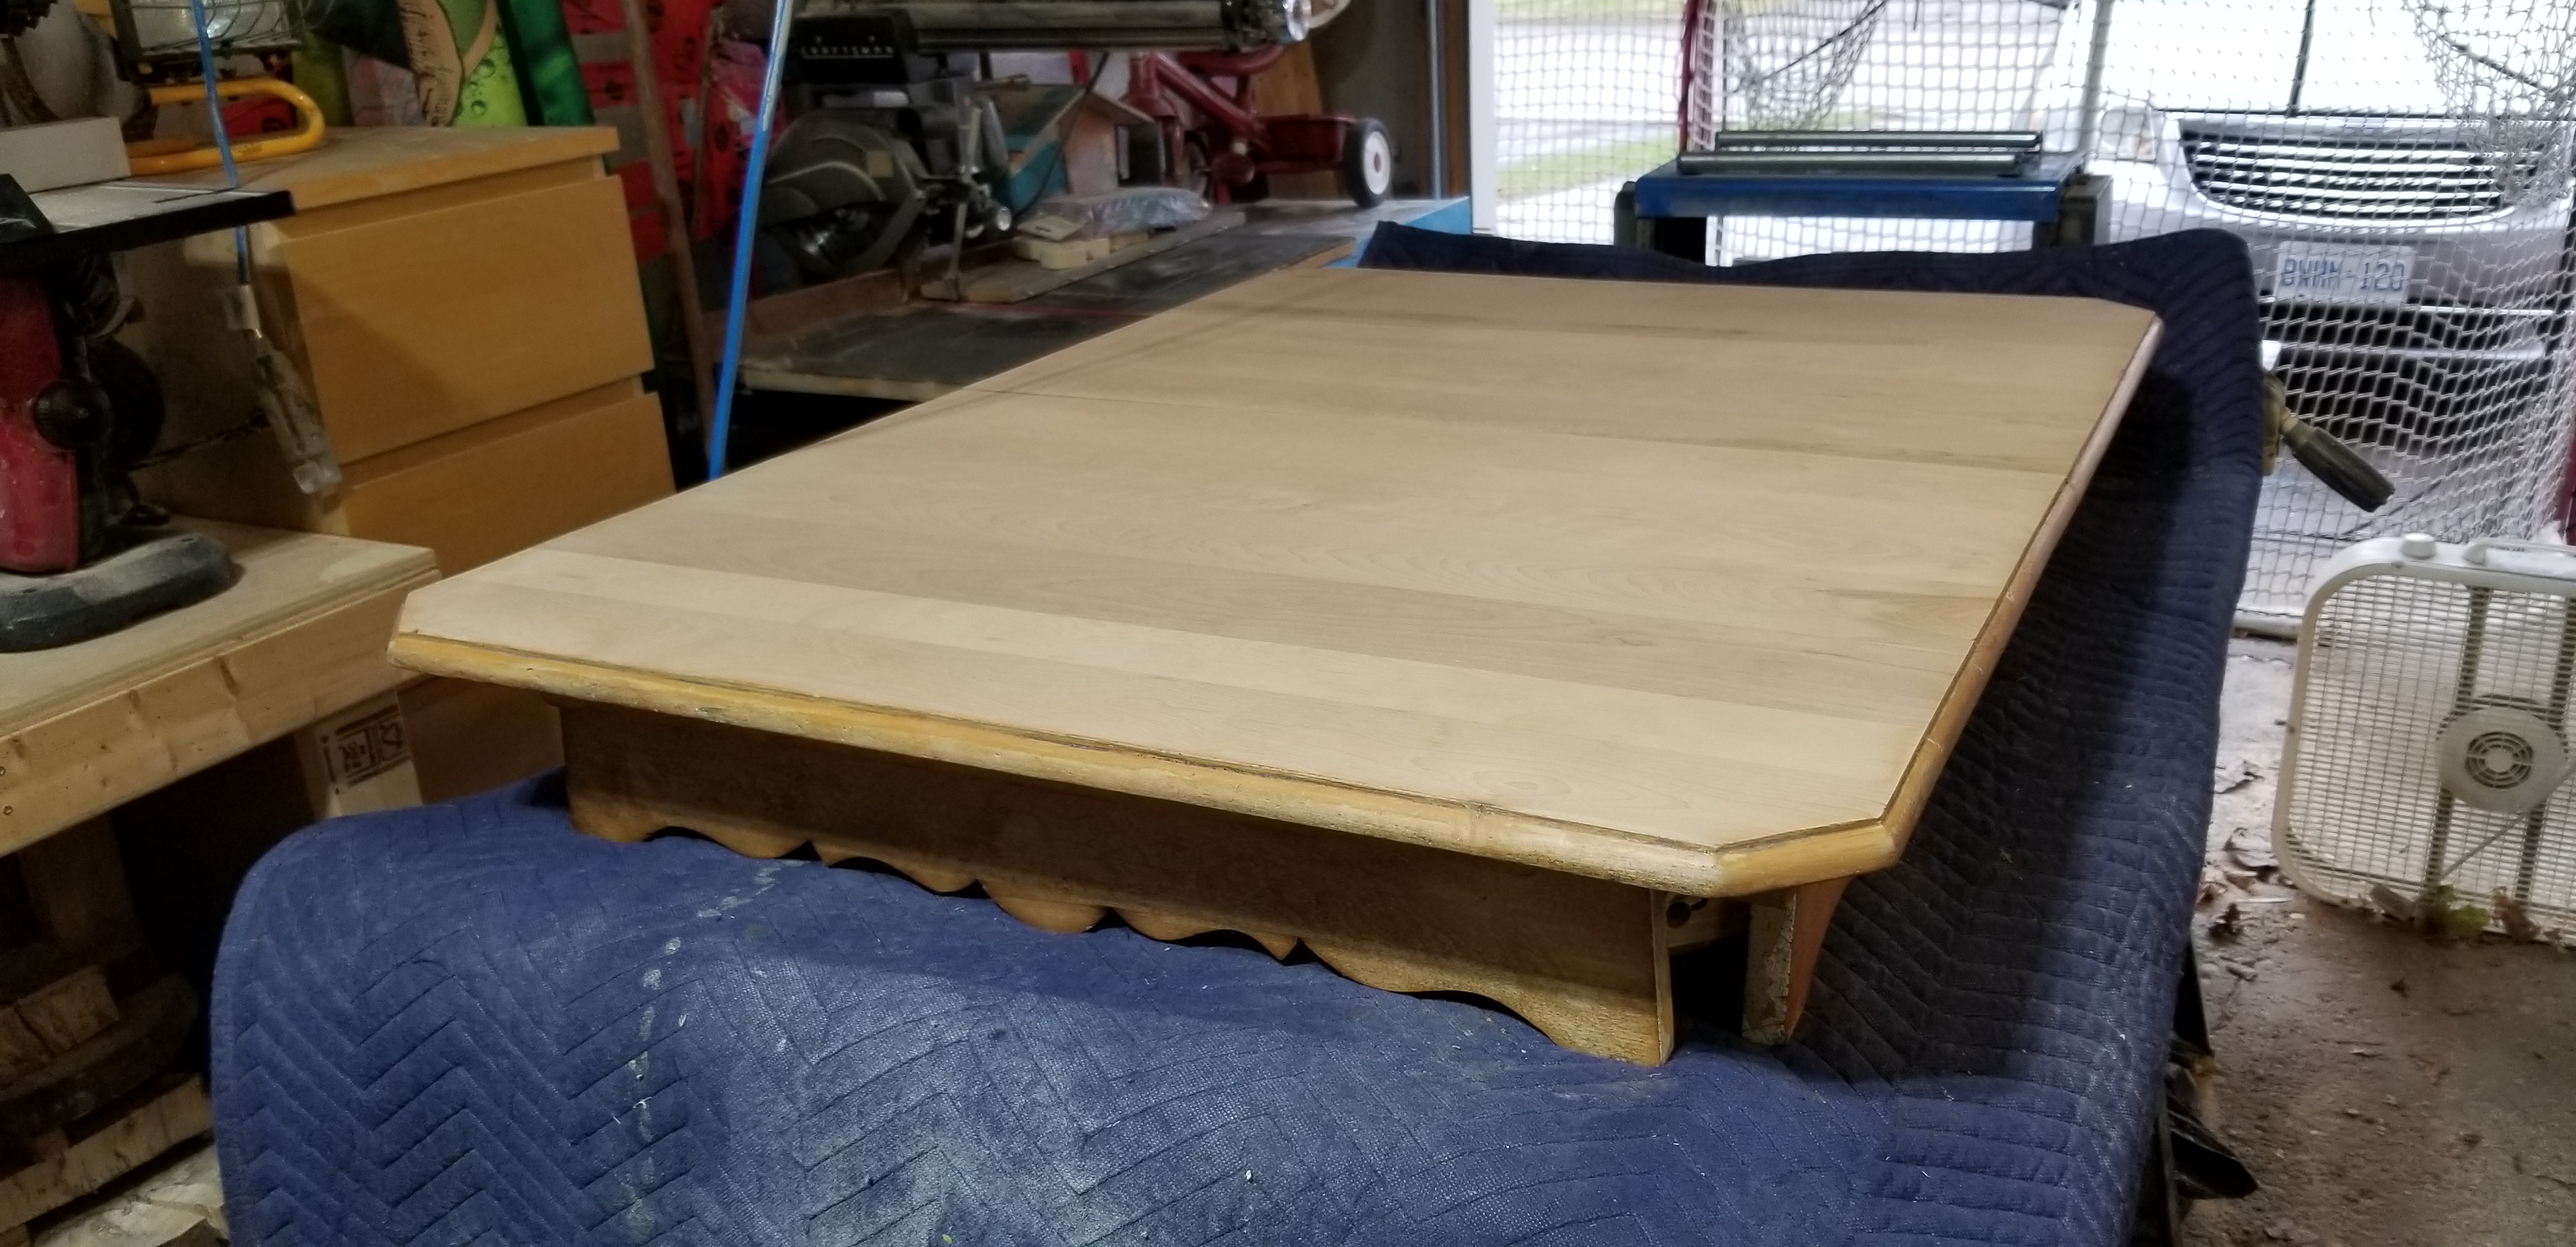
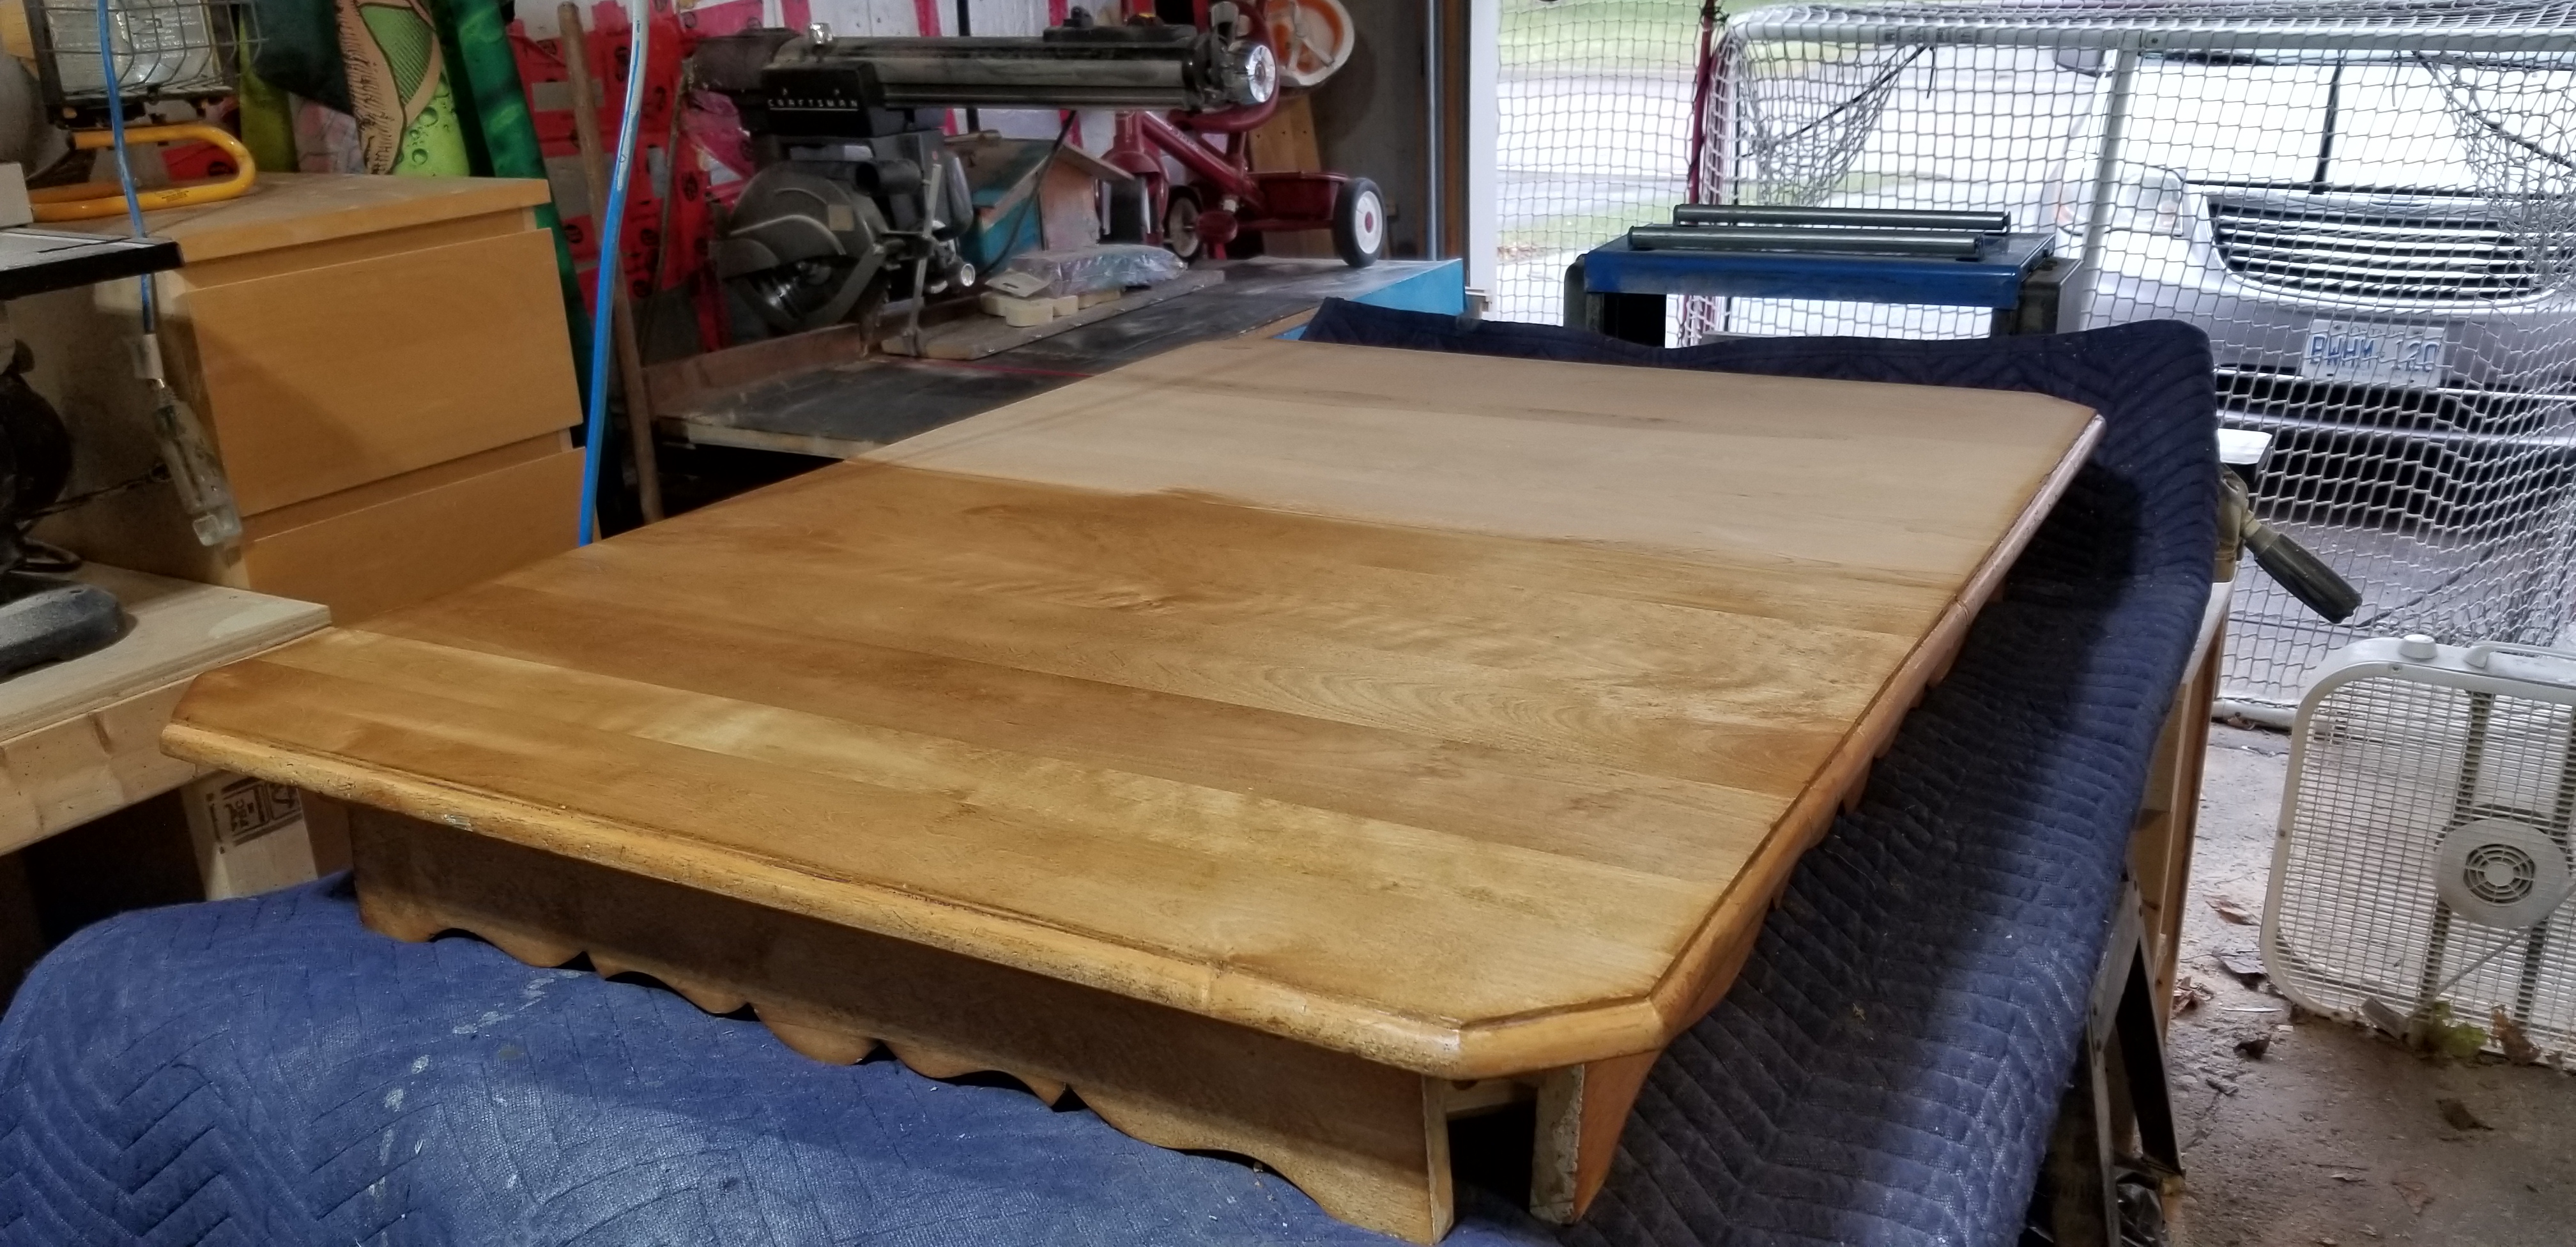
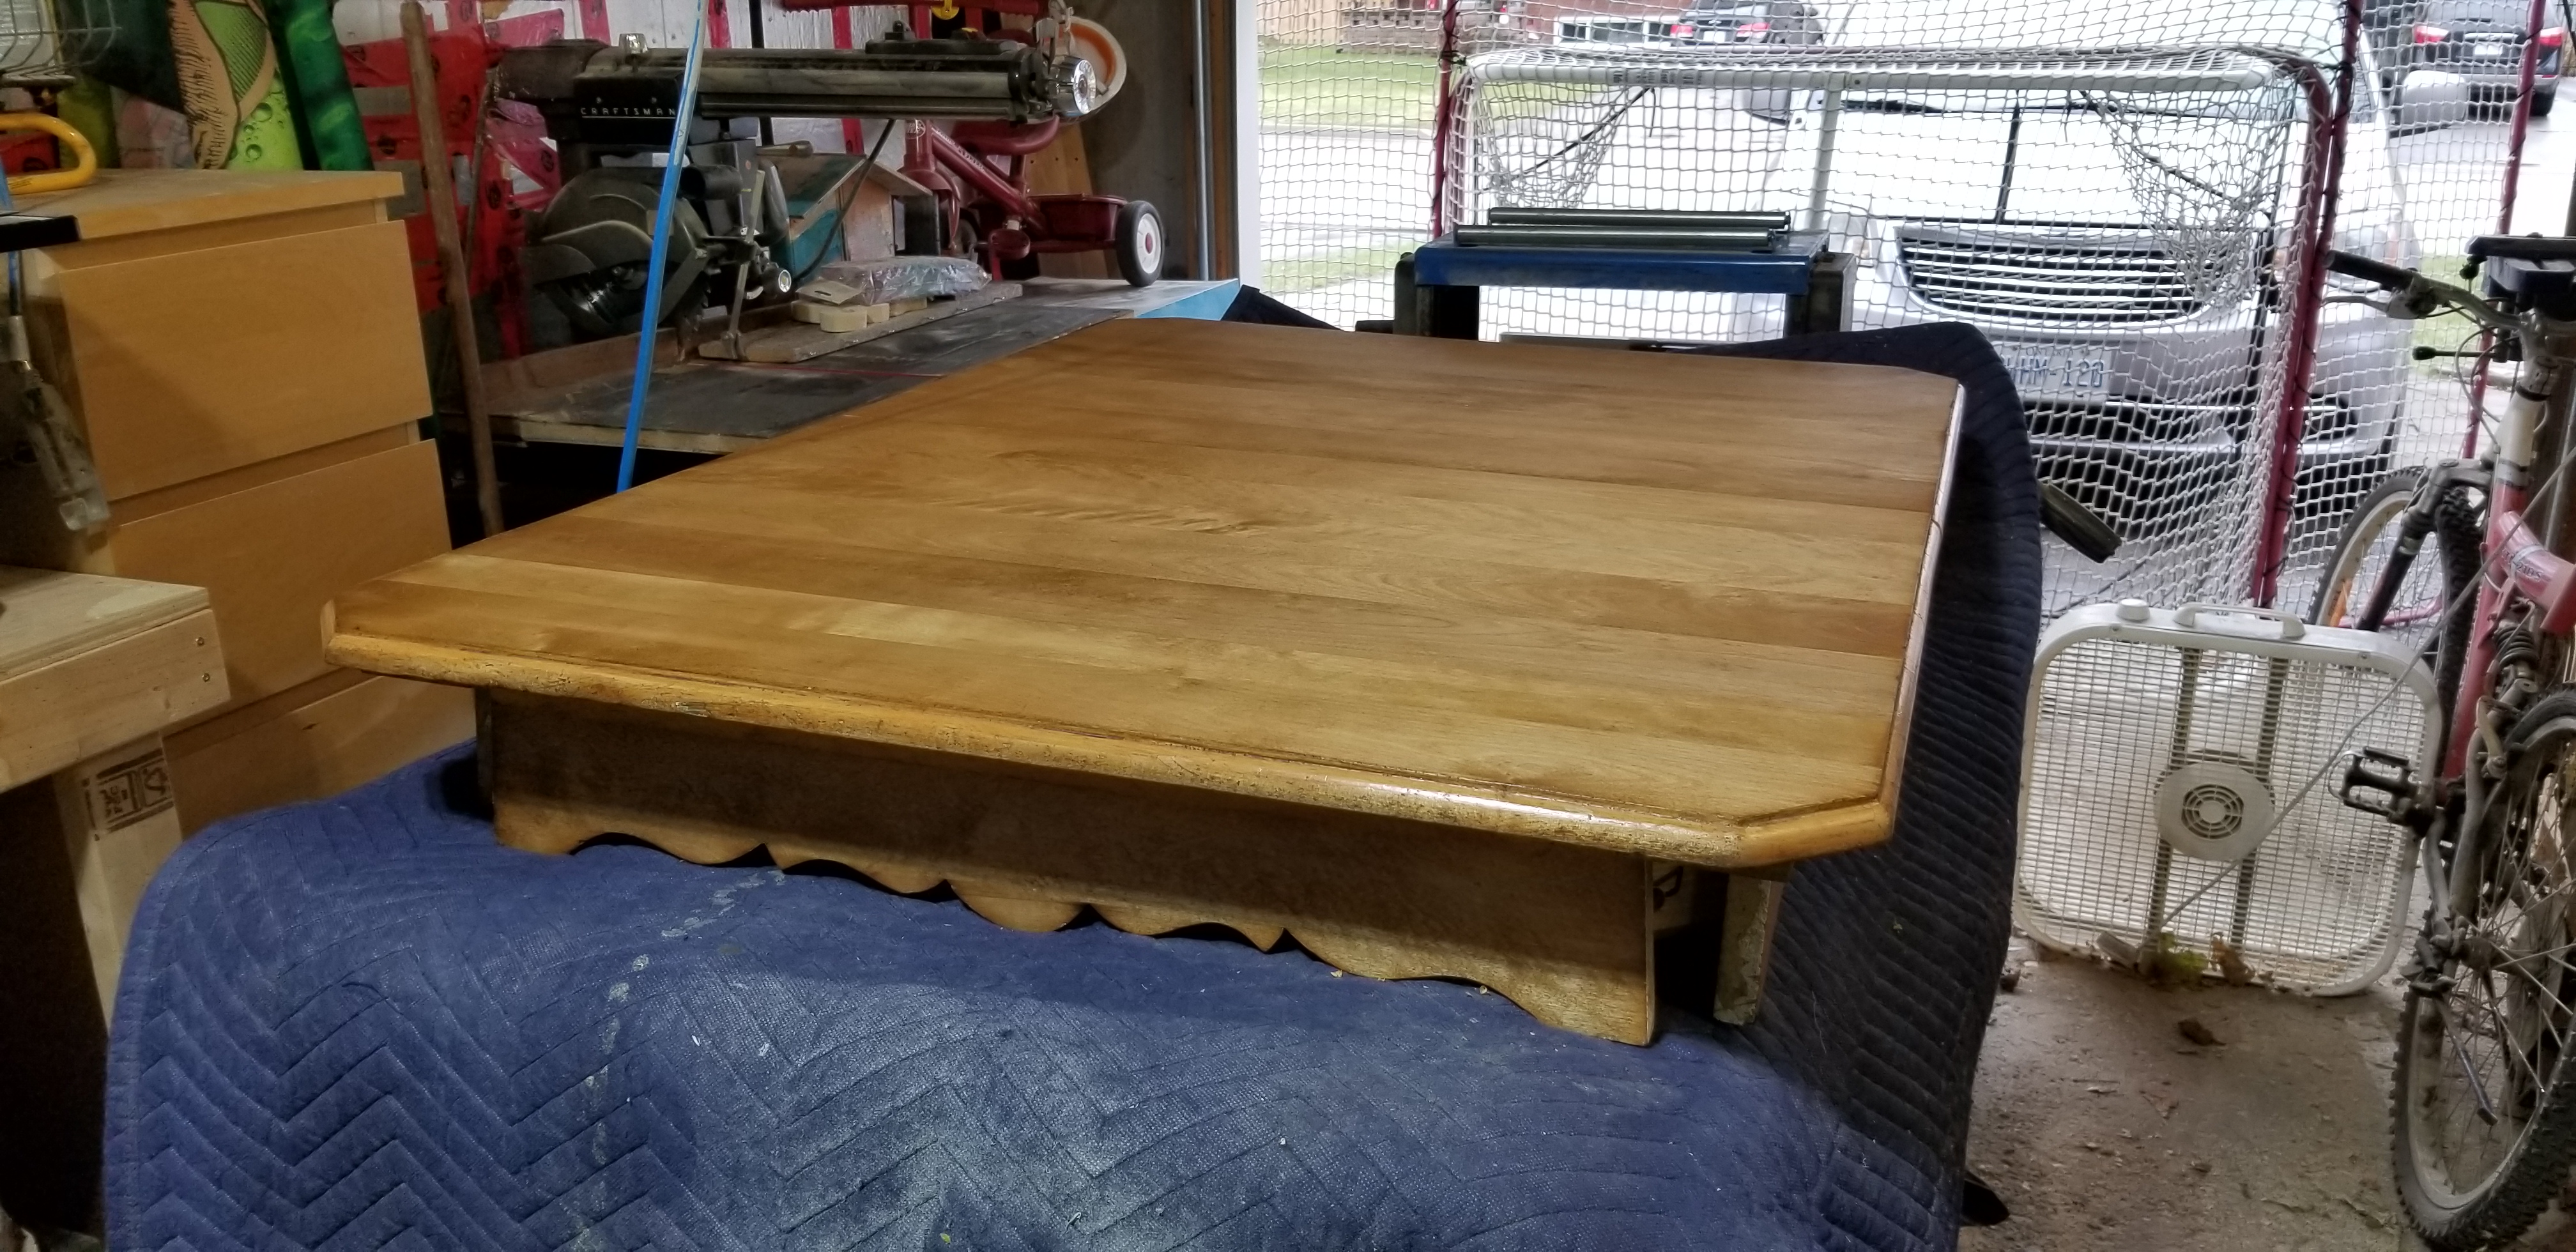
The one that started out being about turning two book matched Hickory slabs into one monolithic water fall edged table, with a fat & chunky Ash leg on the opposite end. Then I pulled the slabs out from storage and the small one was perfect, and the show piece was cracked in three so badly it snapped in my hands. So new idea. A smaller coffee table using one live edge slab as the top, and the broken pieces of the other as the legs. Then I hated the live edge aspect, and cut it down into a more traditional rectangle. Chopped the Ash chunk into four legs, and decided it was a boring blob of a thing. So I cut skirting, and then I thought, what if I use a Dado to inset the skirting on the interior side of all four legs. After that I figured I should add a drawer that was shallow, and use the skirting to hold up and slide the drawer out, rather than metal drawer slides. Much cheaper option too. Then I thought, well the drawer is so shallow I could build a slatted shelf about 6″ up from the bottom of the legs. I looked at my available raw materials and saw I had to go front to back with six slats rather than across the width. I was hoping to make it look and feel longer by running the open slats across the longer axis, but materials dictated I go otherwise. Not angry. My last vestiges of doubt were on just doing a clear coat vs staining with Danish Oil with a Walnut Tint. I don’t like the bleached look of Ash, so tinted stain we go!  Now once all of this dries I will clear coat with a Varathane brand Diamond spray finish from a rattle can.

I did my glue up in stages to try to offset my amateur hand cut mortises. The tenons I did on the table saw, so I knew they were as good as I could get those. I hand chiseled out a few other odds and ends, but the bulk was done via circular saw on a track, and my Rigid 4512 Table saw. This was the first time I’ve ever used a bow tie to stop a crack. That took some doing, but I don’t hate the end result. I used a flush cut saw to trim off the bulk of the bow tie that sat proud of the table top. Finessed some other over hanging bits with the flush cut saw as well.

Come the fall, I would like to purchase either one long slab or two matching from the same species and actually try a waterfall edge coffee table. I opted for my electric hand planer, and manual hand planes to finish the top surface. I built a router jig out of angle iron to try to flatten the surface of my slabs, but I haven’t yet built the rails/ Saw horses it is meant to stack on top of. I have it ready for next time.

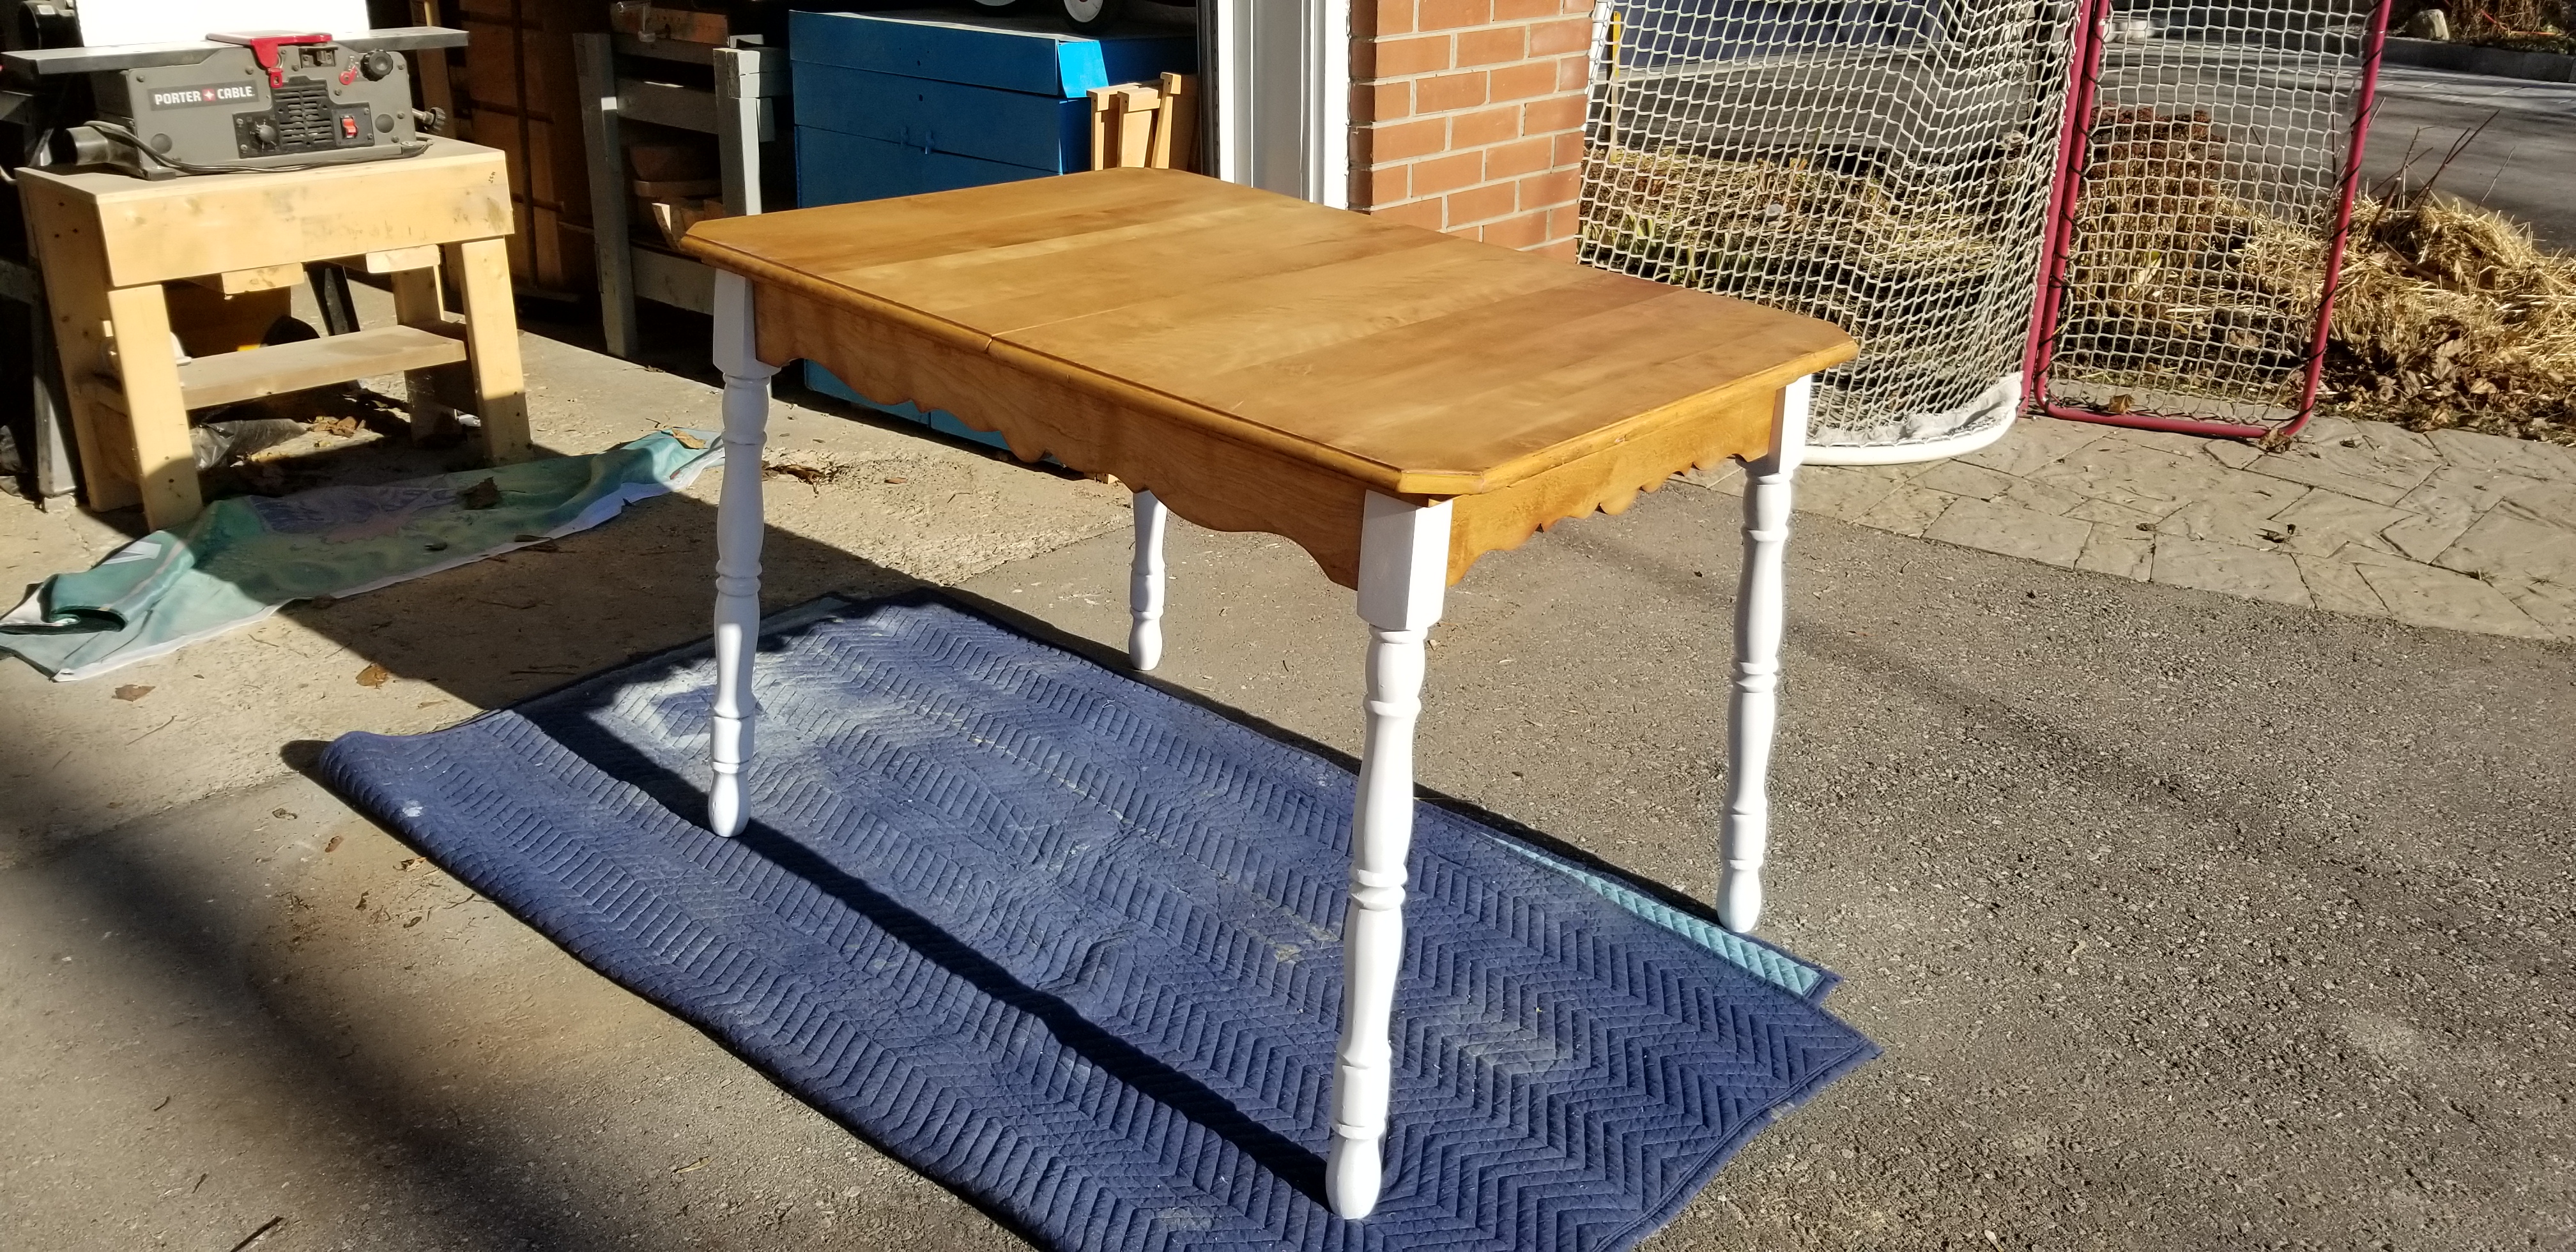
It’s not perfect by any way, shape or form, but I’m slowly getting better at whatever I’m playing at. Should look fine at the cottage or in the basement with my first ever coffee table build from years ago.

Phew! That was a mad scramble…

But now it’s time for something a little different. I’ve been tasked with building two new replacement newel posts for my FIL. The current ones have rotten over the two decades since they were installed, so I’m hoping that the two new Cedar ones I’m making as replacements hold up just as long or longer. I will prime them in thick white oil based exterior paint, so I hope that helps.

My conundrum is that I have two slightly different pieces of trim, enough to do one newel post cap each. Do I do them in similar but not the same trim (which I have on hand, and is therefore free) or do I go buy a full length so they both match, but it’ll cost me money to do so. Hmm. The problem with being cheap/frugal is you gotta be ok with things being eclectic, or slightly off and not at all matchy-matchy. It’s for an exterior entrance that nobody ever uses, so I think I can get away with it. The Cedar I bought for a Christmas gift for my BIL where in I didn’t need all 8 lengths, just seven of them to complete my signage gifts. So the cost was sunk in another project. I think I have answered my own question.

My wrist is aflame from yesterdays mad rush of 182 images, with an additional 74 this morning. I am done on my end, awaiting review and any change orders or additional requests. Glad for the work. It made Friday fly by without any fuss. Our holiday plans changed on us by way of “The ‘Vid” so we are searching for a way to remedy that in the near future. Oh well.

Still no new progress on my childrens book. I might shelve it for the time being. Mind you, I still have five more weeks of school days in which to pick it back up before schools out for summer and my minions are home full time for 9 weeks. Then I will get very little done by way of hobbies. But I will accomplish paid work, don’t you worry about that. I think I have one or two reports coming for the summer and one more for the fall. Not terrible, not great. I hope for more than that. Or some extra can labels, t-shirts & apparel, retail signage, catalogue work or build from the ground up branding/packaging work in the alcoholic beverage space.

Though, maybe I should stop chasing the nostalgia of my alcoholic beverage packaging days. Rose coloured glasses and all that jazz. I once had the opportunity to build, from scratch a proprietary glass bottle, and it was looking amazing, but the job was put on hold during a personnel issue inside the brewery/distillery and I never got to see the design go to market. We had built a series of eight flavoured cans too for a Mimosa project, well ahead of the curve, but that got stopped too. Much to my chagrin. It was good work on my part, and that of the brand team. I was very upset to see it go nowhere.

Reading a whole novel series aloud.

Was both one of the hardest and most rewarding things I’ve ever done. It took me just shy of a year and a half. I read the entire seven book Harry Potter series to my eldest daughter once she showed me she could pay attention long enough to make the exercise worthwhile. We started book one by reading half a chapter at a time, doing voices and dramatic pauses, sounding less like Alan Rickman as Snape and more like Will I am Shat tner. We read the first book three times in a row before she was comfortable enough to move on to book two, which we read twice. My throat took a real hit reading out loud every single day. Once the shit downs hit, and school went on line, we would read chapters throughout the day as well. We did that right up until this summer when we finally completed the whole series, and moved on to Percy Jackson, which was ok, but nowhere near as entertaining. We have yet to finish the fifth and final book of the series. Not sure if the payoff will be worth it. The whole point was to spend time together doing something fun, and imparting a life long love of reading and storytelling. I know that I’ll remember it for the rest of my life. I hope to some day read The Lord of the Rings to both kids. Then we can watch and enjoy the films together as well. Or I’ll enjoy it and they’ll tolerate it and move on which is fine to. I show them the thing of interest, and they can choose to enjoy it or find something else that interests them instead. I want them to like this stuff, but I don’t expect them to love it or become obsessed with it. I just want to be the one to offer it up to them, I don’t care if they don’t want to wrap themselves around it like I did as a preteen/child. I just want to introduce them to stuff I like so we can share it for a bit, as a fun experience and then let it go. If they adopt it – great, if not, at least we shared it for that brief moment in time.

The Table Refinishing Project of late 2021

Some of you might know that in late summer through until late fall I had attempted to build a screen door for the back of my house, which I started far too late, and missed open window / wide open door season by several weeks. So that lead me to putting that project on the back burner until Spring time when I feel as though I can devote time to it, and the weather will warrant my doing so. So, after putting that on hold I wanted another project to do in my down time between paid graphic design work. The table was delivered in several pieces on November 2nd, as I recall, and was in a state of disrepair.

It had cracked and crumbling paint, water stains, mould, flaking lacquer finish on the top, and smelled a bit funky to boot. It didn’t have any middle leaves, and the leg attachment points were worn out or missing or entirely broken. So it required me to strip it all down to bare wood, cut new hardwood braces for the legs, glue/ screw / pin nail portions together and then to be refinished with stain & paint and possibly if the weather holds out a clear coat on top of Varathane’s Diamond Wood Finish.

Follow along on my mini wood refinishing project from November / December of 2021

As I stated earlier, the table arrived in pieces, and I needed to break them down into smaller parts for cleaning and sanding, and looking for any major cracks, weakness or damages. This didn’t take me more than about thirty minutes for the whole table. I knew the leg braces were either missing or broken, and that the lower portion of the table legs would need some putty work. No big deal there. I opted not to use any chemical strippers on the table as I don’t have an exhaust fan at the moment, and smells from the garage make their way into the basement (which isn’t ideal). So I used sanding, a whole shit load of sanding. I went from 40 to 60 to 80 to 100 to 120 to 220 grits on all of the parts. The table top I went an extra step and went up to 320 grit, because I had it, and it gets so smooth, it feels like glass. My work flow was to do every piece using the same grit, so that I always knew where I was with my sanding schedule. It helps that this old workers table was put together with a lot of screws, so I could disassemble it easily to get to all of the nooks and crannies. Also made putting the sections back together a breeze.

The legs were by far the most difficult portion to work on. I had originally thought I would chuck each leg into my lathe, turn the speed right down and sanding them with little to no physical demands on my body, but my four jaw chuck choose this moment to crap out on me, and replacing it was too expensive at this point in time. So the forty dollar heat gun makes an appearance and storms the barn! It was great. I could get through one leg in about 1 hr. After I had the heat gun and putty knife put away, I turned to a curved card scraper to really get in there and get those layers of nasty chipped old paint off of the legs. Leaves a nice finish that is easy to sand – relatively. Then it was about four hours of hand turning the legs with one hand, and sanding vigorously with the other. My forearms and hands did not appreciate this at all. Once I got up to 150 grit, I used an air compressor to blow off the dust that gathered in the crevices. I used the bolts to hang them up along my garage door, and then used a rattle can of white paint/primer 2X to paint them a bright white again. Originally I wanted to go with a softer off white, borderline yellow – feel more french with the walnut top, but I couldn’t find any, and I wasn’t going to drive all over town just to not find it. I let those hang dry, and then I artificially antiqued them with some 220 grit sand paper, and they were done.

If it weren’t so close to zero degrees celsius here in Ontario I would venture to add the spray on clear coat of Varathane Diamond Wood Finish, but I don’t want it to get chunky or spit out blobs that you can feel under your hand. So all in all it took me about twenty hours over six weeks to get this project done, and I enjoyed just about every minute of it, except those spindle legs! Straight blocky chunky legs only next time!

Two years ago I refinished a rocking chair, but I can’t find any of those images. Next year I hope to tackle either another table or perhaps a chest of drawers or an old hutch of some kind. Hope you have a great Holiday Season, Merry Christmas, and Happy New Year! May your wood working DIY projects go smoothly or at least teach you a valuable lesson. ~M