Some of you might know that in late summer through until late fall I had attempted to build a screen door for the back of my house, which I started far too late, and missed open window / wide open door season by several weeks. So that lead me to putting that project on the back burner until Spring time when I feel as though I can devote time to it, and the weather will warrant my doing so. So, after putting that on hold I wanted another project to do in my down time between paid graphic design work. The table was delivered in several pieces on November 2nd, as I recall, and was in a state of disrepair.
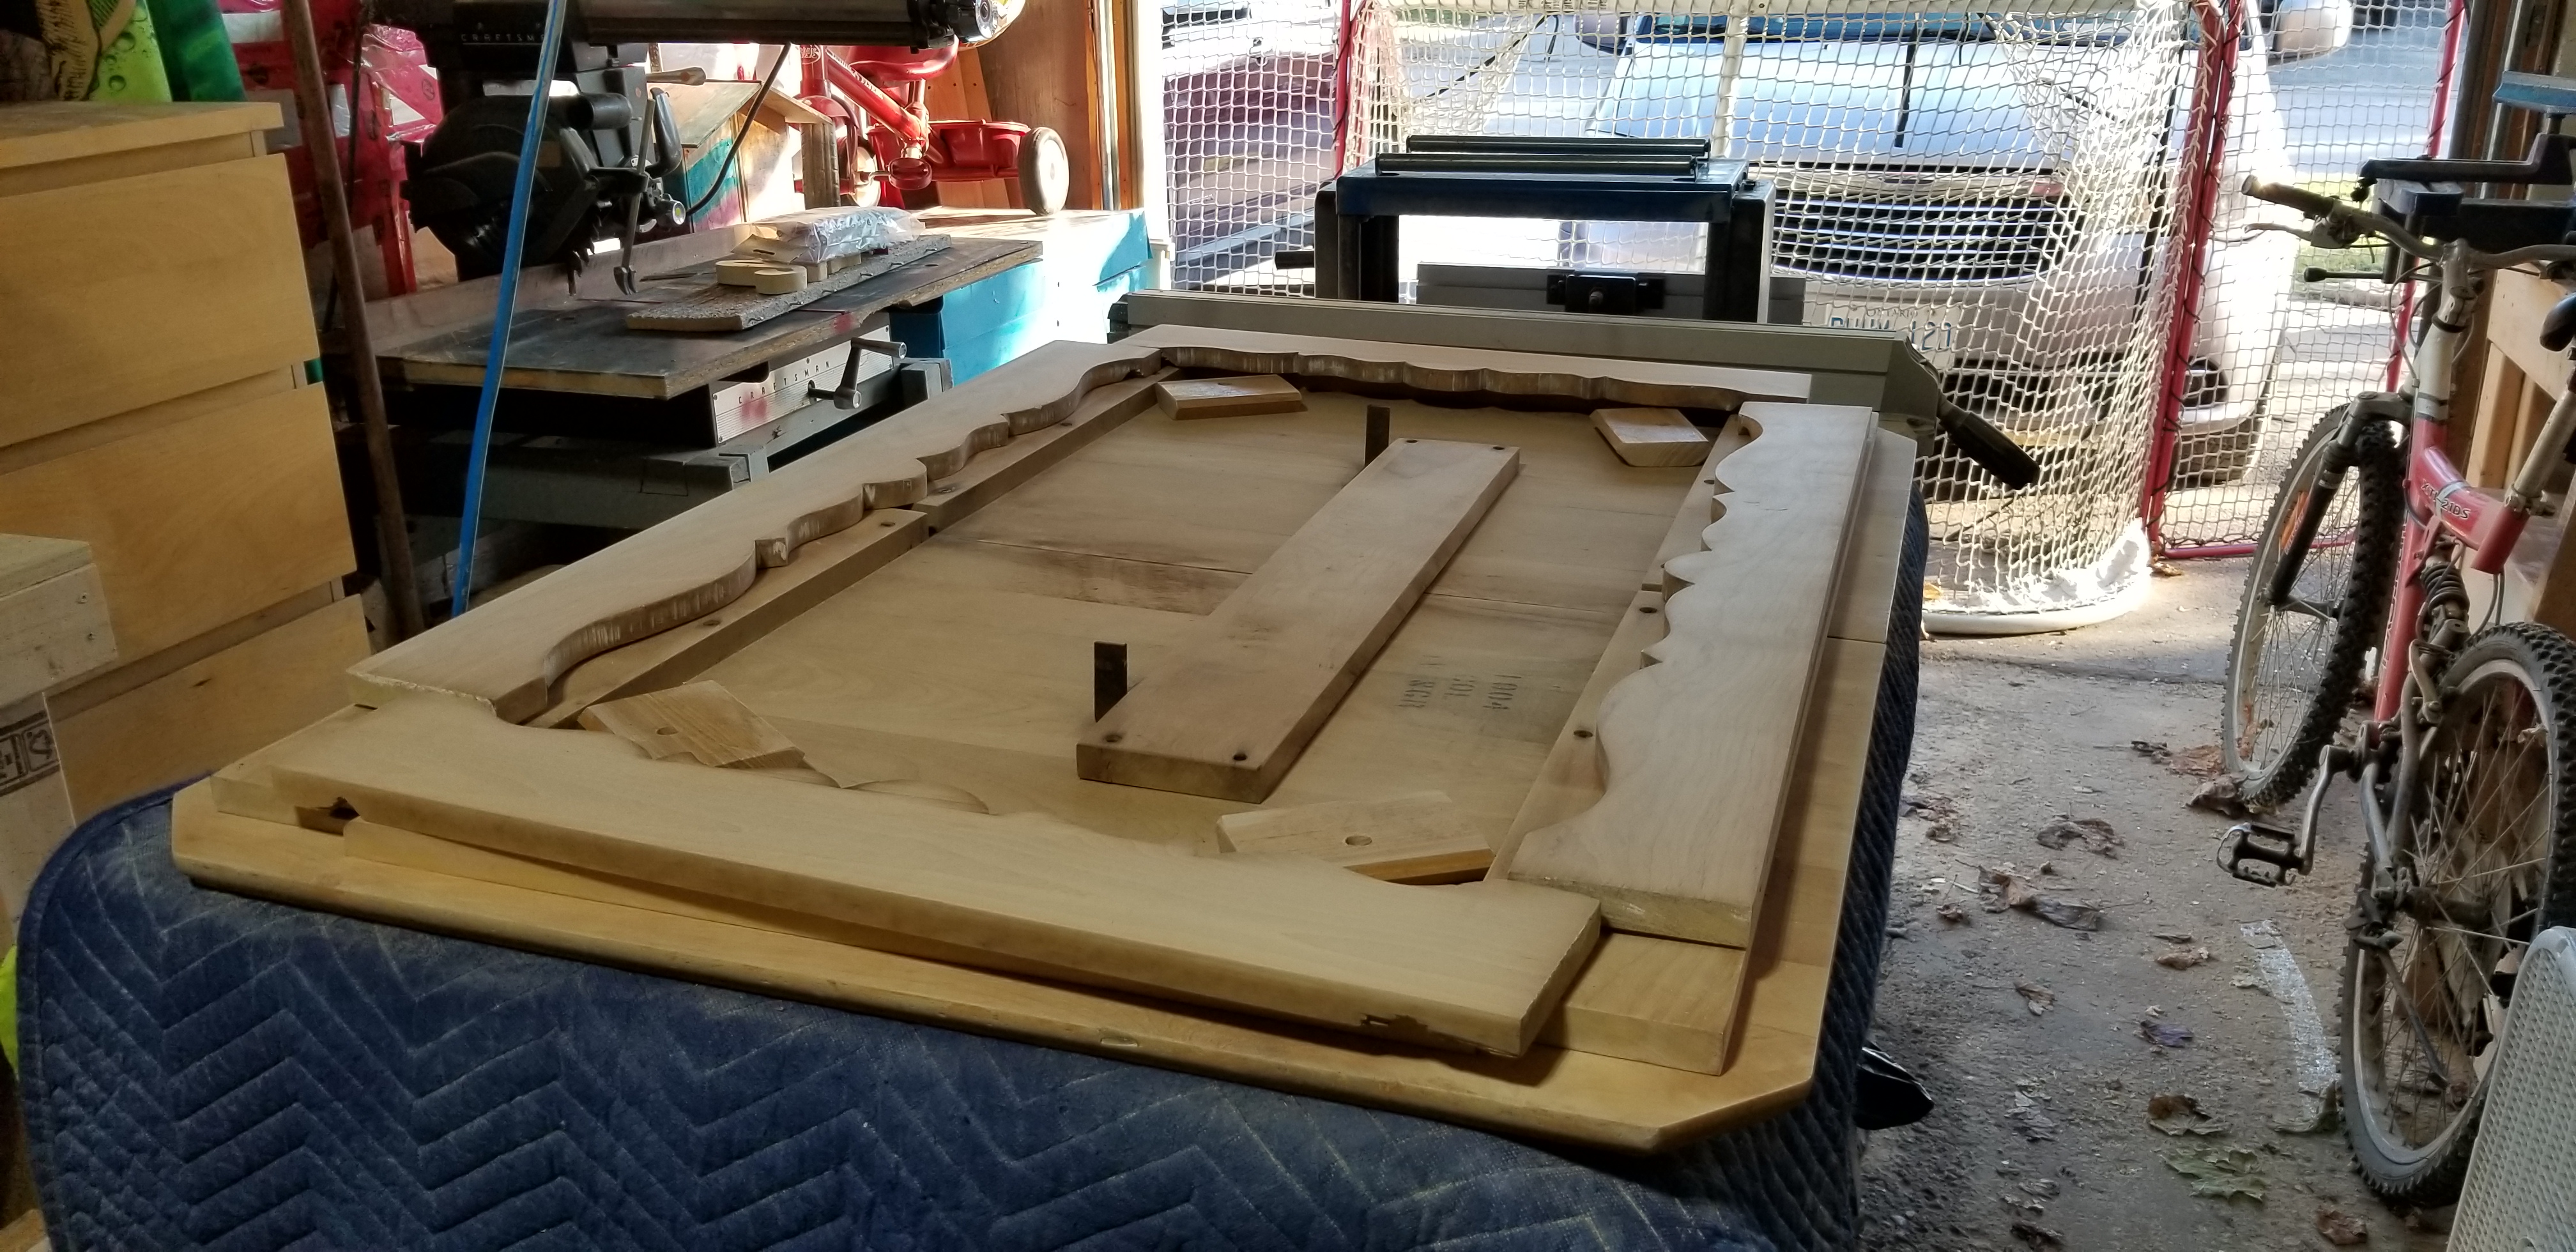
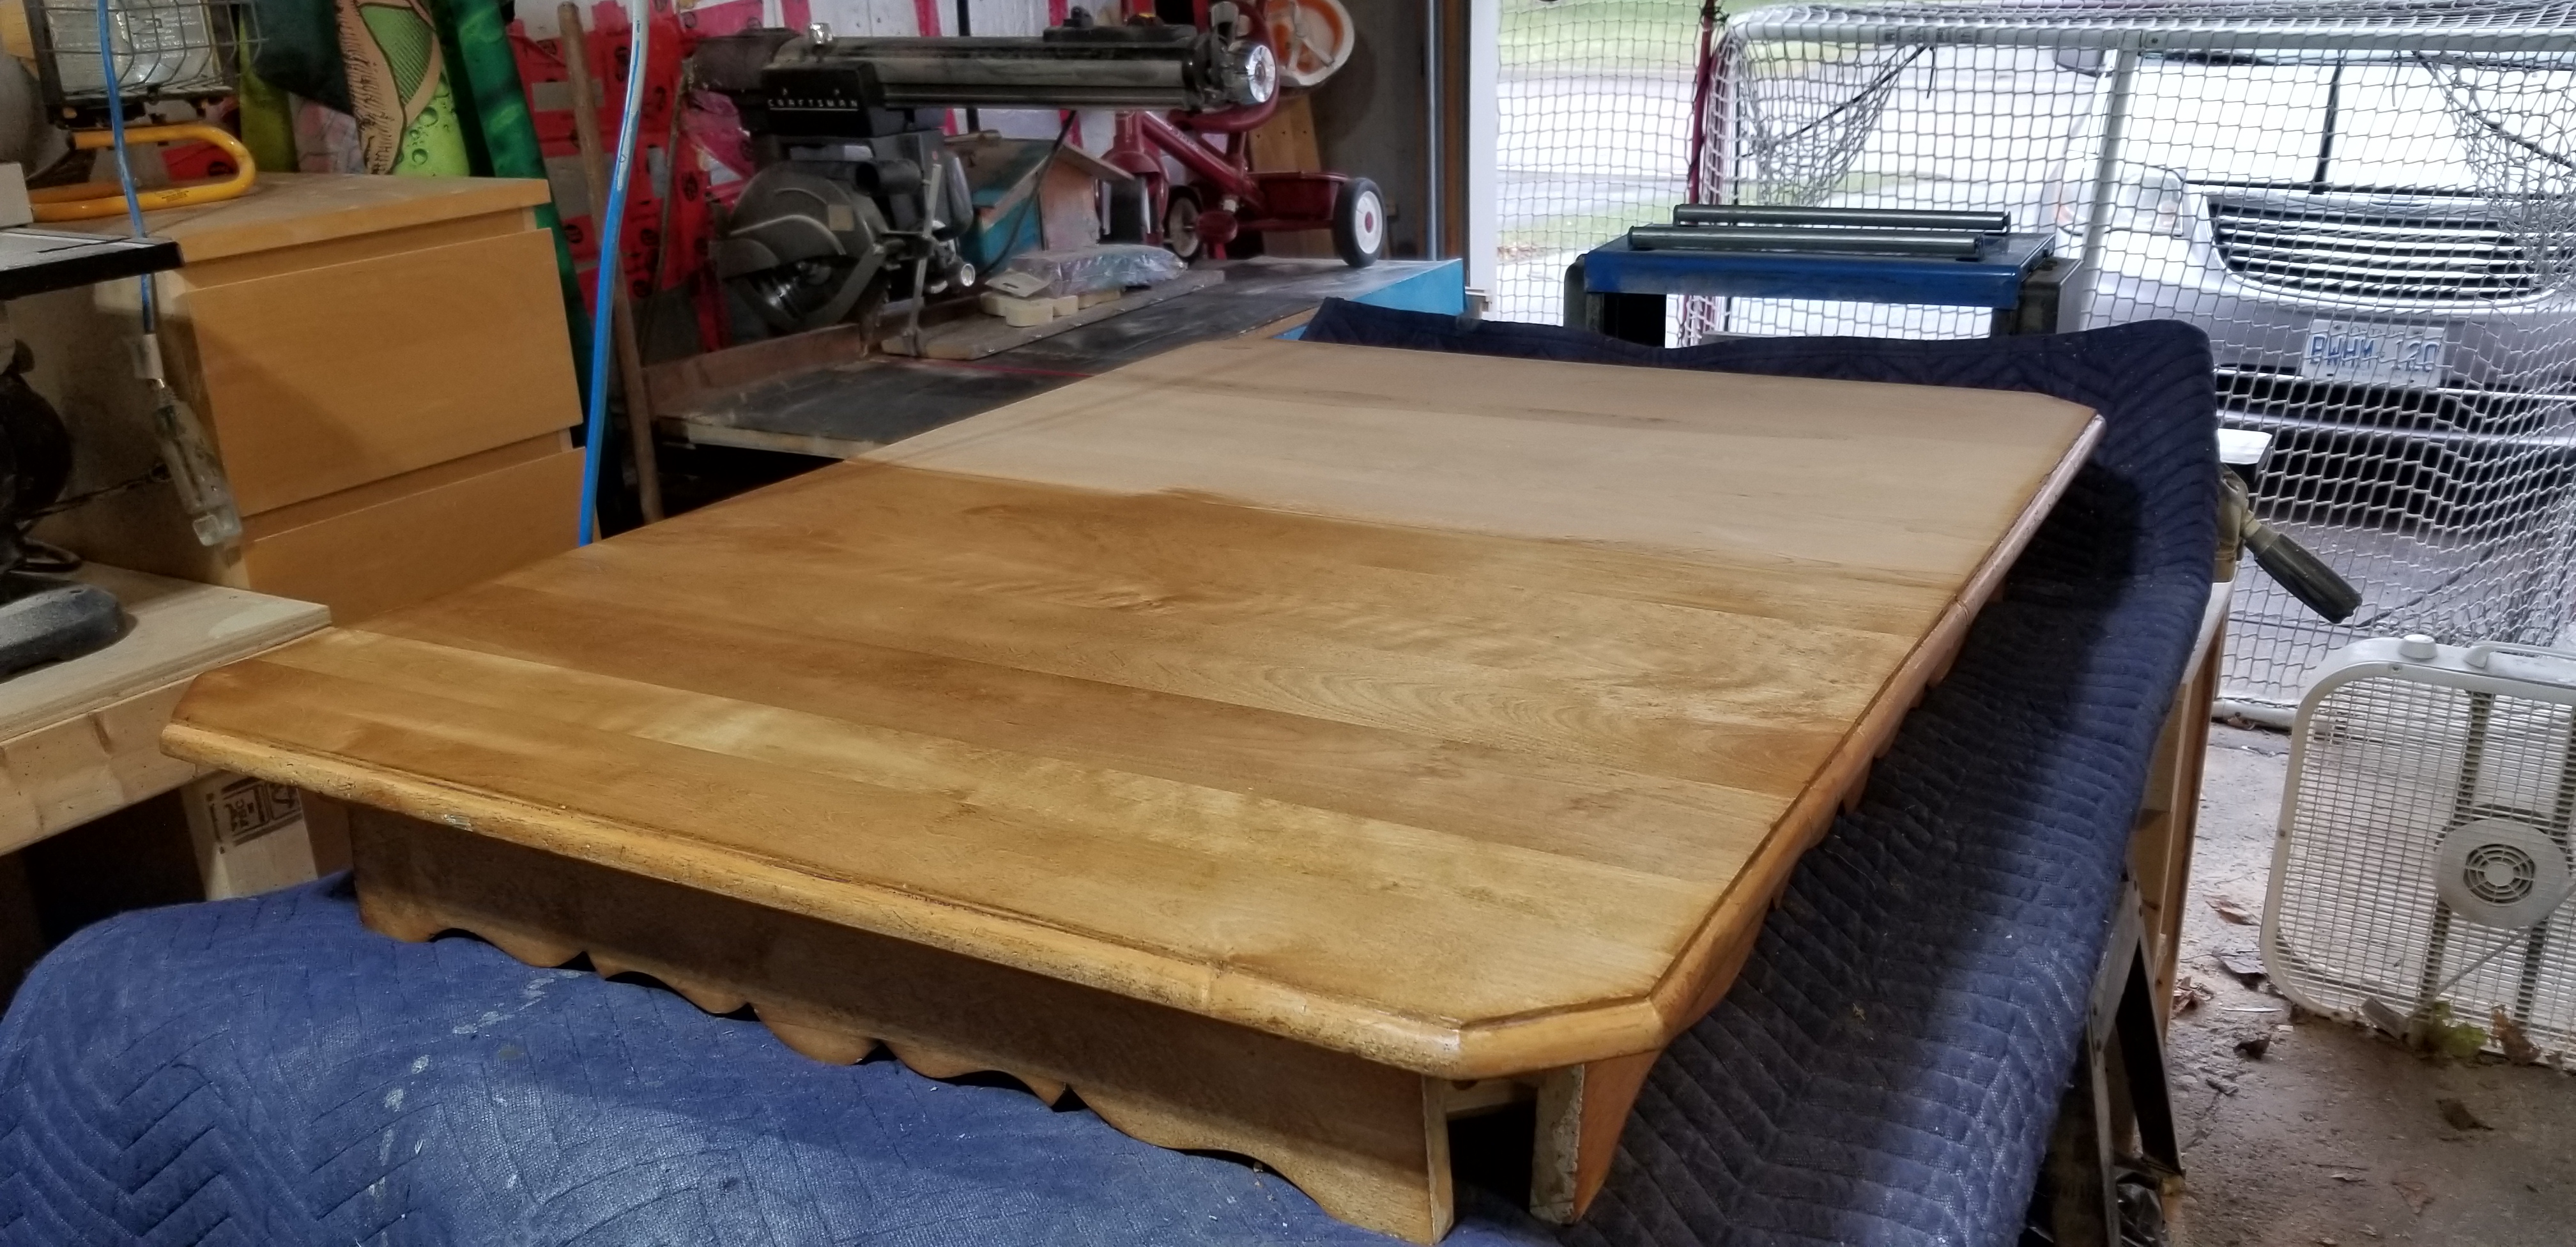
It had cracked and crumbling paint, water stains, mould, flaking lacquer finish on the top, and smelled a bit funky to boot. It didn’t have any middle leaves, and the leg attachment points were worn out or missing or entirely broken. So it required me to strip it all down to bare wood, cut new hardwood braces for the legs, glue/ screw / pin nail portions together and then to be refinished with stain & paint and possibly if the weather holds out a clear coat on top of Varathane’s Diamond Wood Finish.
Follow along on my mini wood refinishing project from November / December of 2021

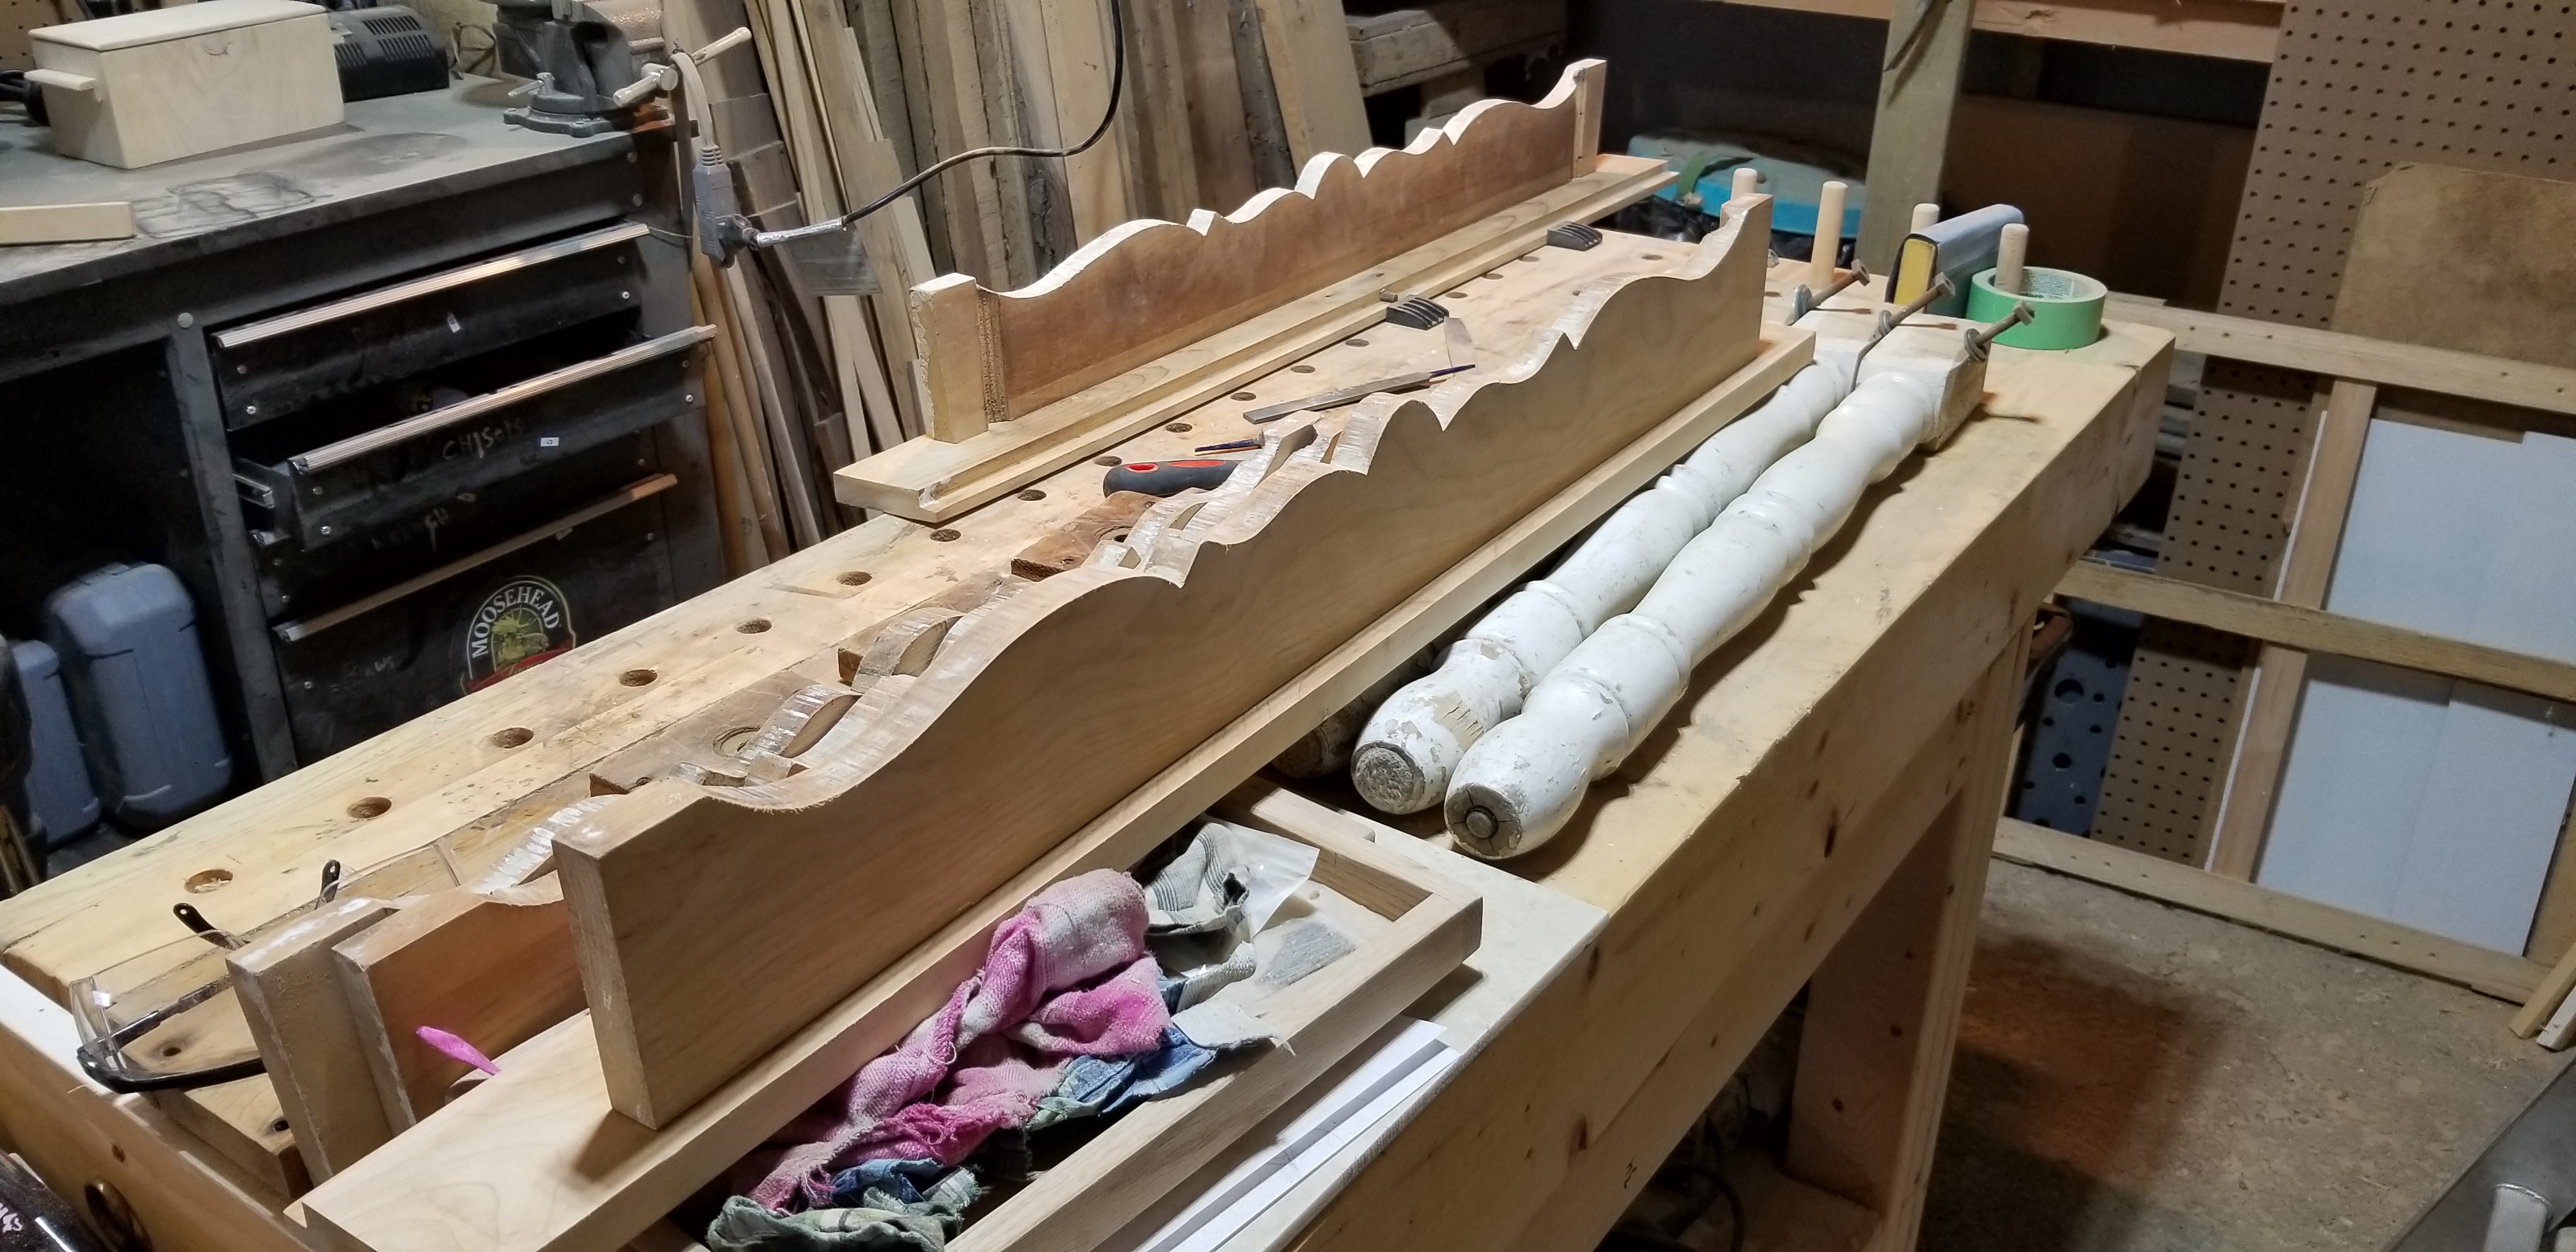
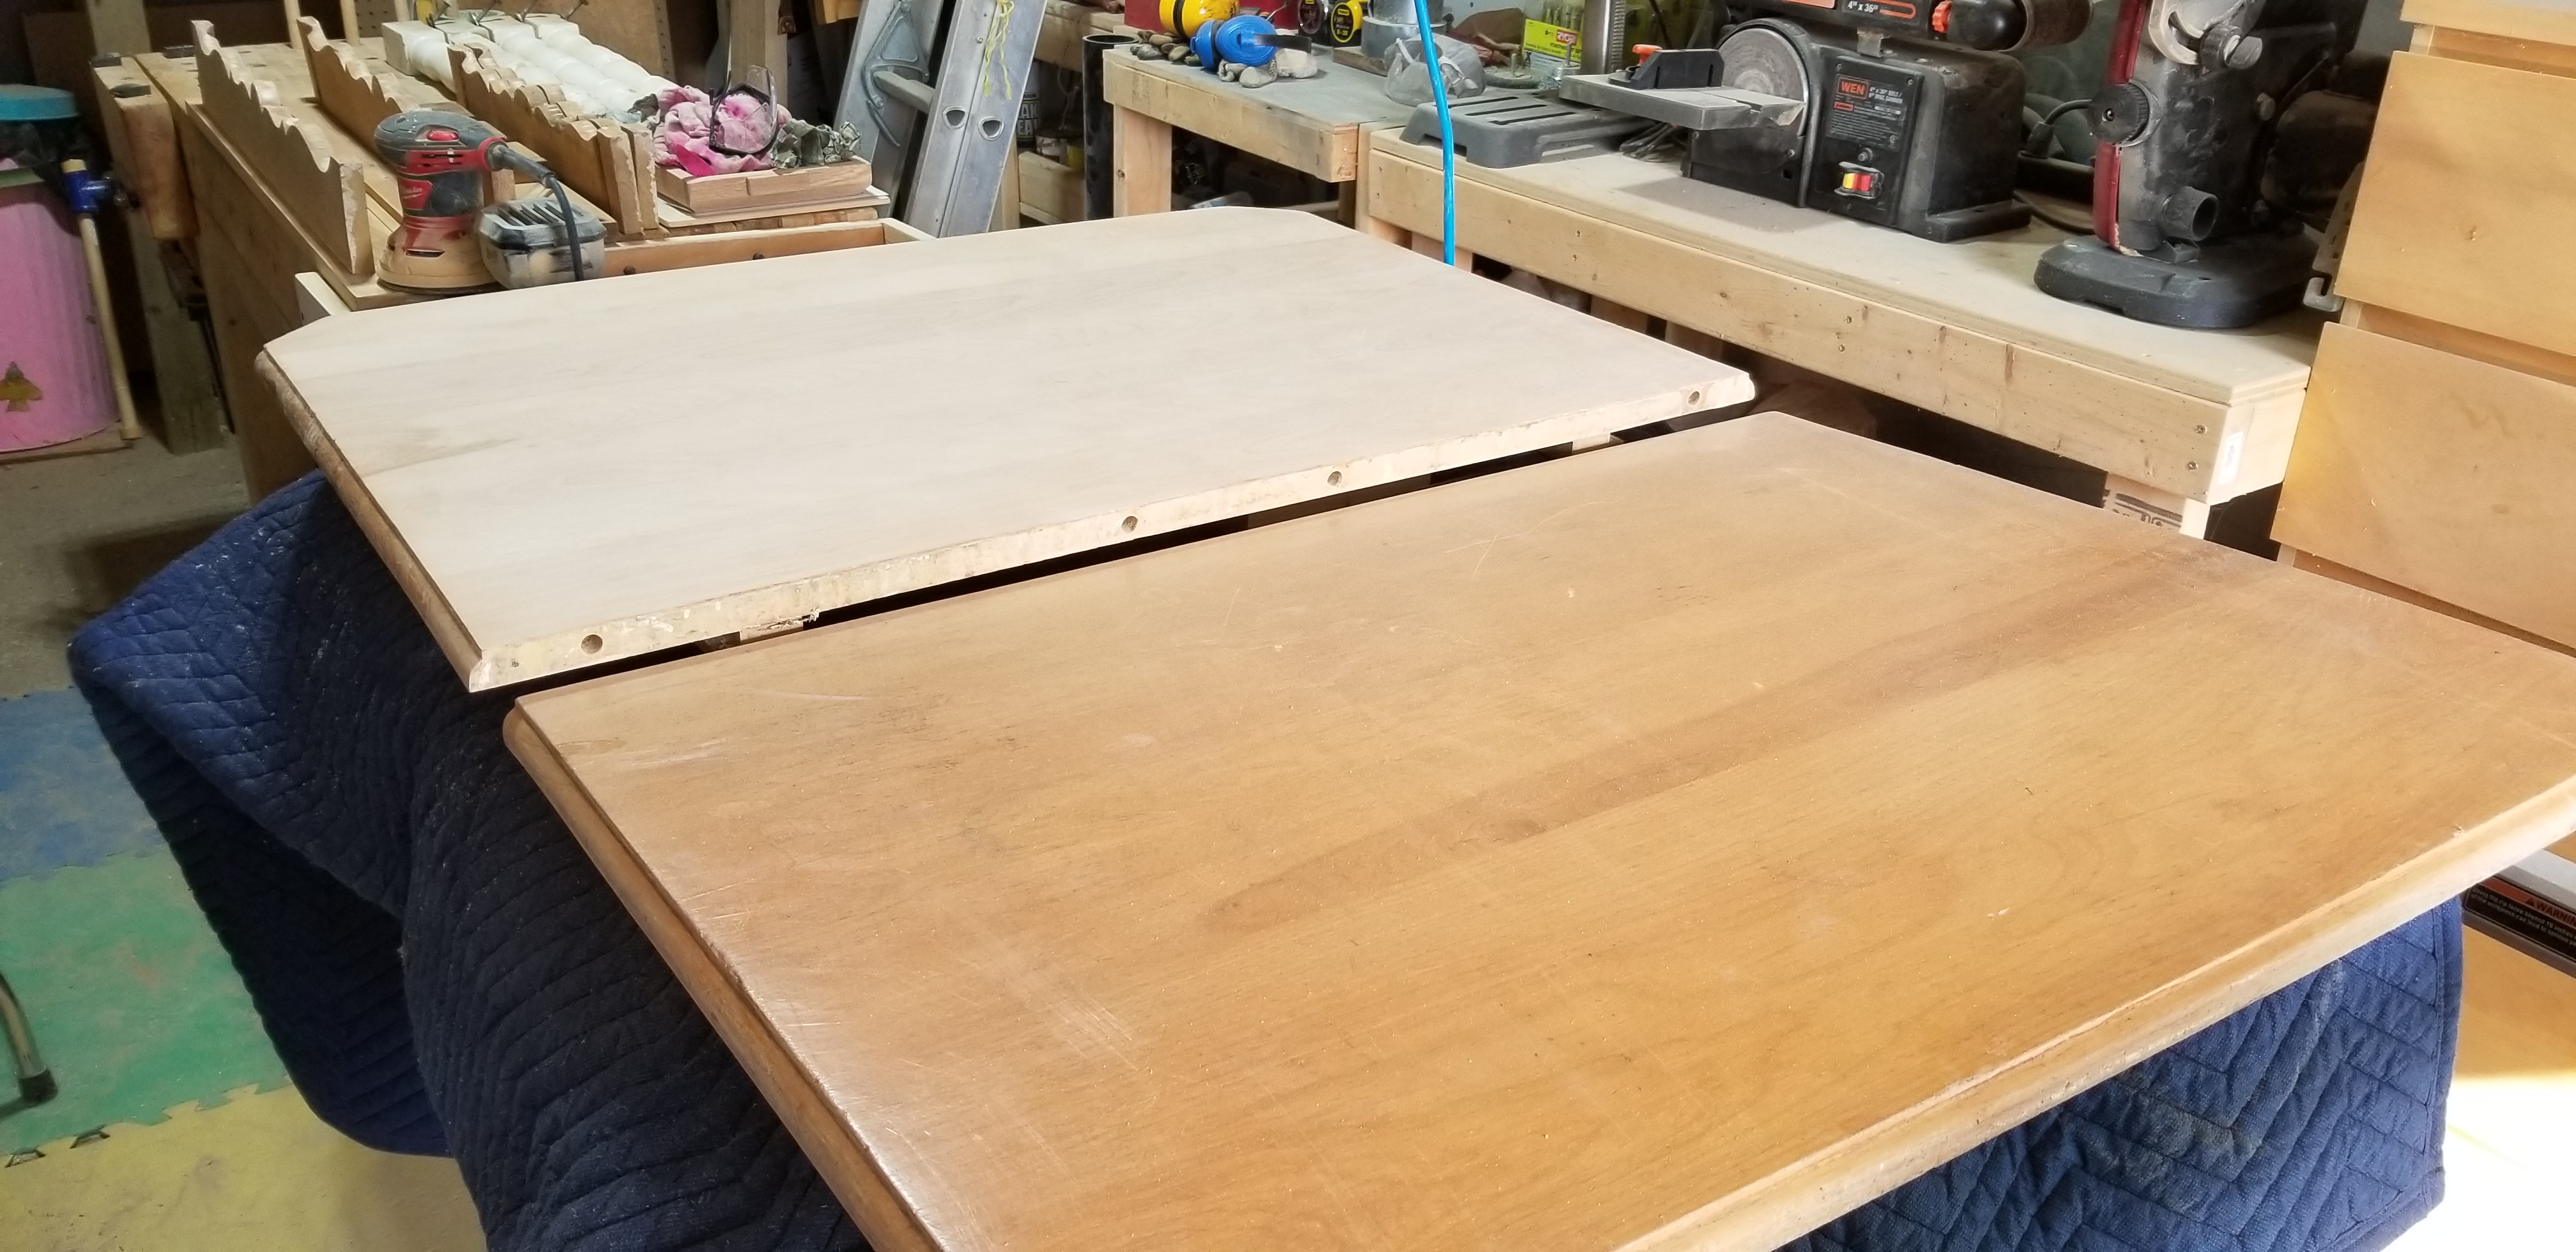
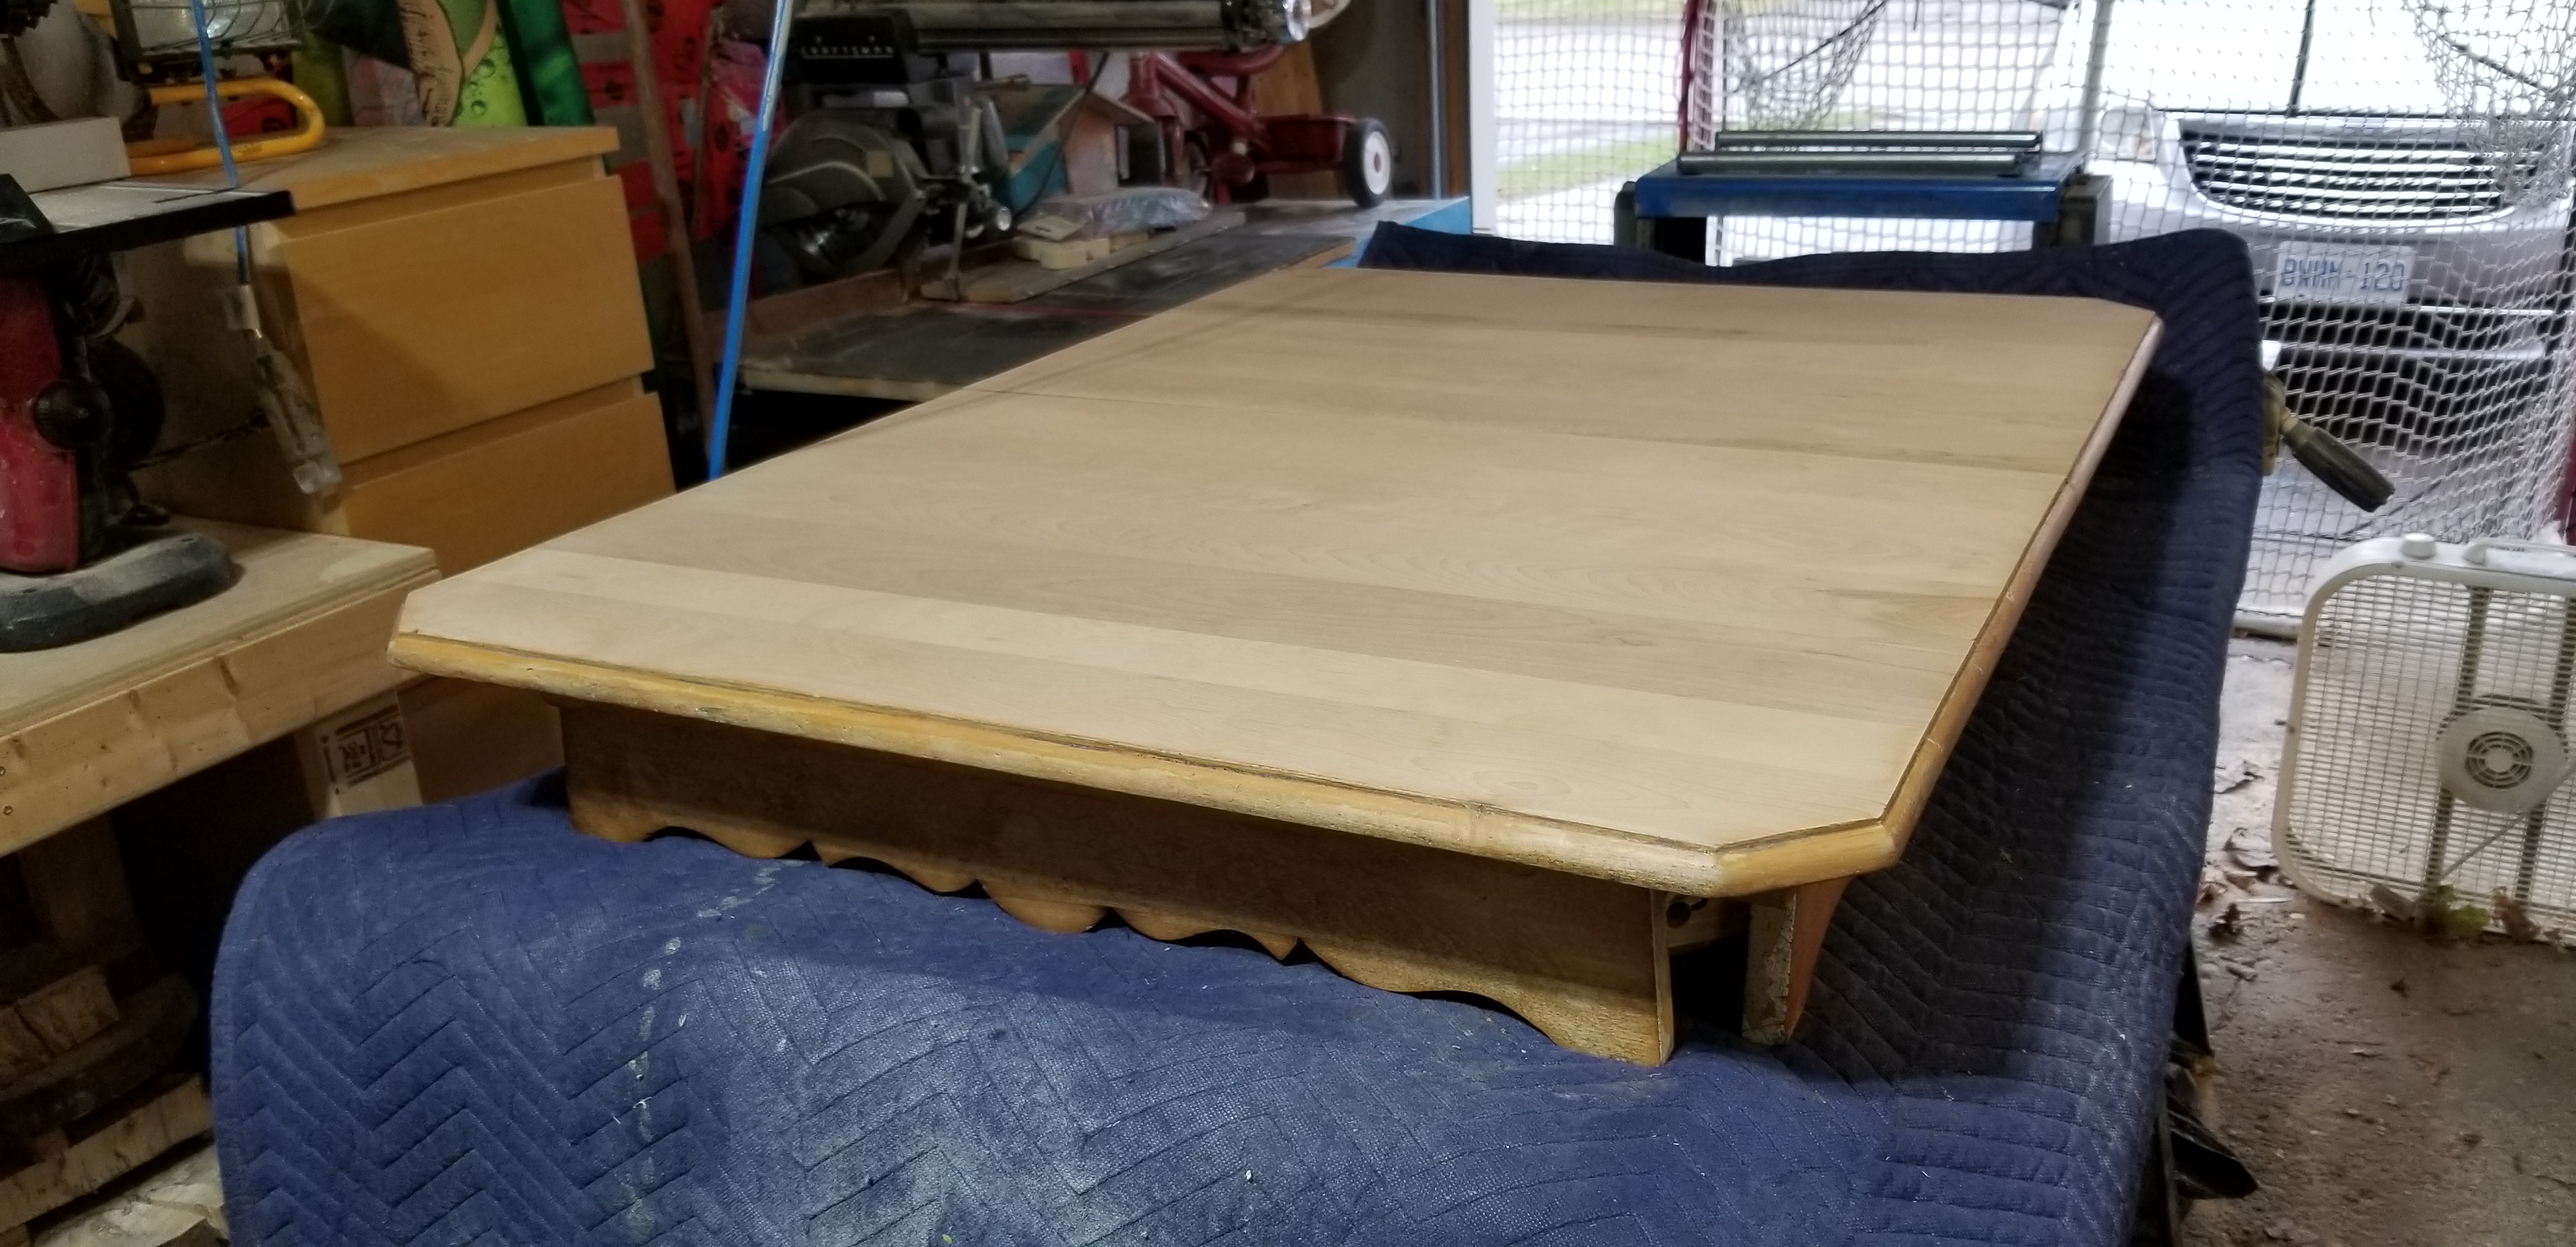
As I stated earlier, the table arrived in pieces, and I needed to break them down into smaller parts for cleaning and sanding, and looking for any major cracks, weakness or damages. This didn’t take me more than about thirty minutes for the whole table. I knew the leg braces were either missing or broken, and that the lower portion of the table legs would need some putty work. No big deal there. I opted not to use any chemical strippers on the table as I don’t have an exhaust fan at the moment, and smells from the garage make their way into the basement (which isn’t ideal). So I used sanding, a whole shit load of sanding. I went from 40 to 60 to 80 to 100 to 120 to 220 grits on all of the parts. The table top I went an extra step and went up to 320 grit, because I had it, and it gets so smooth, it feels like glass. My work flow was to do every piece using the same grit, so that I always knew where I was with my sanding schedule. It helps that this old workers table was put together with a lot of screws, so I could disassemble it easily to get to all of the nooks and crannies. Also made putting the sections back together a breeze.

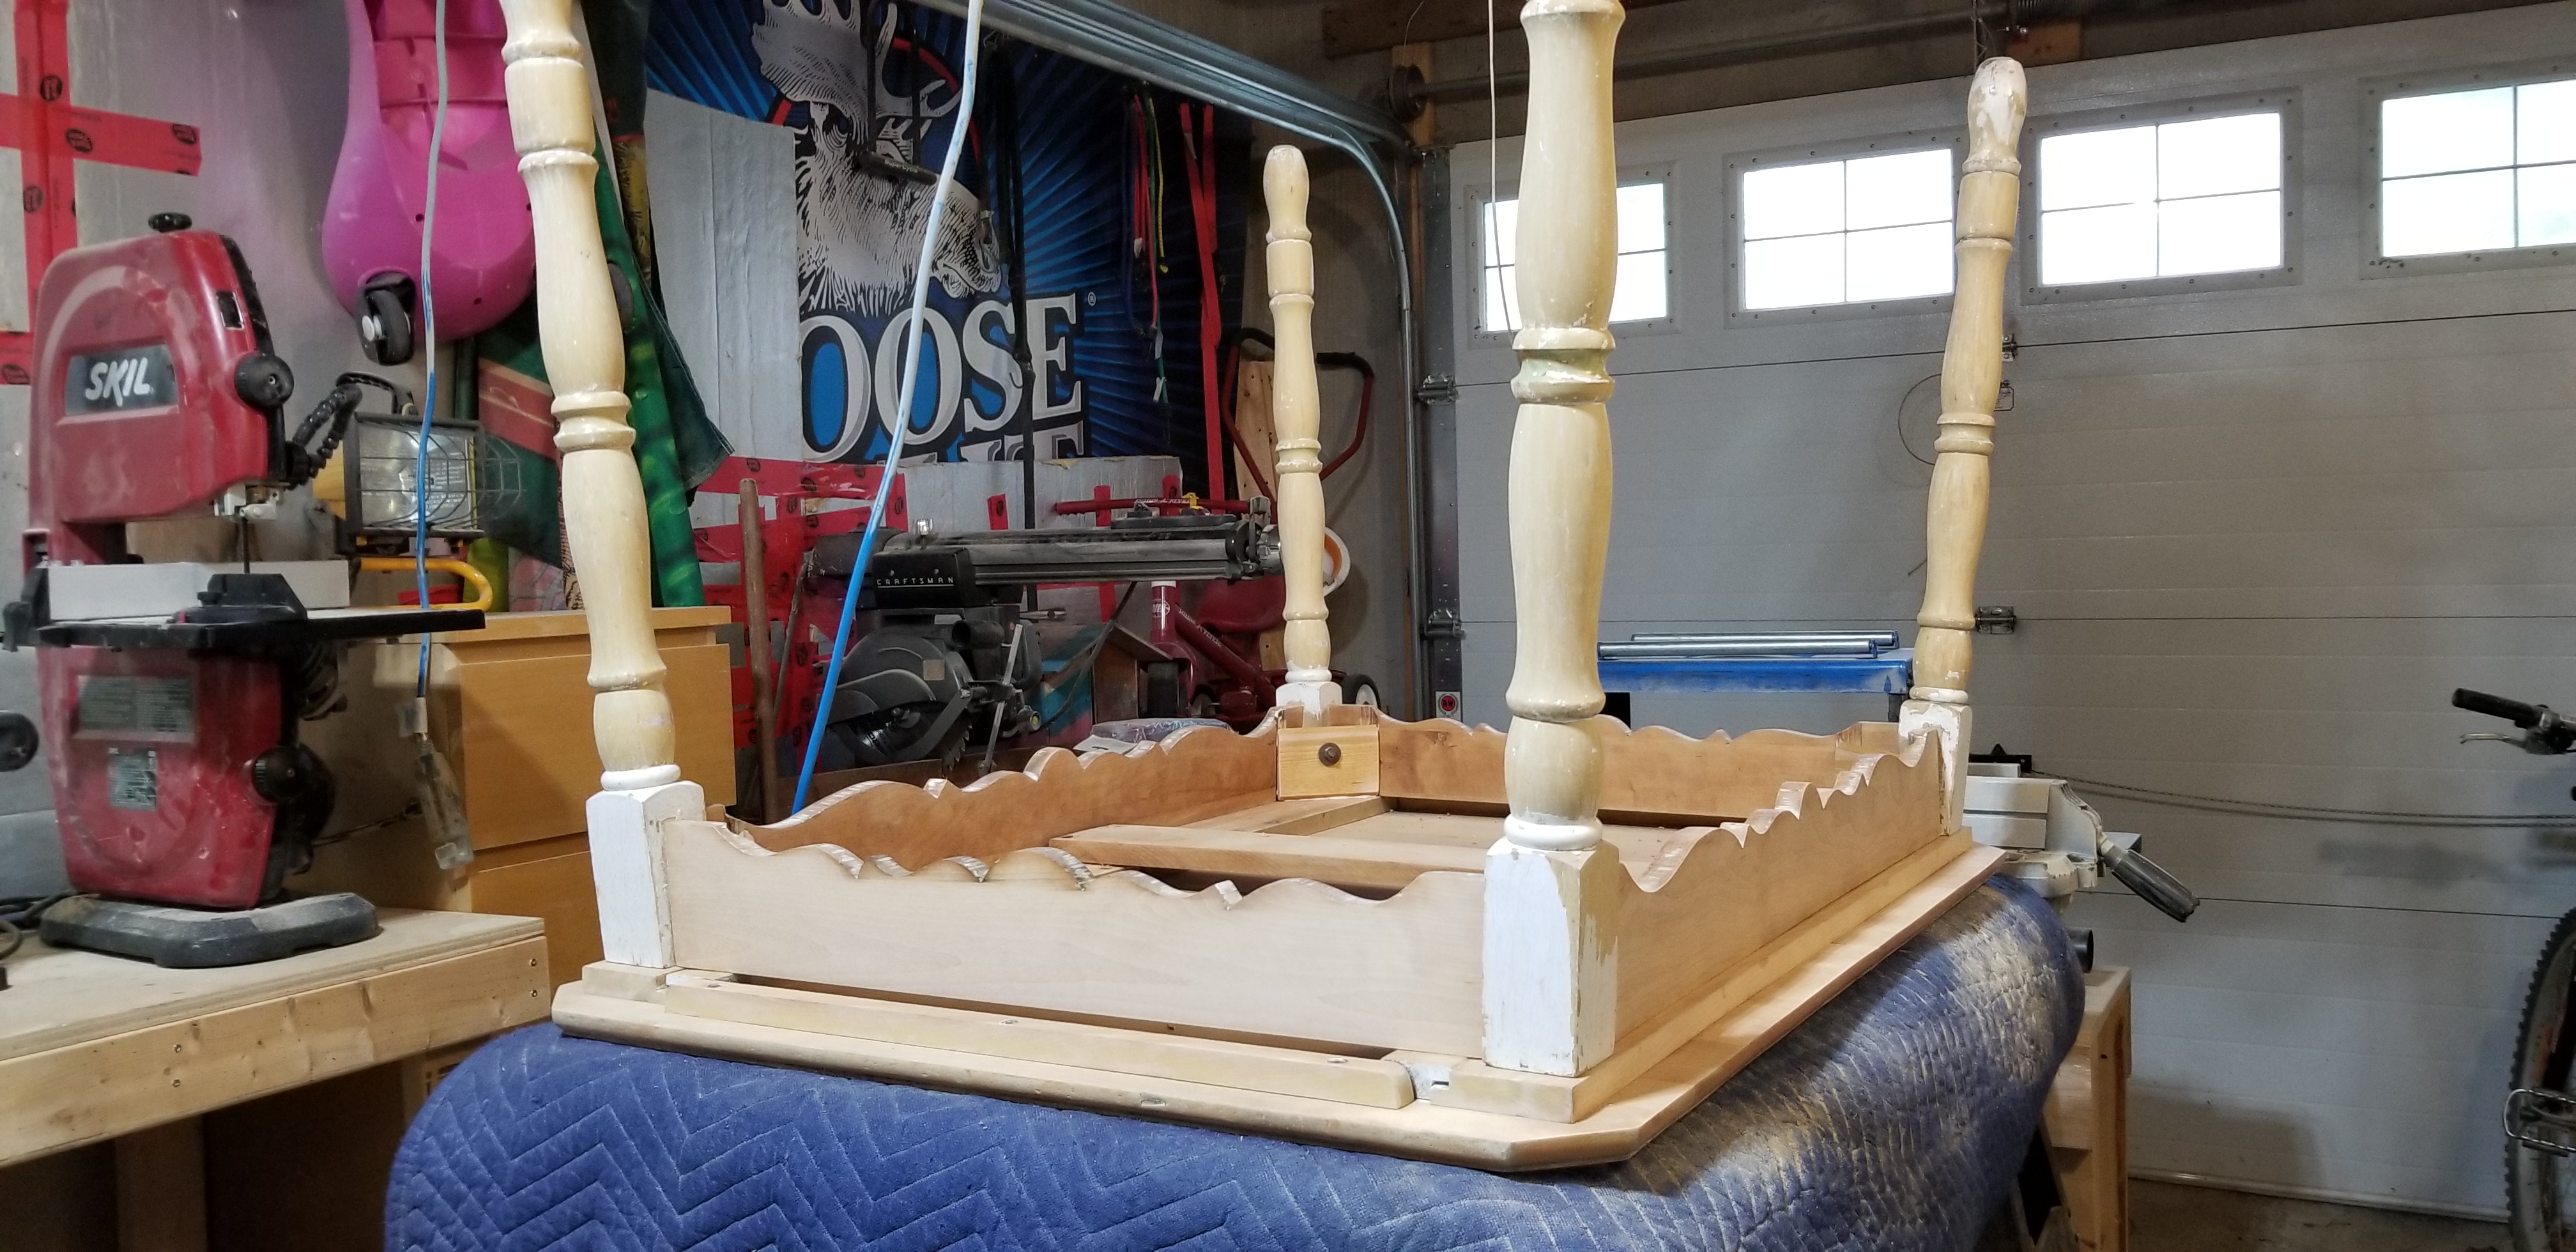
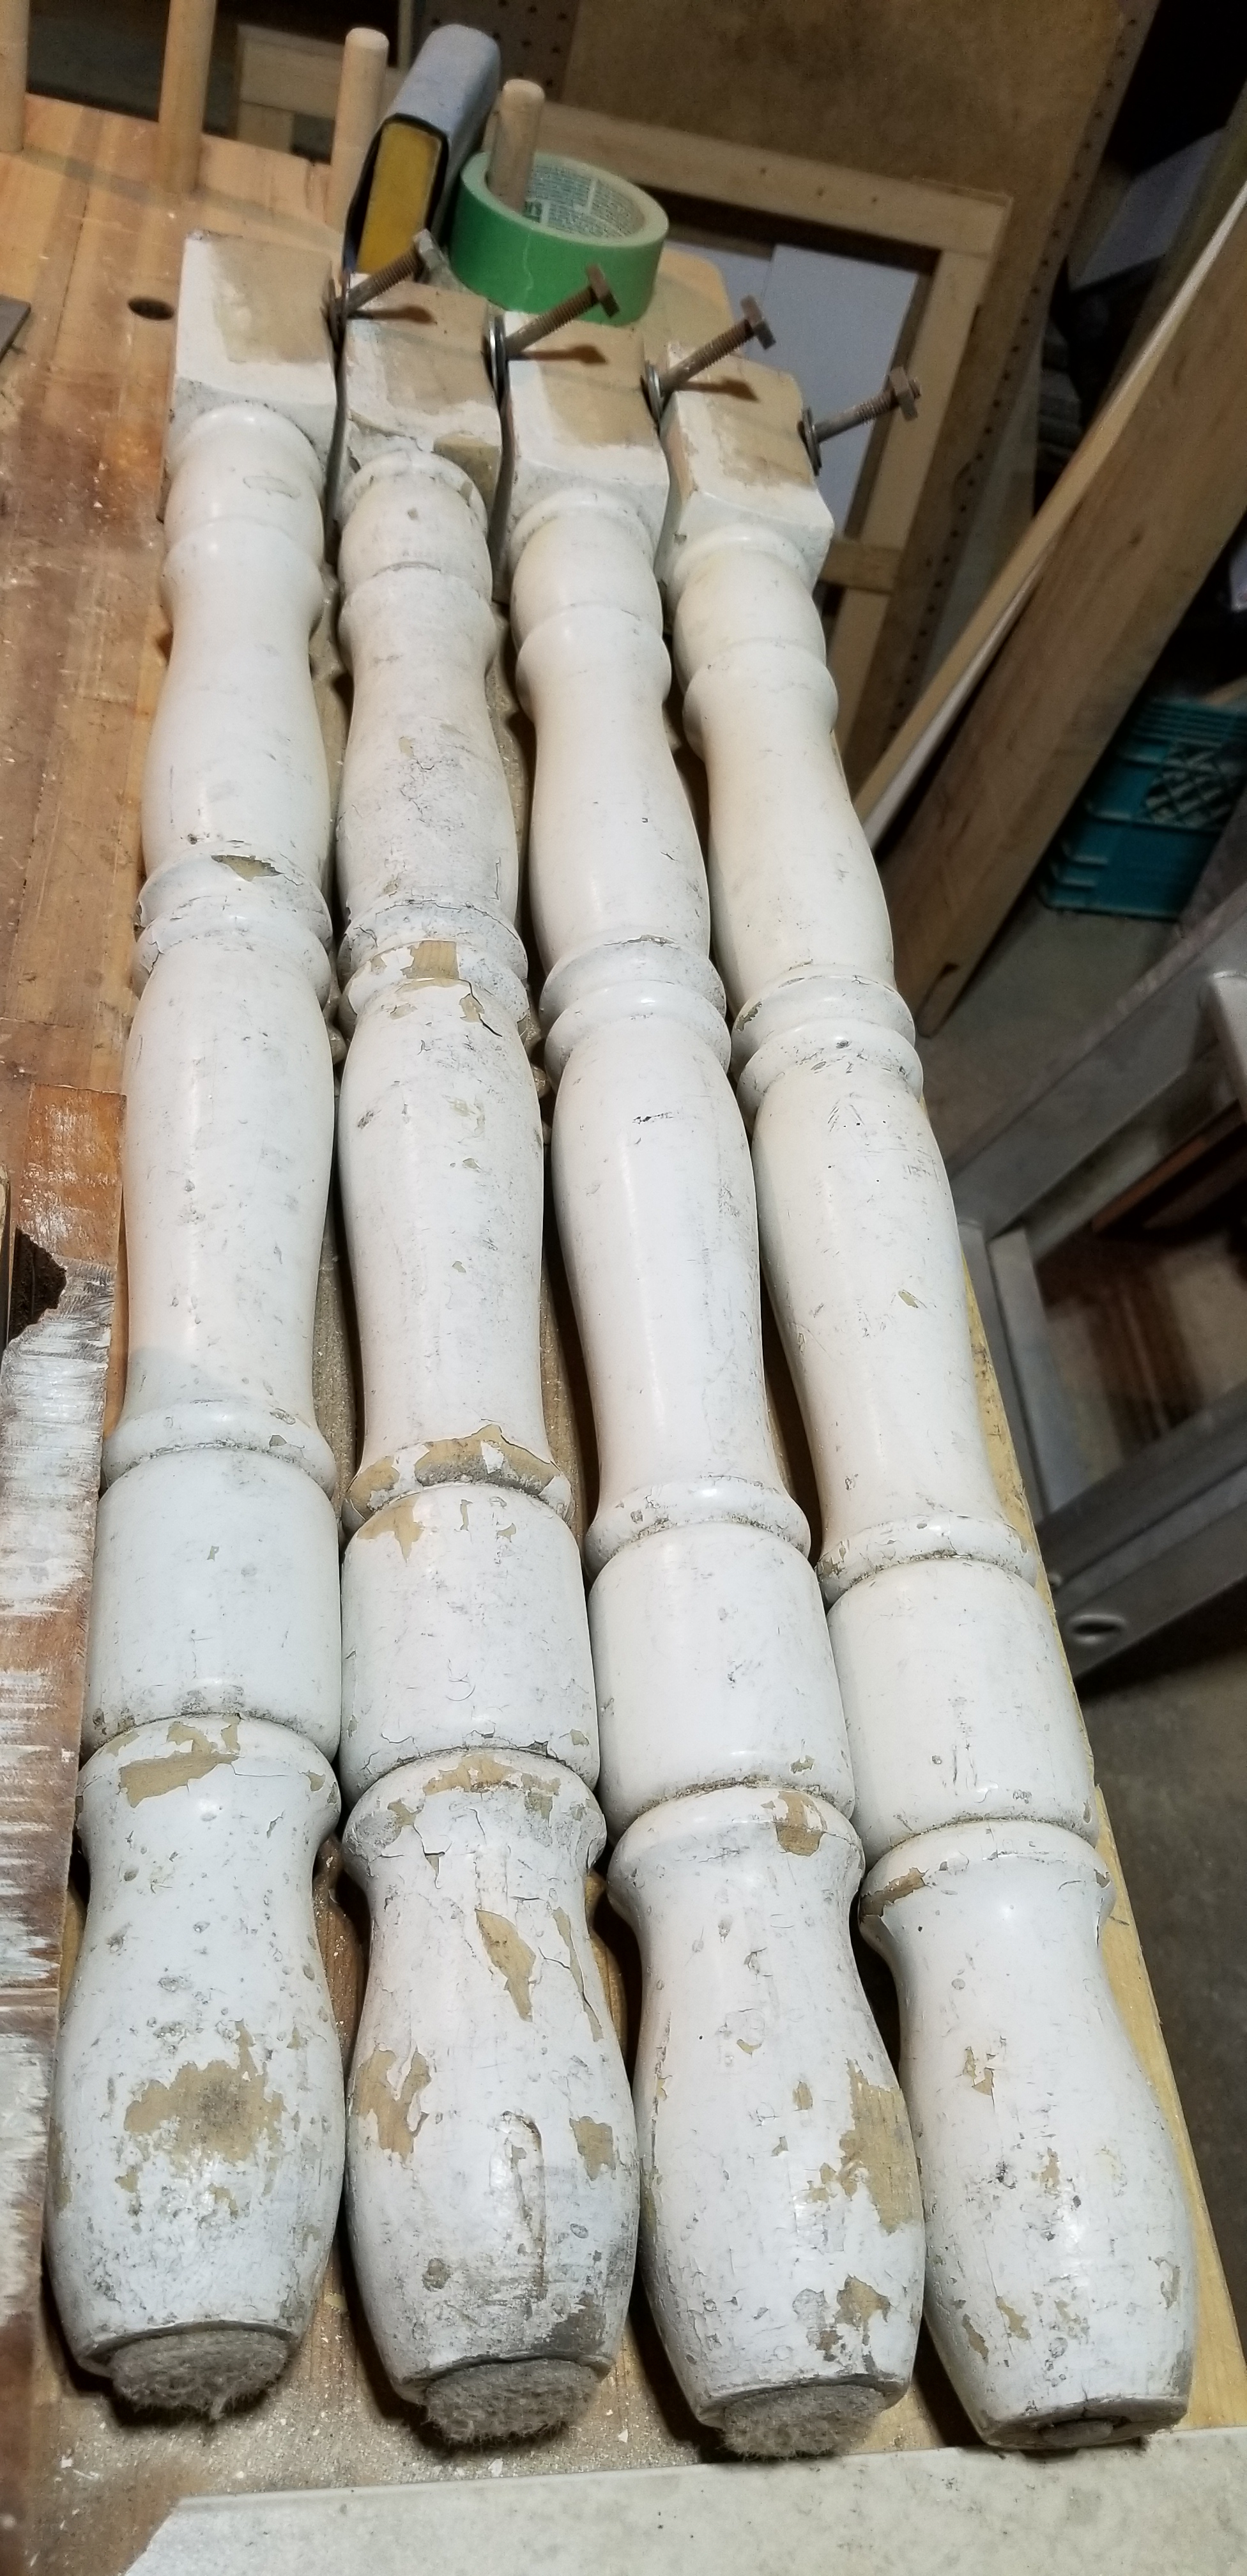
The legs were by far the most difficult portion to work on. I had originally thought I would chuck each leg into my lathe, turn the speed right down and sanding them with little to no physical demands on my body, but my four jaw chuck choose this moment to crap out on me, and replacing it was too expensive at this point in time. So the forty dollar heat gun makes an appearance and storms the barn! It was great. I could get through one leg in about 1 hr. After I had the heat gun and putty knife put away, I turned to a curved card scraper to really get in there and get those layers of nasty chipped old paint off of the legs. Leaves a nice finish that is easy to sand – relatively. Then it was about four hours of hand turning the legs with one hand, and sanding vigorously with the other. My forearms and hands did not appreciate this at all. Once I got up to 150 grit, I used an air compressor to blow off the dust that gathered in the crevices. I used the bolts to hang them up along my garage door, and then used a rattle can of white paint/primer 2X to paint them a bright white again. Originally I wanted to go with a softer off white, borderline yellow – feel more french with the walnut top, but I couldn’t find any, and I wasn’t going to drive all over town just to not find it. I let those hang dry, and then I artificially antiqued them with some 220 grit sand paper, and they were done.
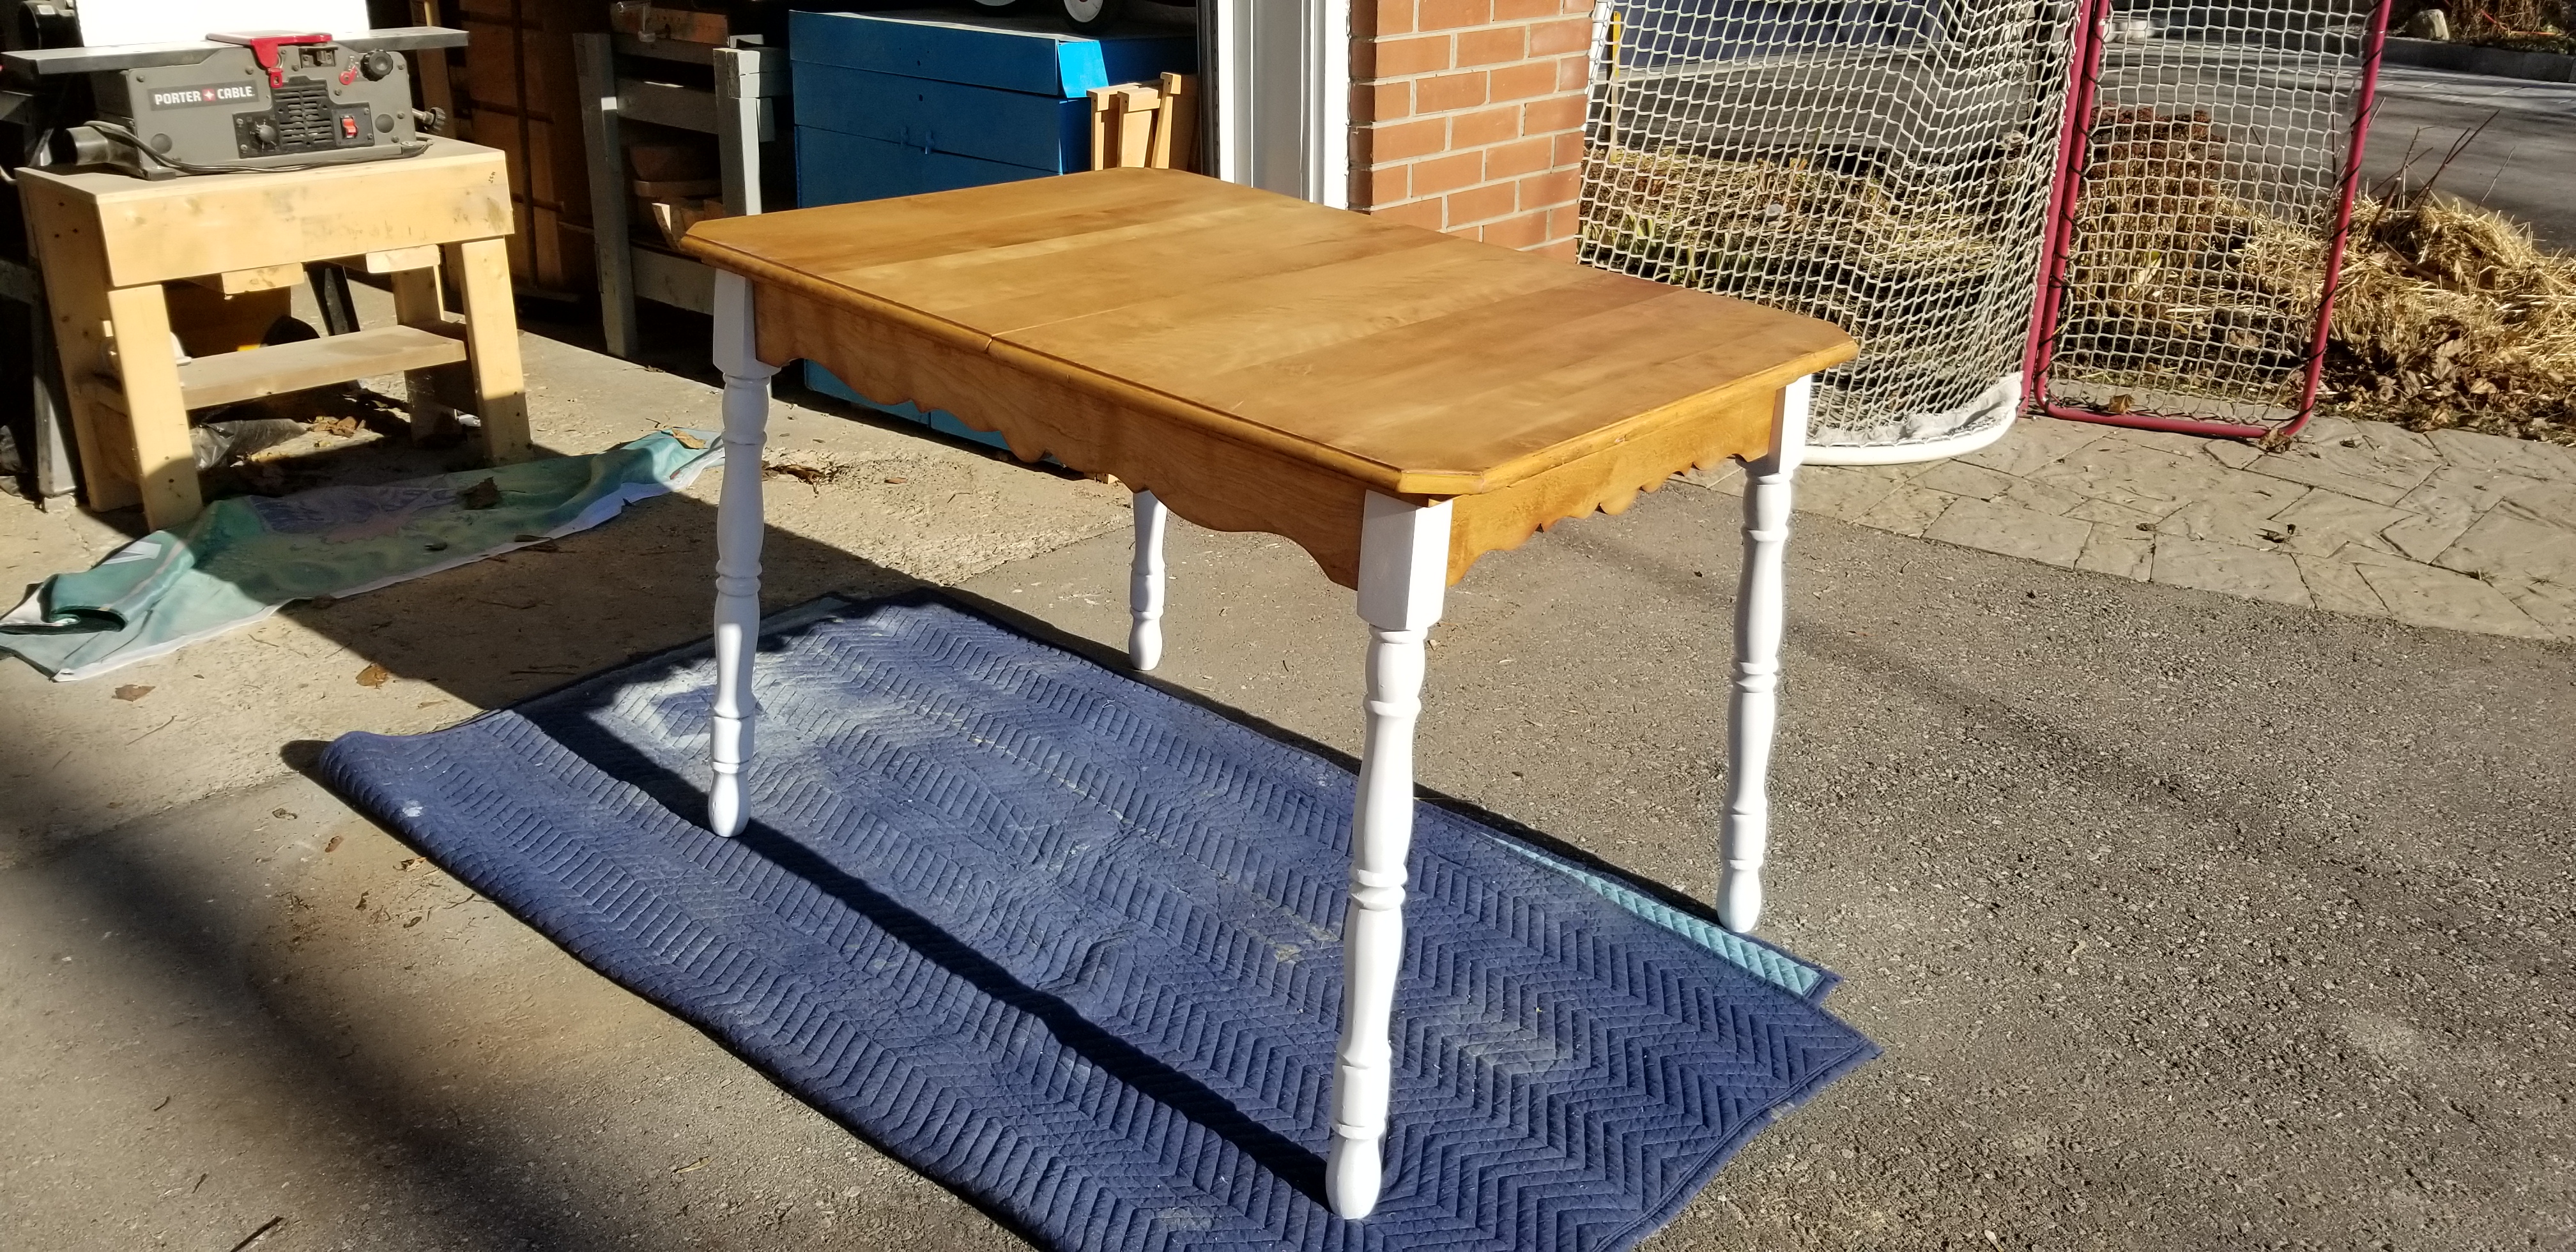
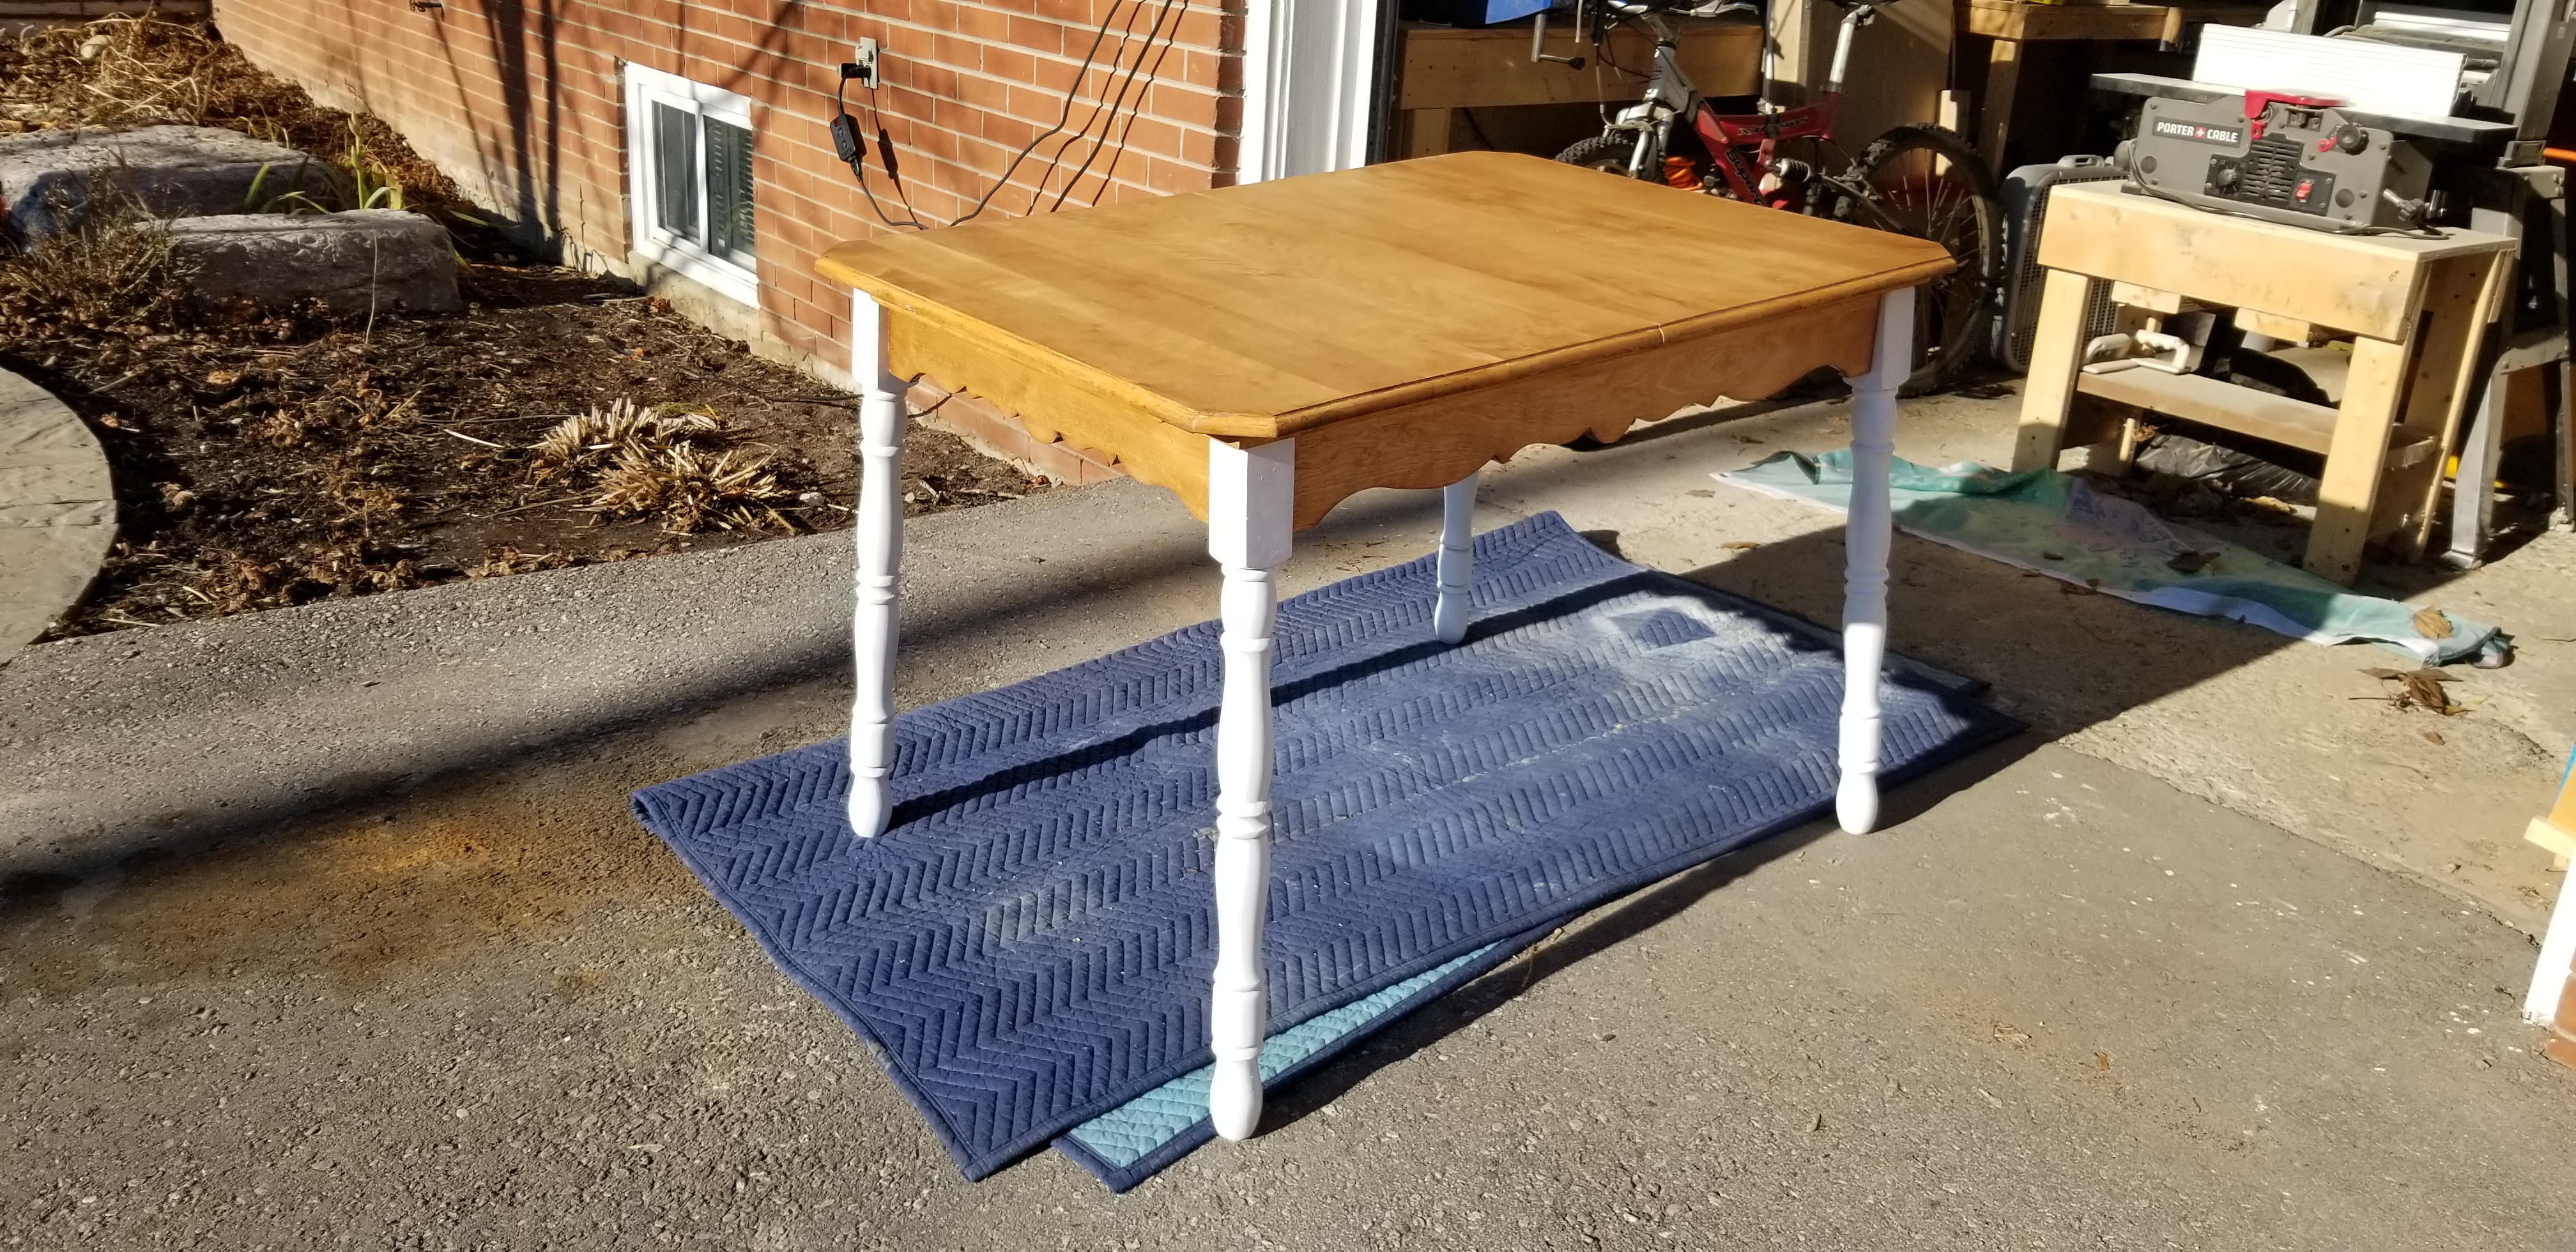
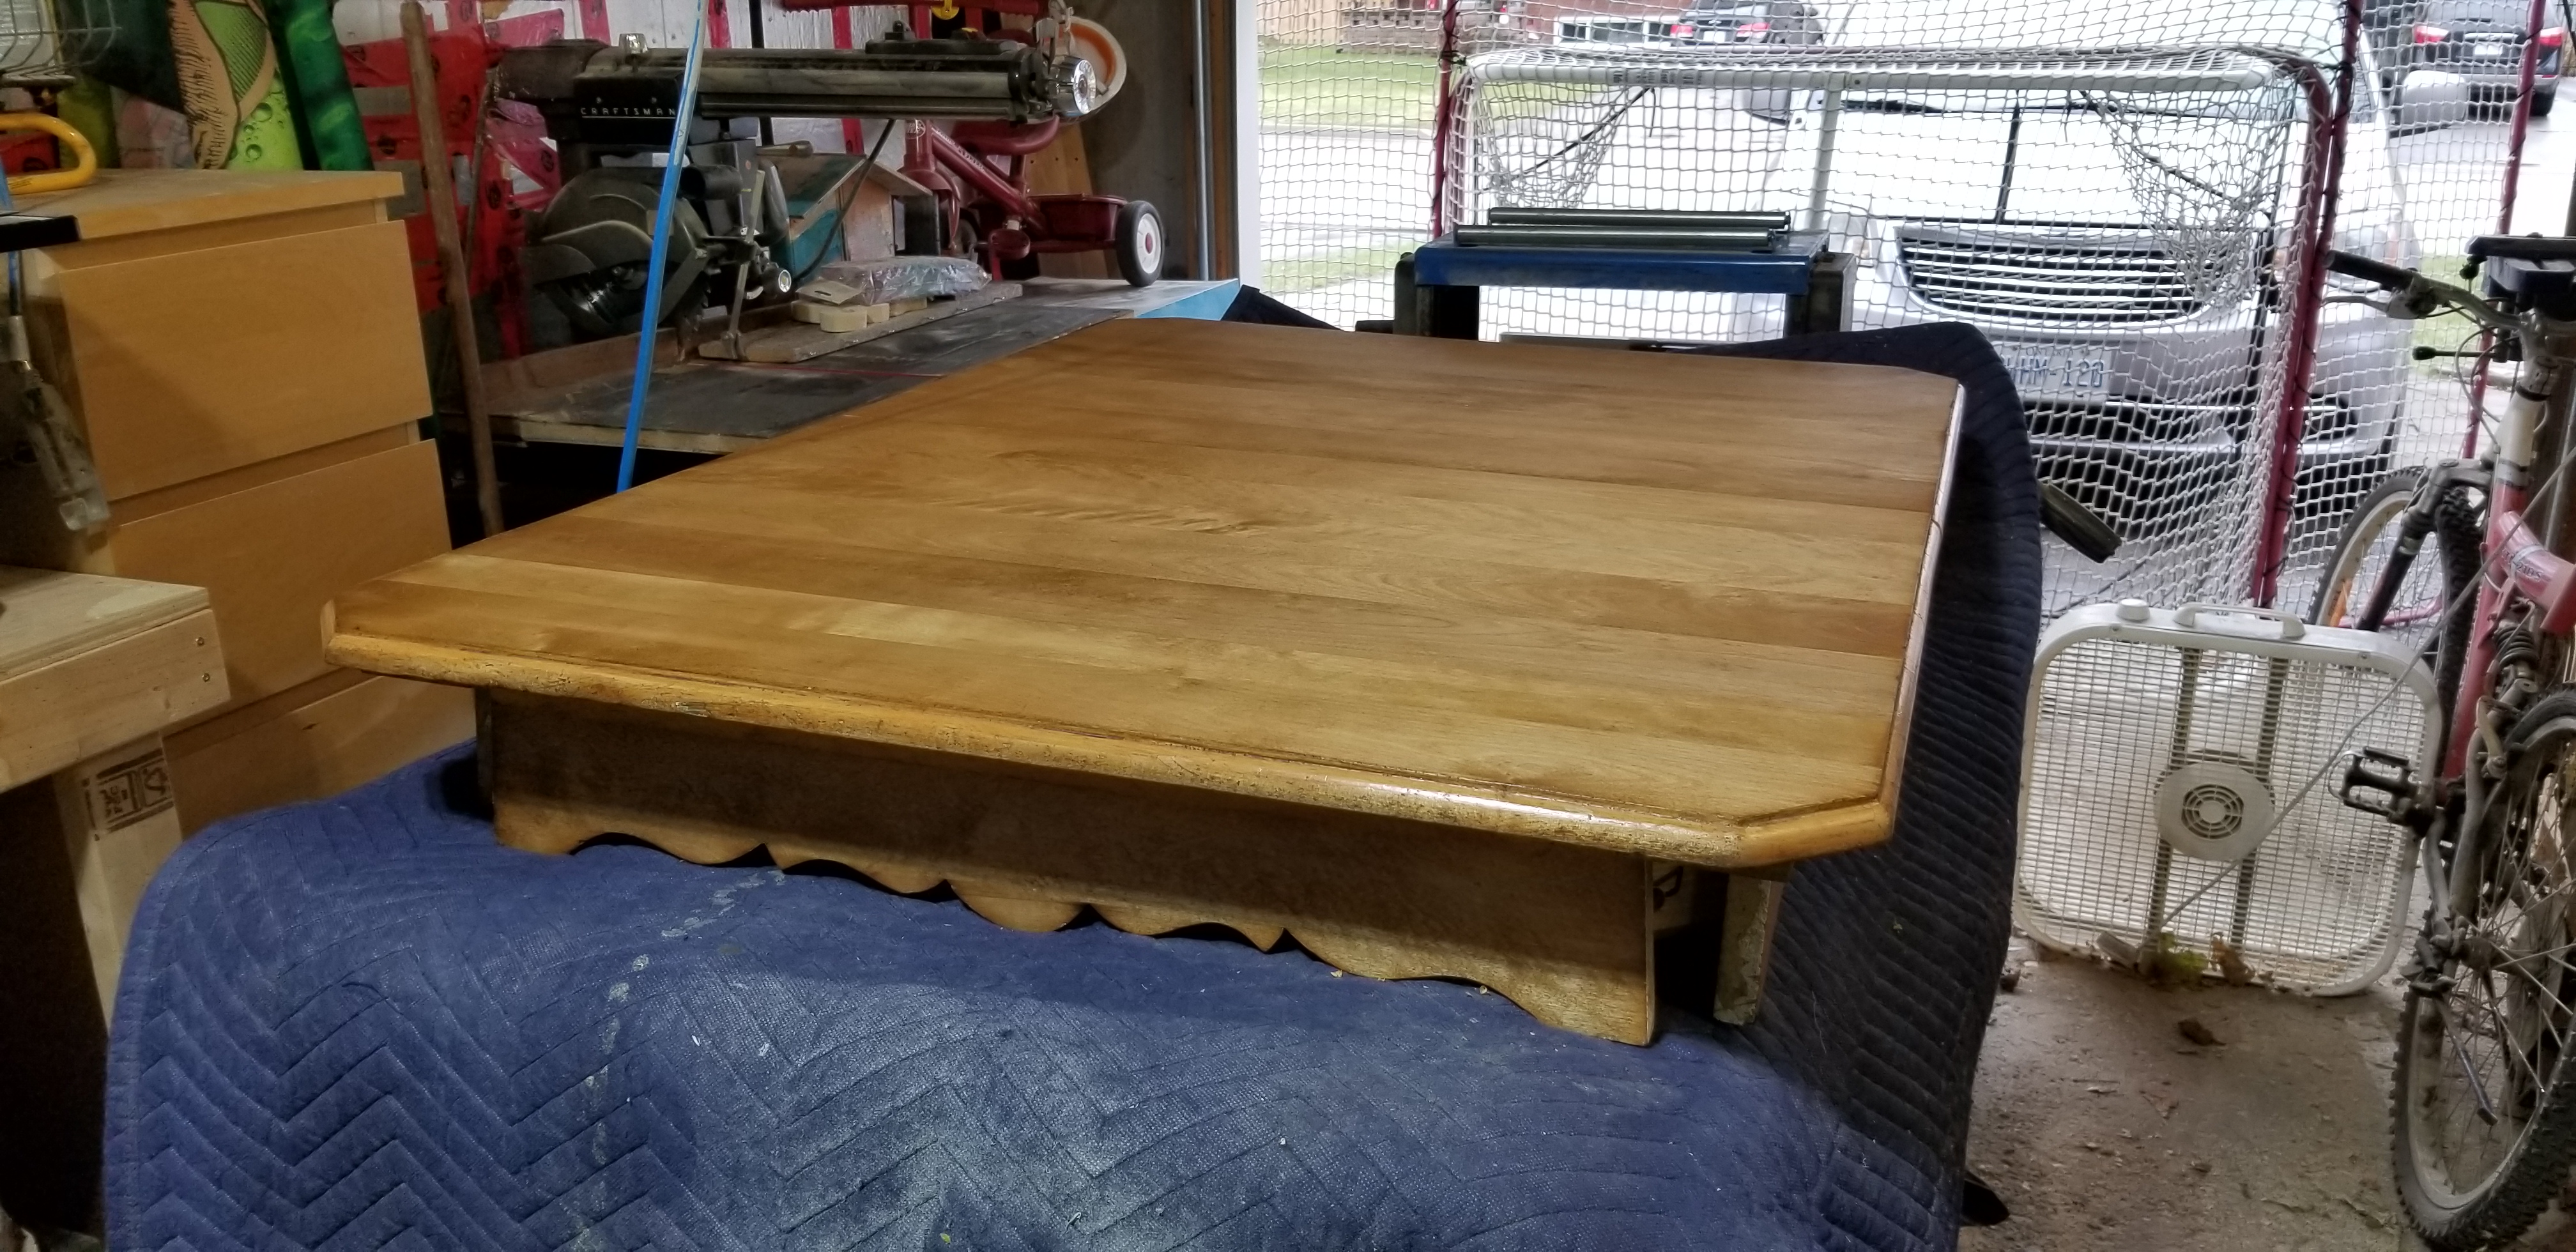
If it weren’t so close to zero degrees celsius here in Ontario I would venture to add the spray on clear coat of Varathane Diamond Wood Finish, but I don’t want it to get chunky or spit out blobs that you can feel under your hand. So all in all it took me about twenty hours over six weeks to get this project done, and I enjoyed just about every minute of it, except those spindle legs! Straight blocky chunky legs only next time!
Two years ago I refinished a rocking chair, but I can’t find any of those images. Next year I hope to tackle either another table or perhaps a chest of drawers or an old hutch of some kind. Hope you have a great Holiday Season, Merry Christmas, and Happy New Year! May your wood working DIY projects go smoothly or at least teach you a valuable lesson. ~M

You must be logged in to post a comment.